
©2022 Bardot Brush by Lisa Bardot // All Rights Reserved
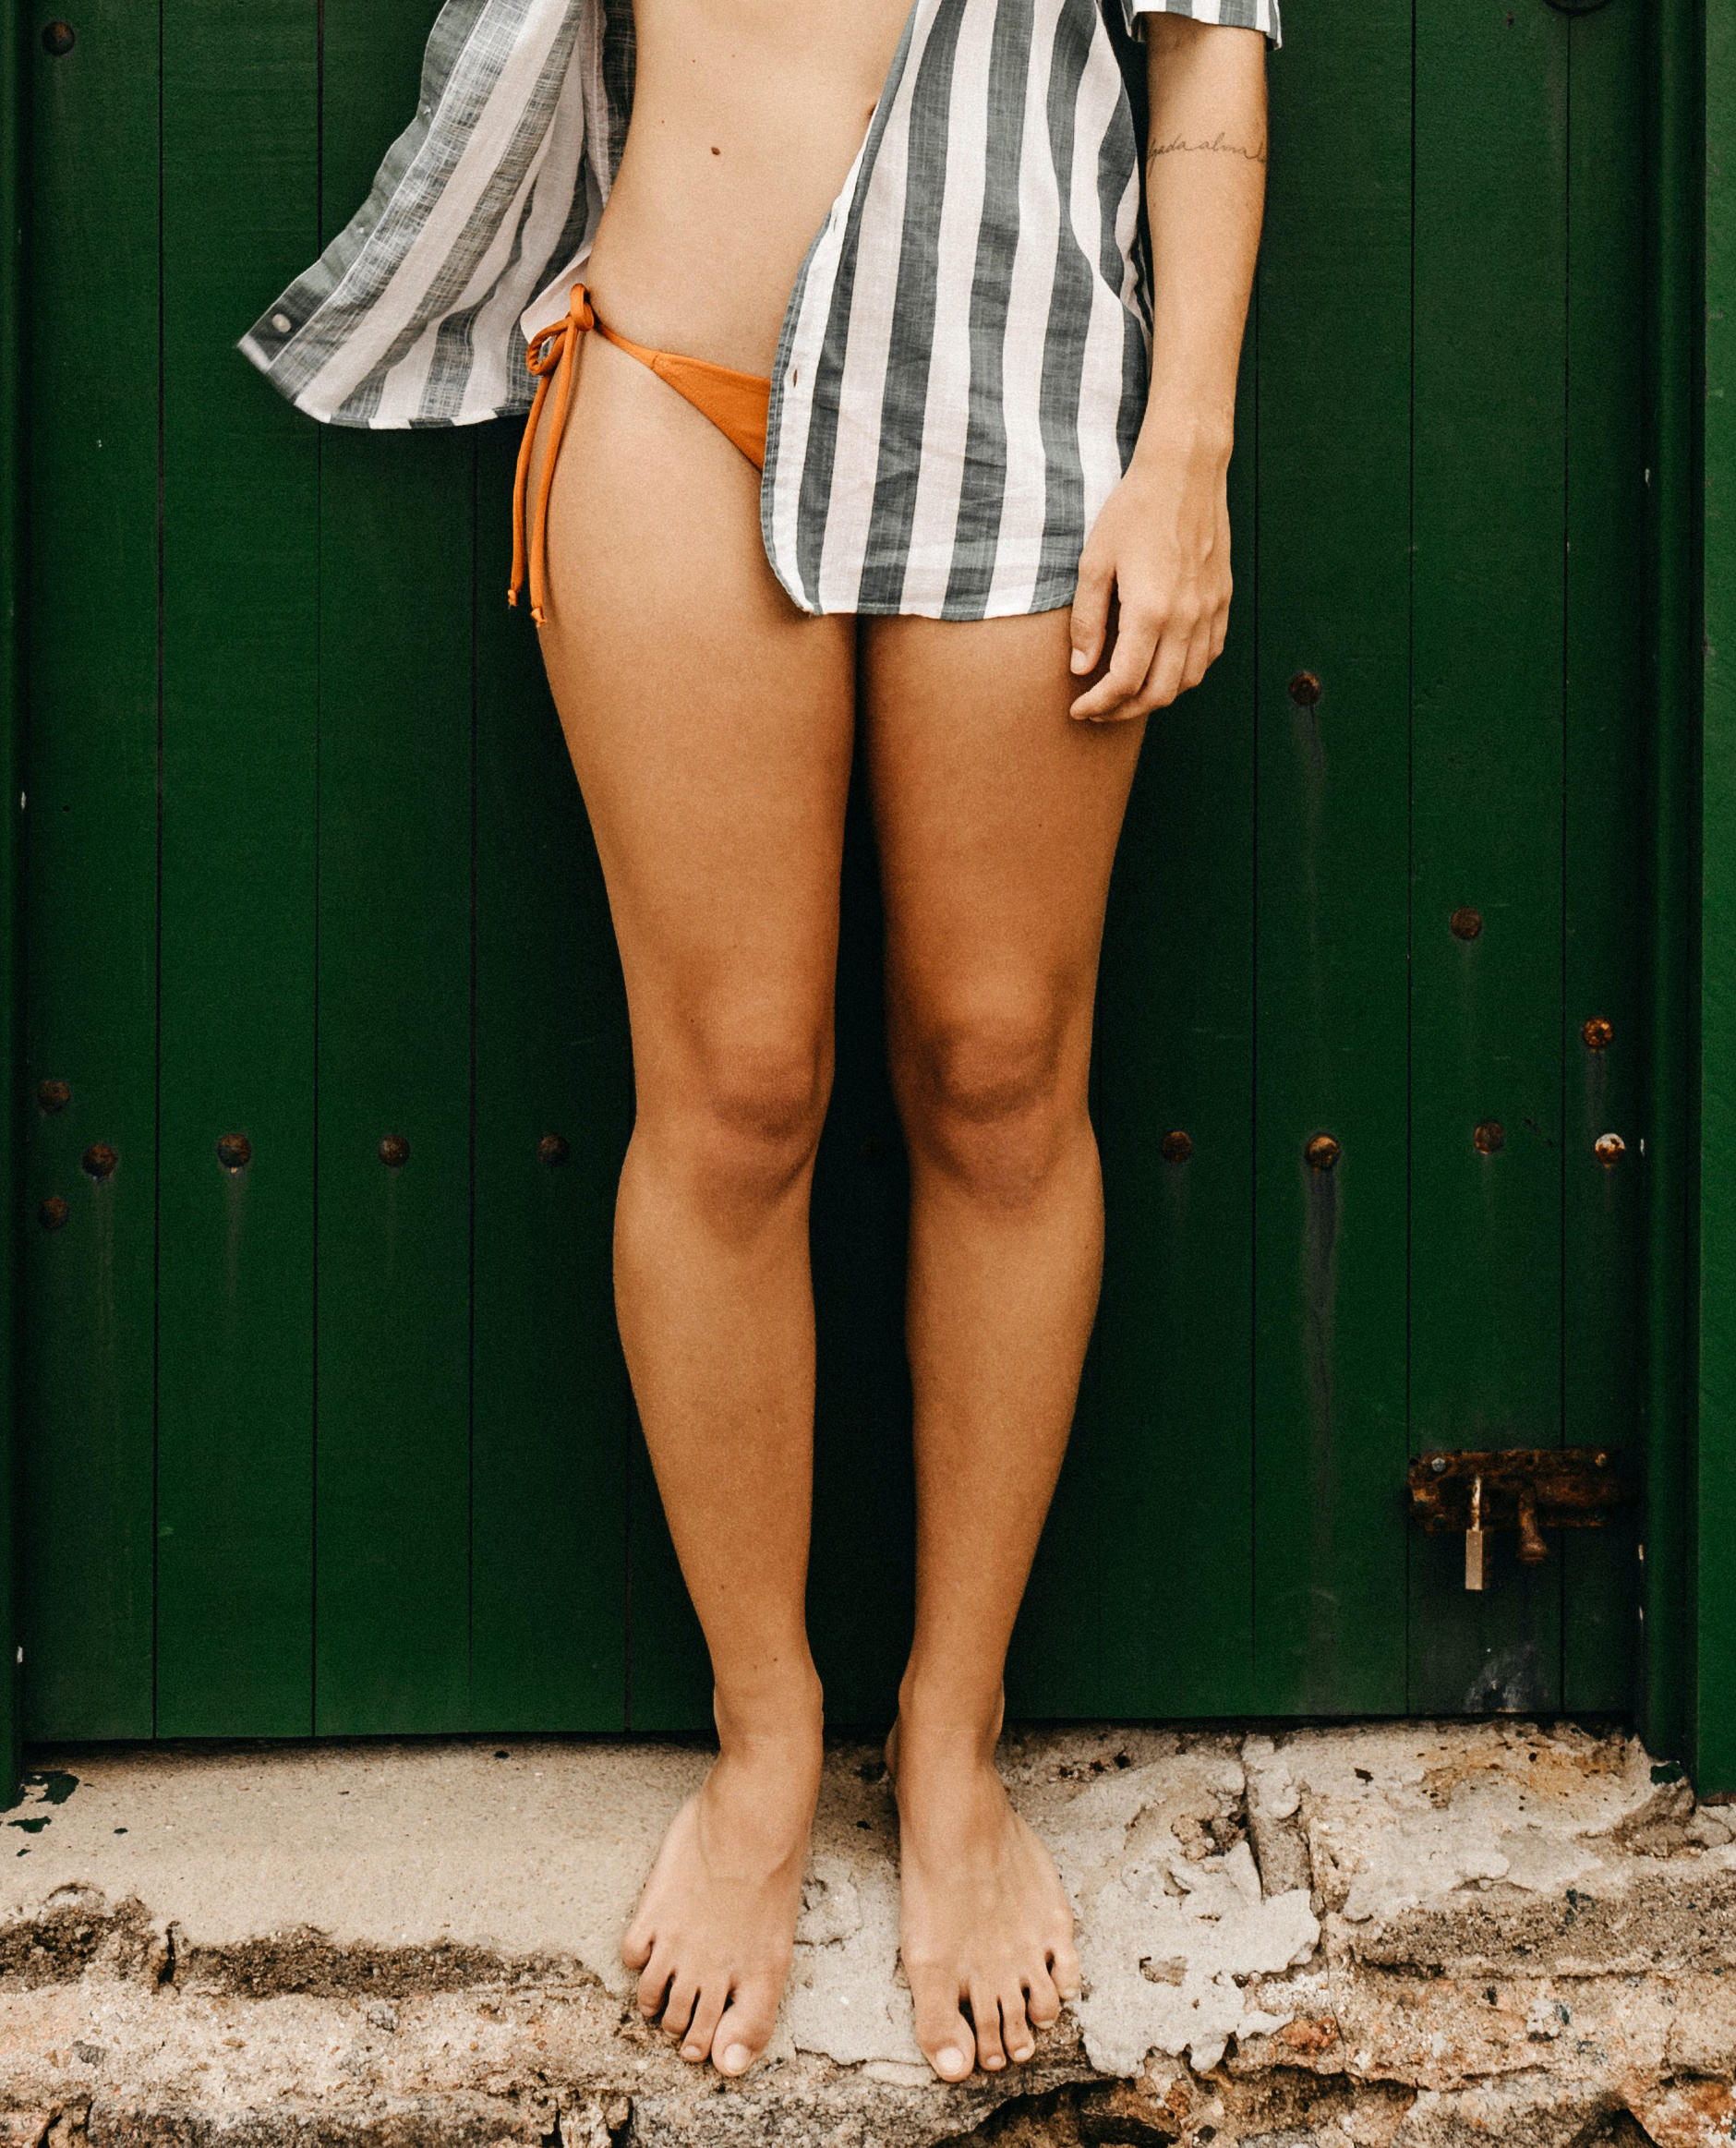
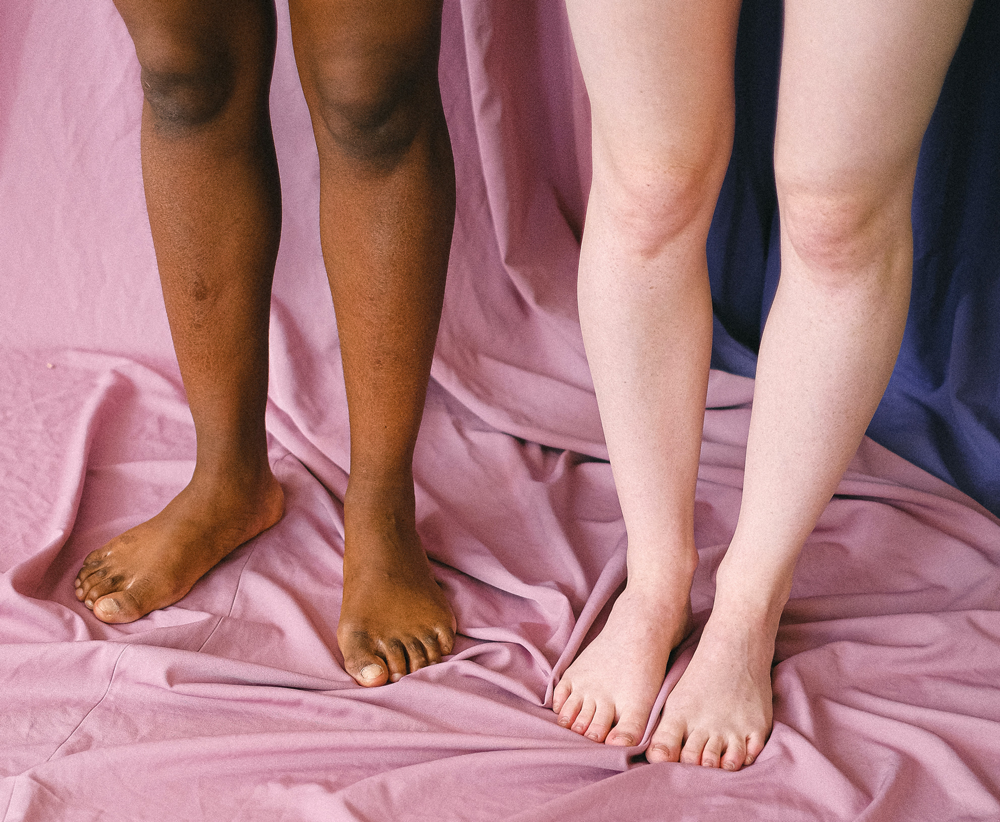
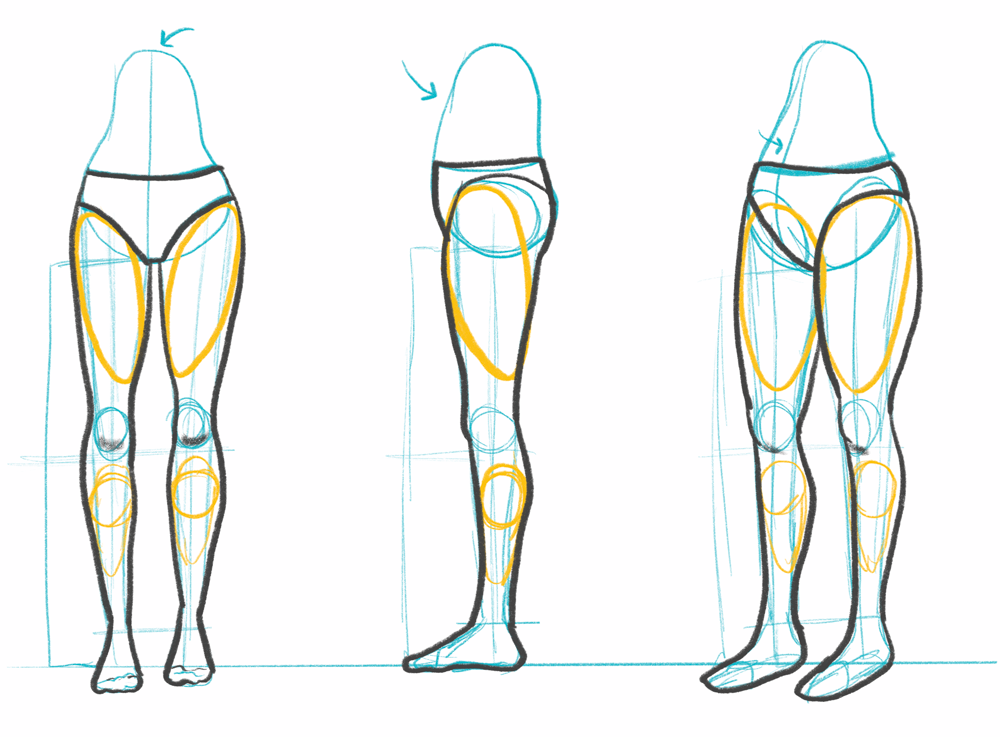
In today’s lesson, we are going to be drawing those long and lovely lower limbs, the legs! In my opinion, the thing that makes a bent line look like an actual human leg are the curves. The legs have lots of curves that change depending on what angle you are looking at. In this video, we’ll go into detail about where to place these curves and how you can stylize legs when drawing. I’ll also teach you a fun method that can help you draw legs in different poses.
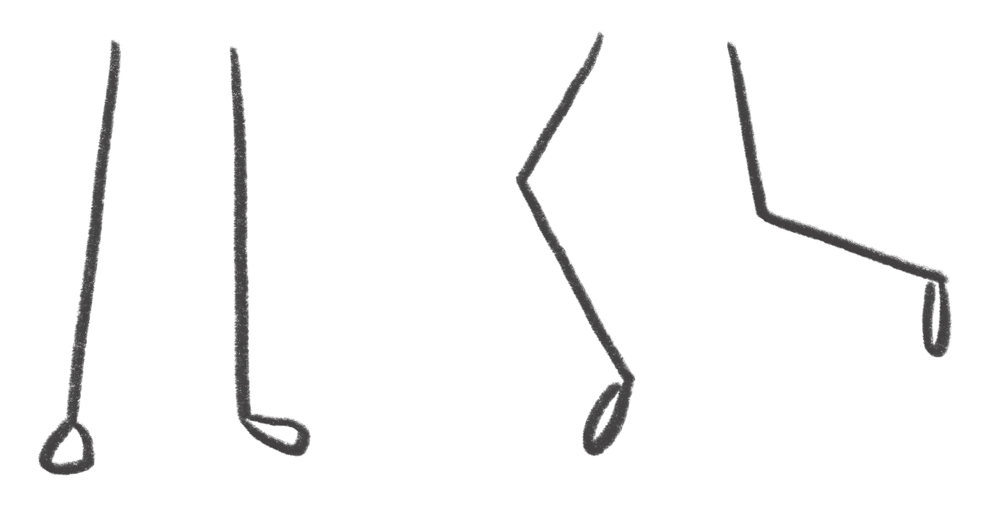
Tapered Shape
2 Sections
3 Joints
Curves & Straights
Knee Protrudes
Attaches to Torso at an Angle
The Butt
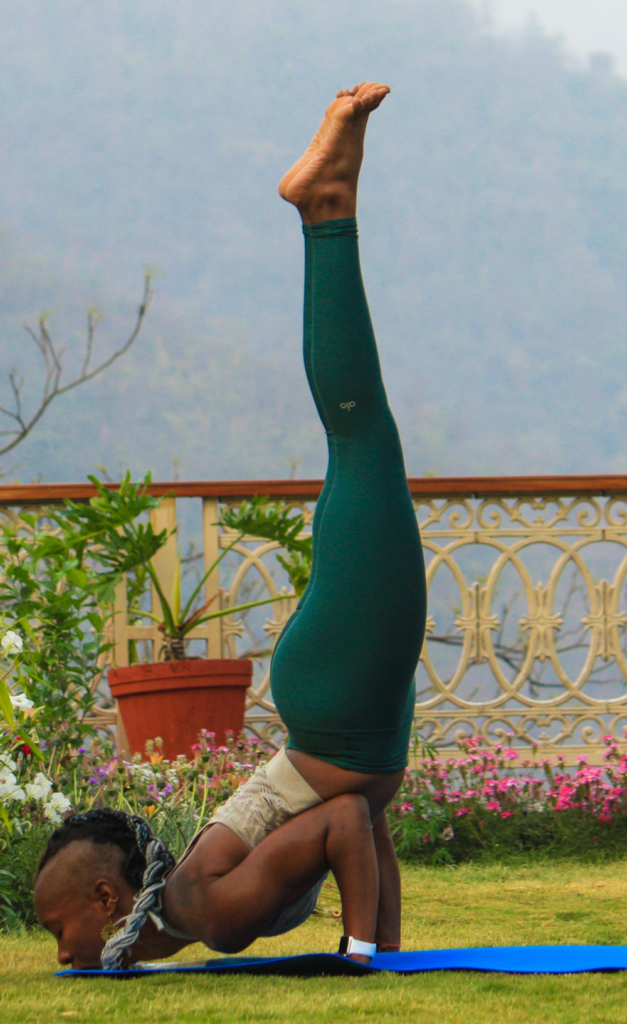
Joint at Hip: full range of movement
Knee Joint: moves out and back
Ankle Joint: moves up, down, and all around
Observe lots of photos of legs. Identify what angle you’re looking at and where the curves are on the legs. Then draw the three sets of legs like in the tutorial: front-facing, side view, and 3/4 view. Then, follow the steps to create a ball of legs to practice drawing legs in bent positions and at different angles.

Keep researching, observing and learning! I’ve made a Pinterest board full of additional resources to help you learn more about drawing fingers and hands.
This lesson is a part of a month-long series that will get you you familiar with the basics of drawing humans, and help you develop your own people-drawing style. To learn more, check out the People Skills Intro, or continue on to the next lesson below.
We’ll stock your inbox with Procreate tips, new releases, and free goodies!
Bardot Brush was created by California-based illustration artist, teacher, and all-around creative person, Lisa Bardot.

©2022 Bardot Brush by Lisa Bardot // All Rights Reserved