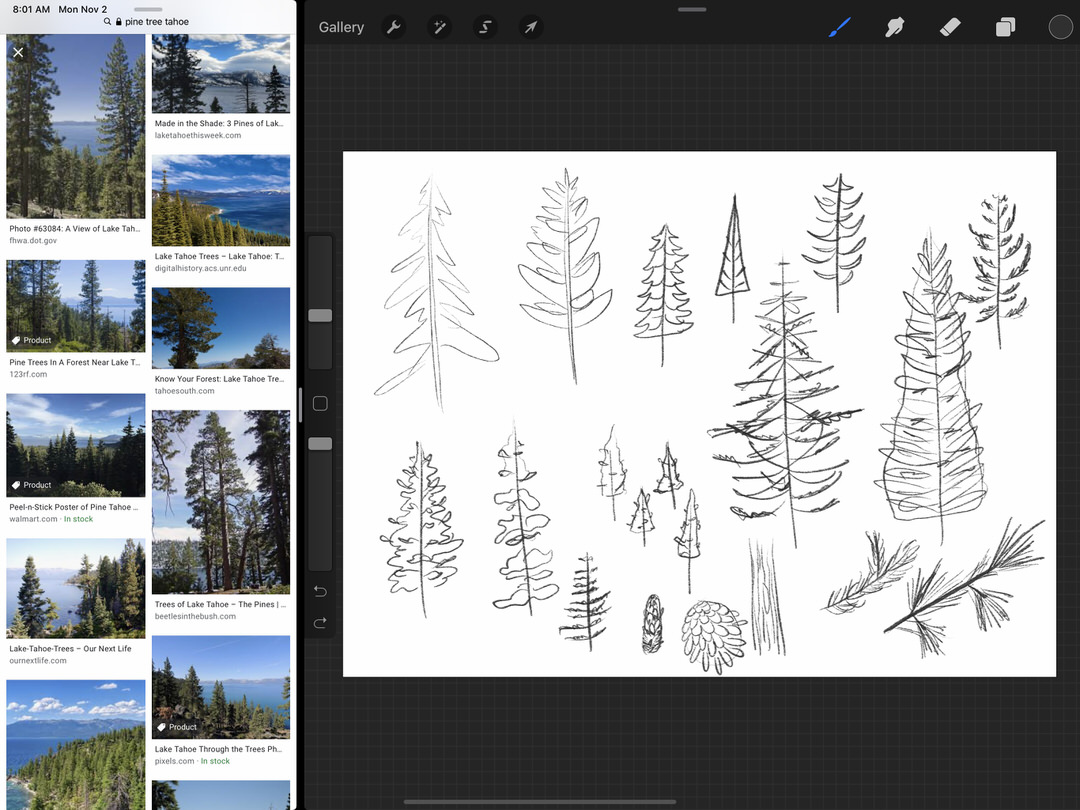
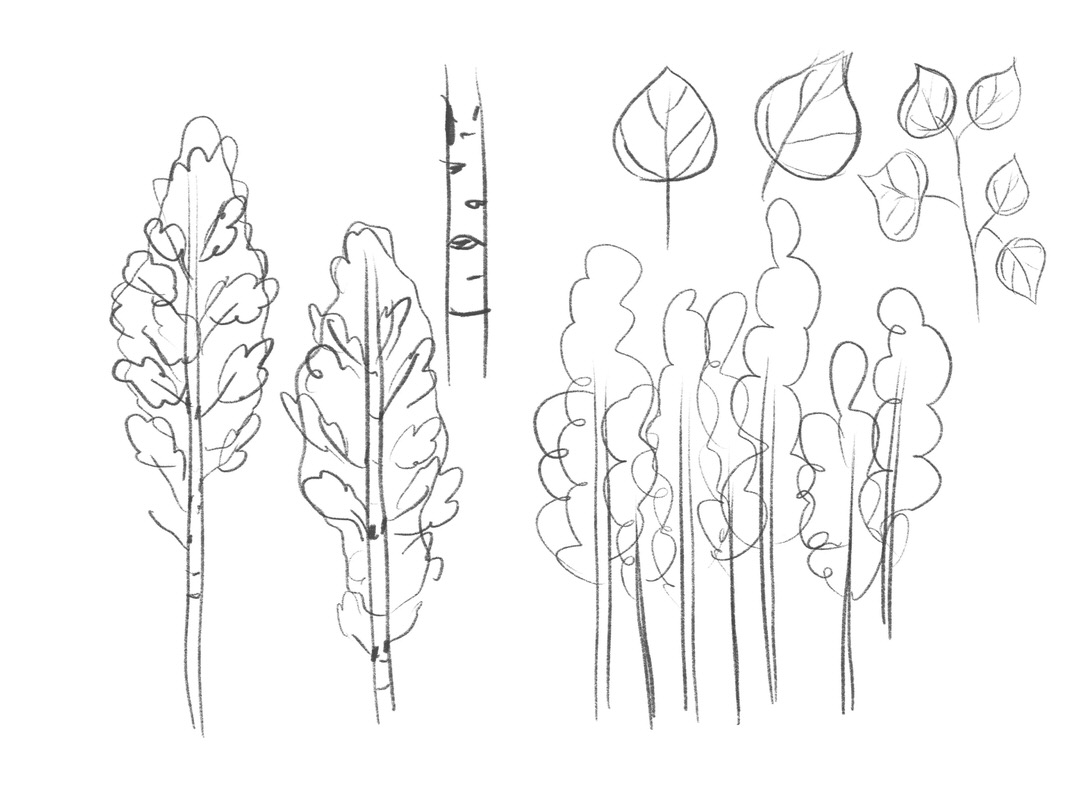
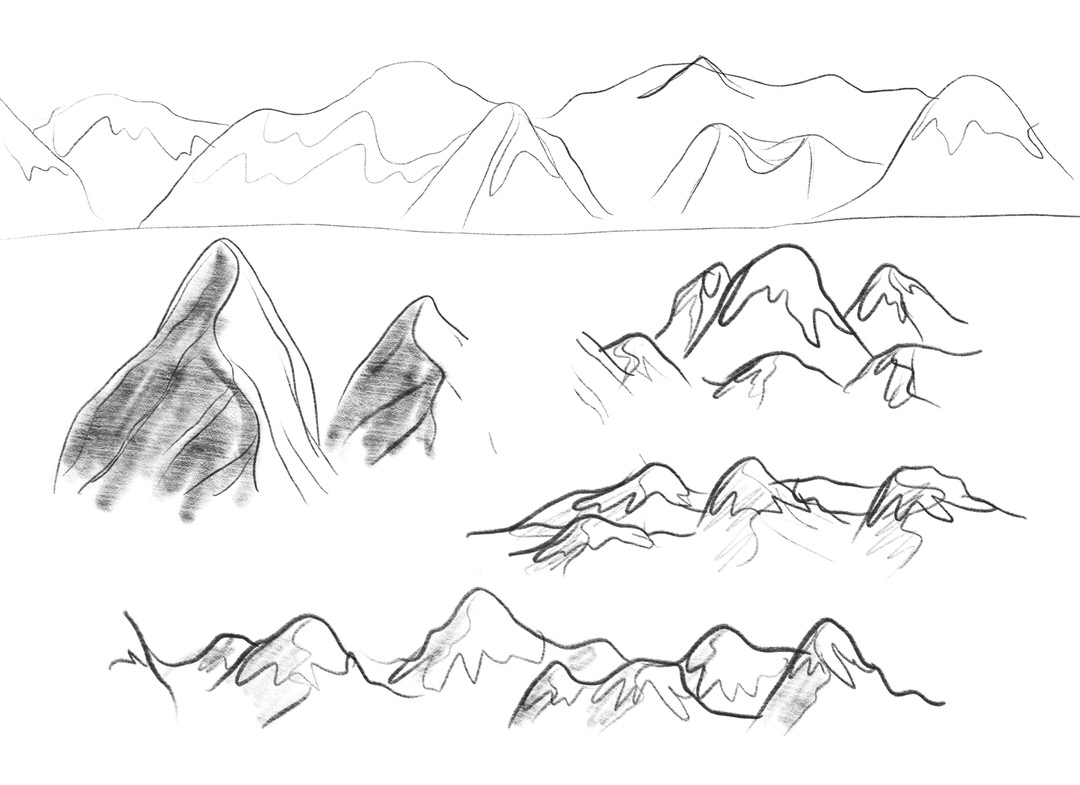
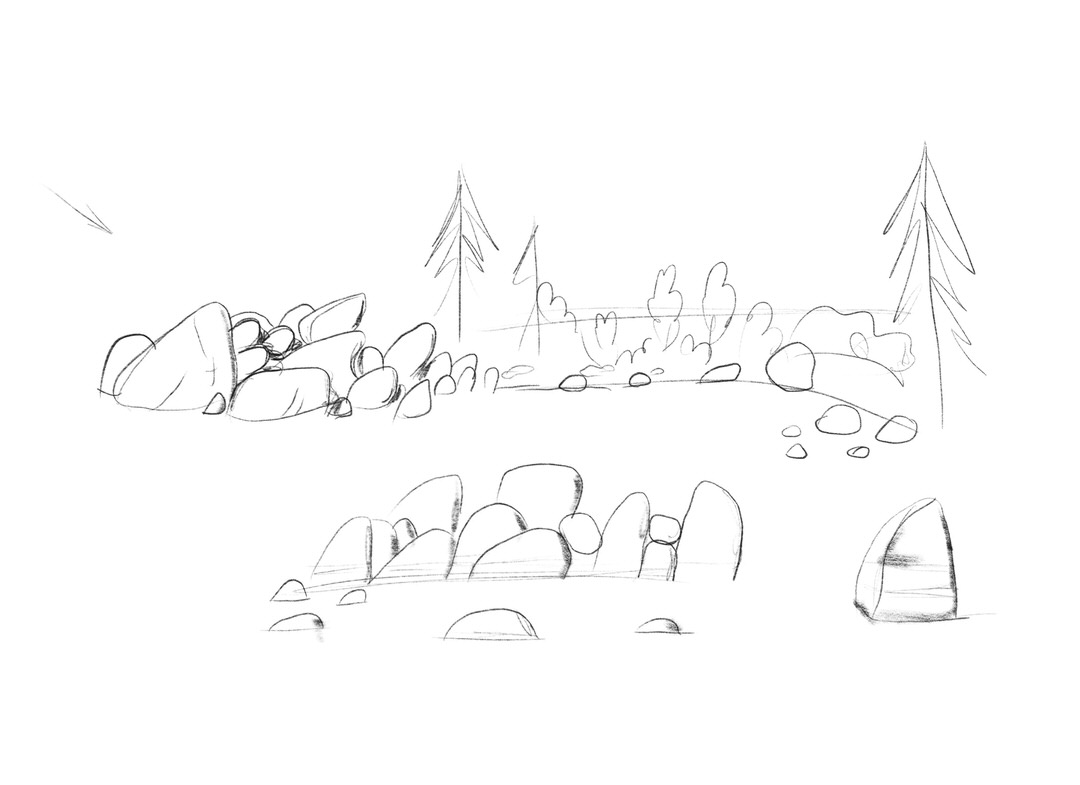
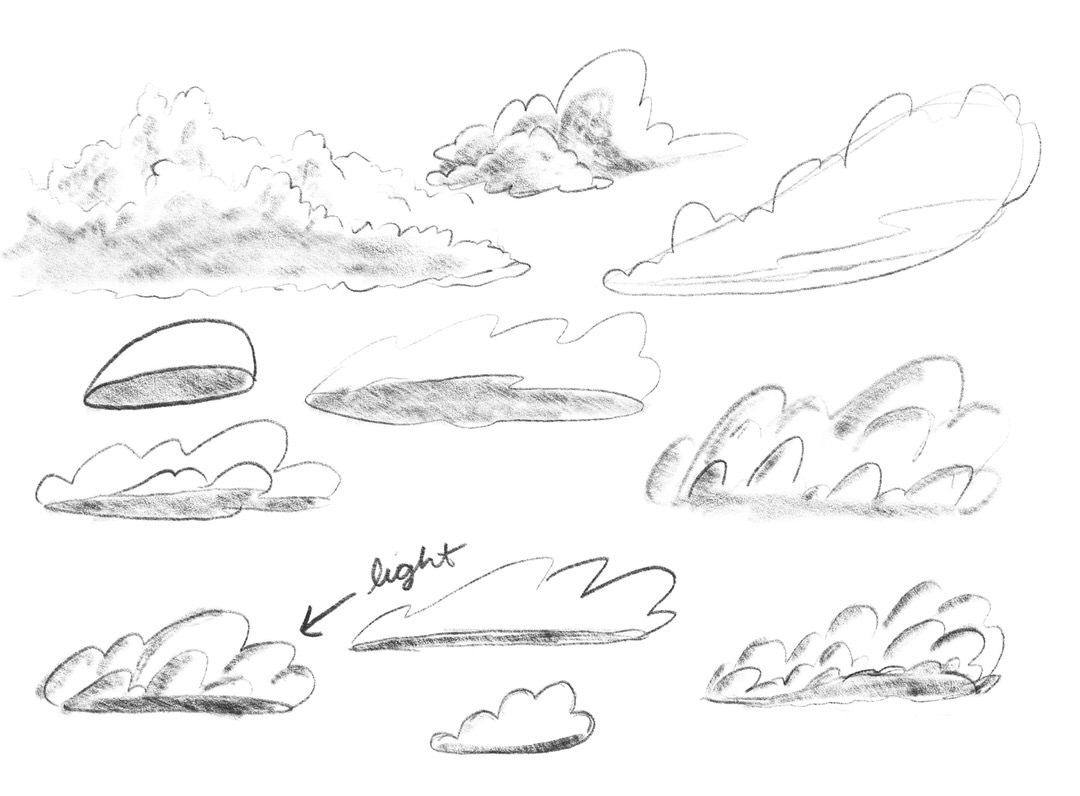
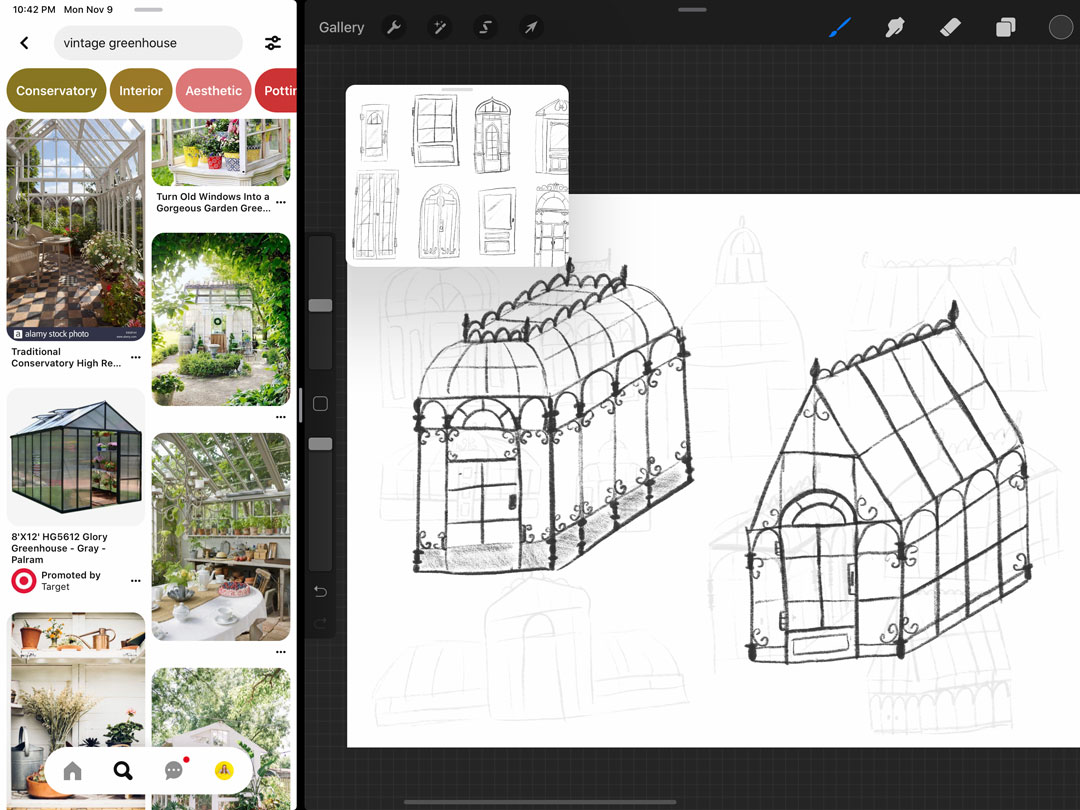
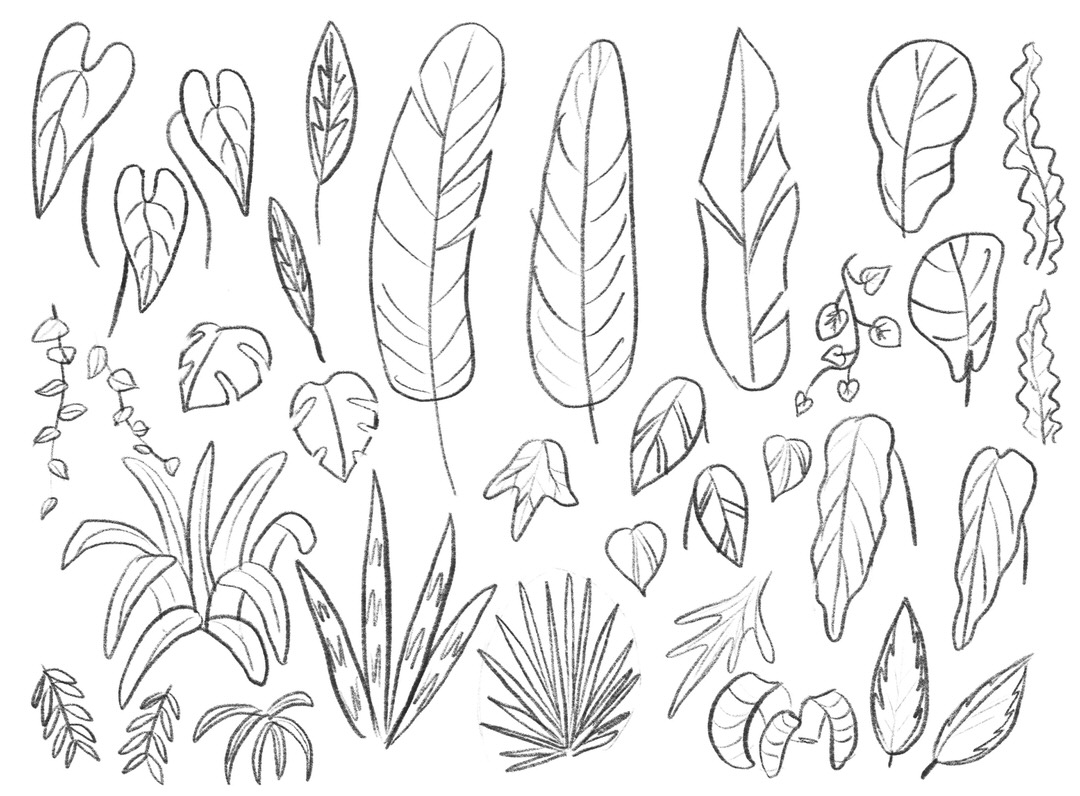
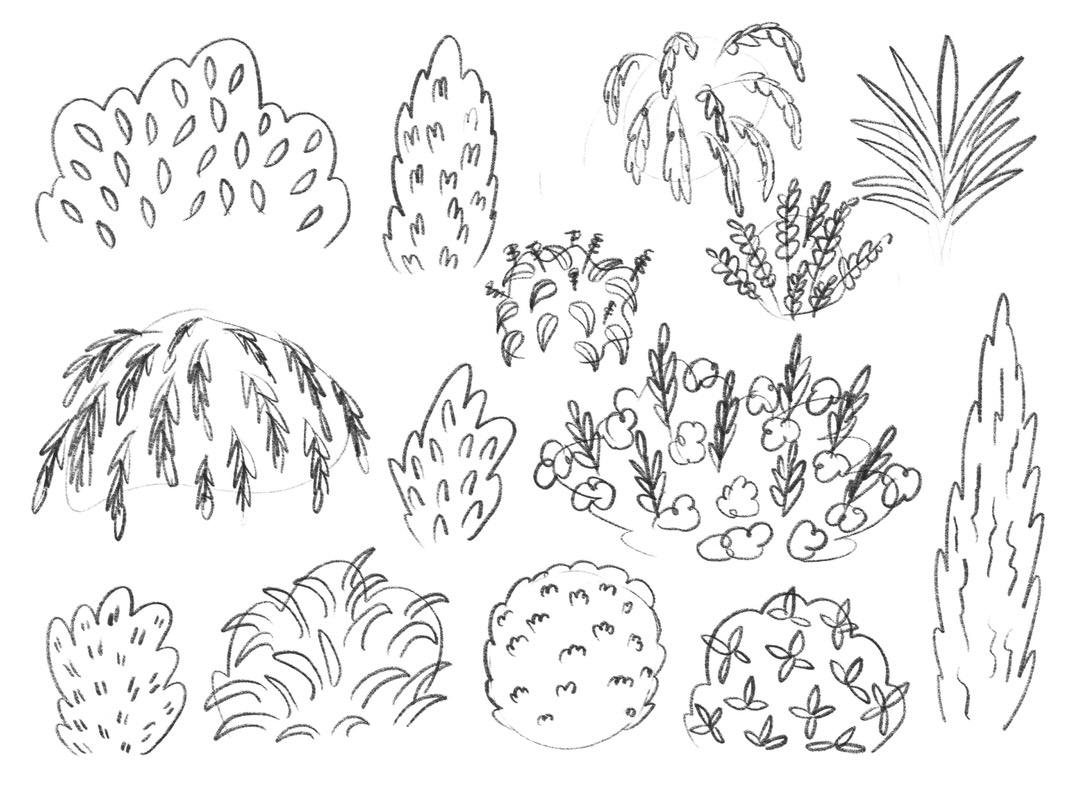
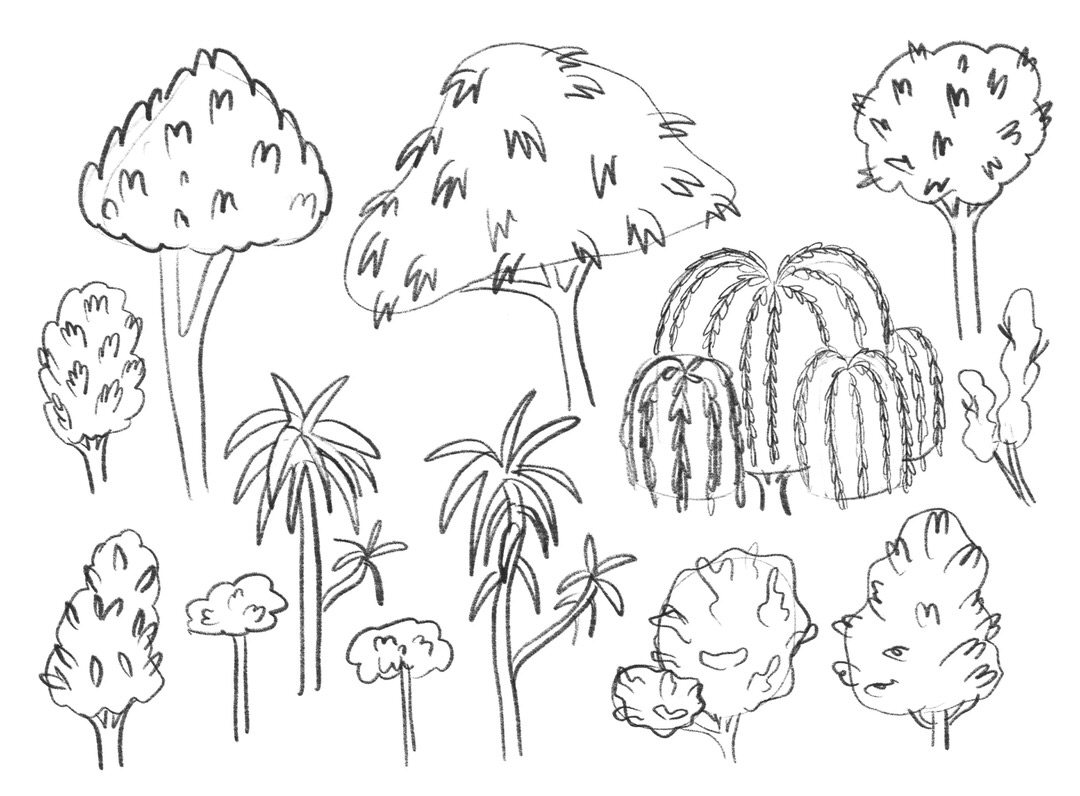
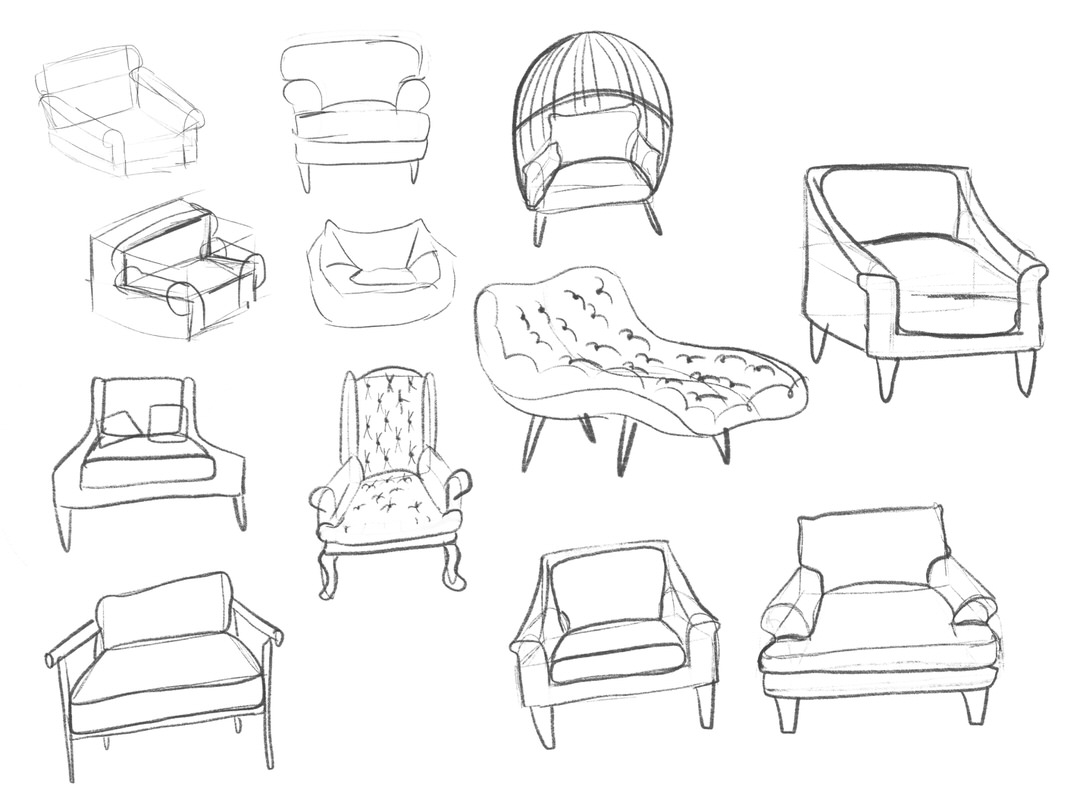
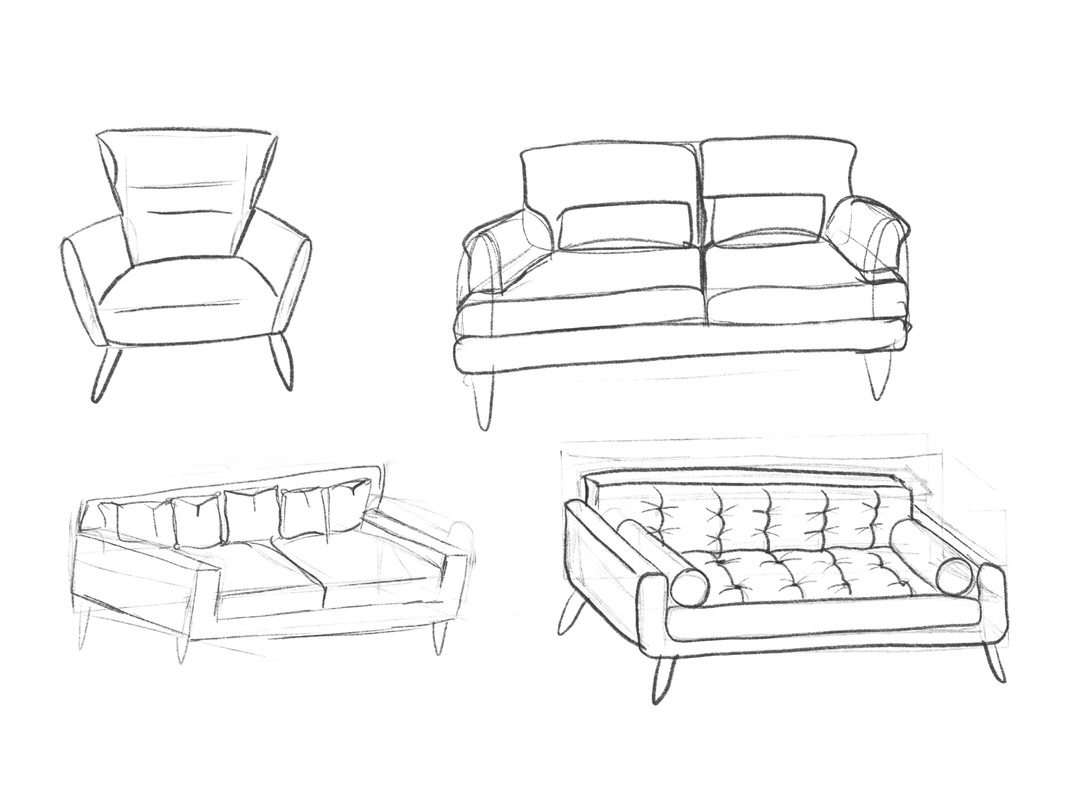
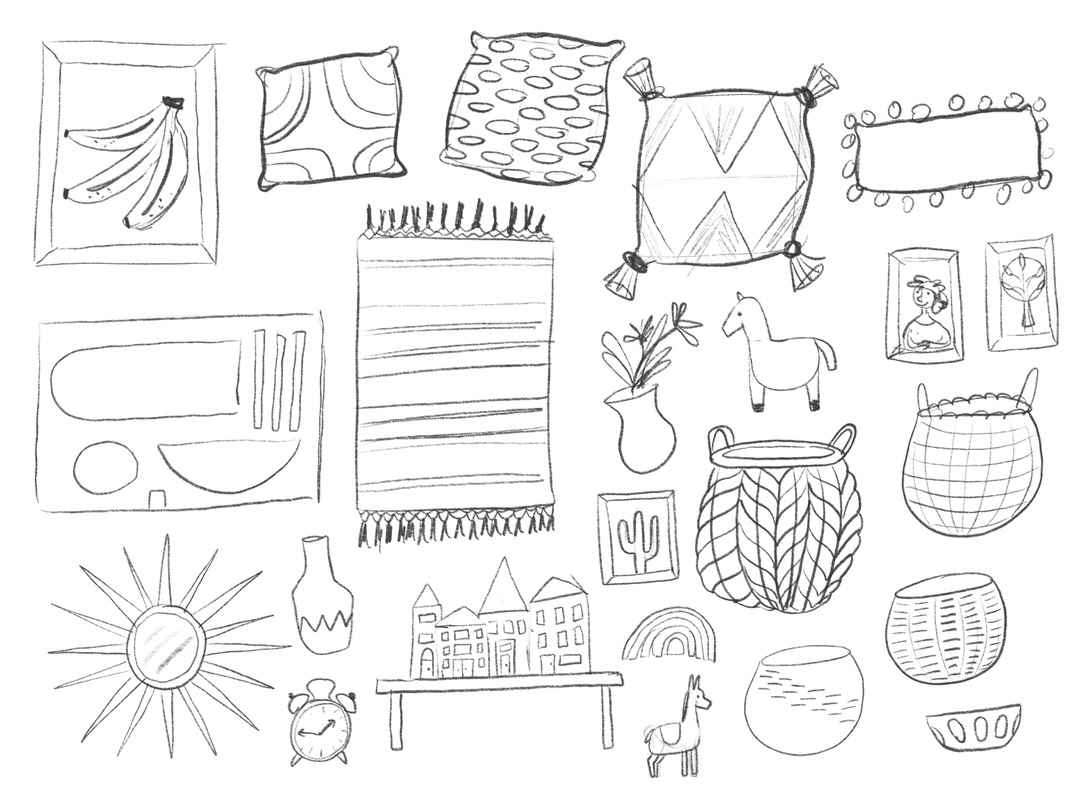
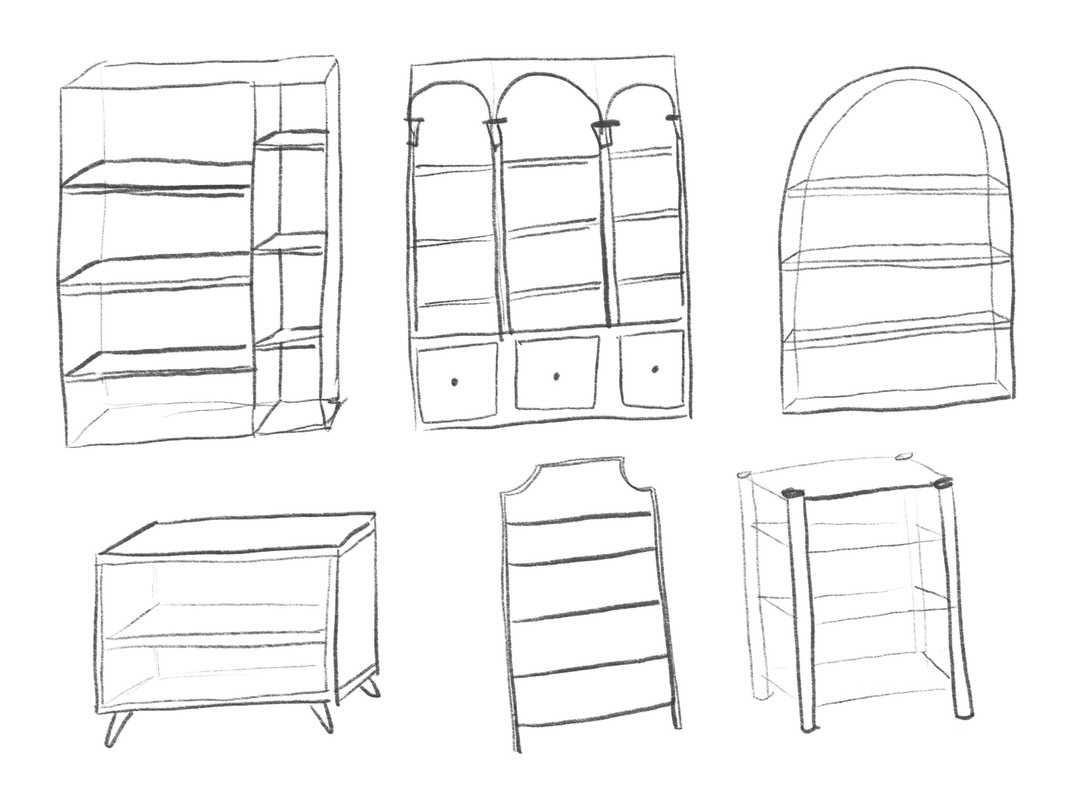
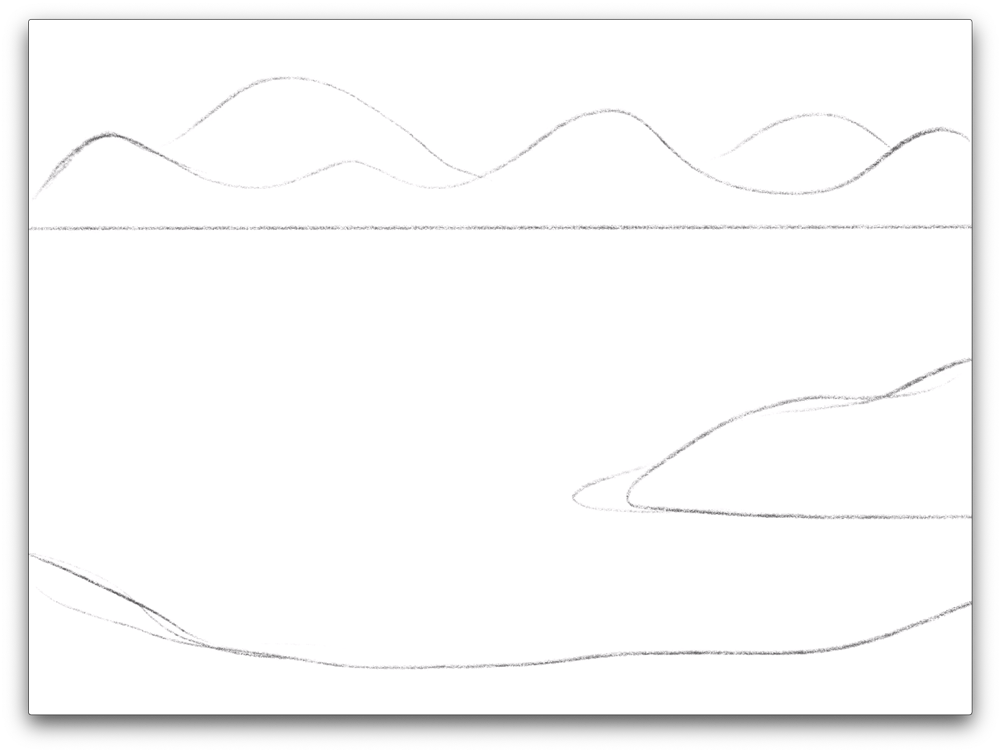
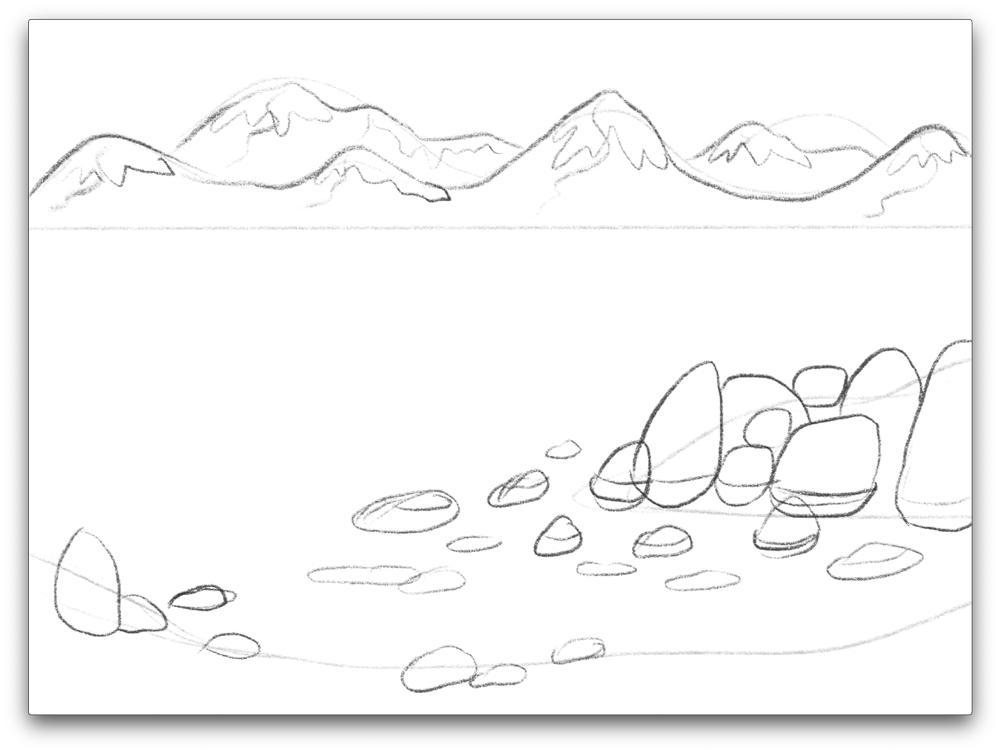
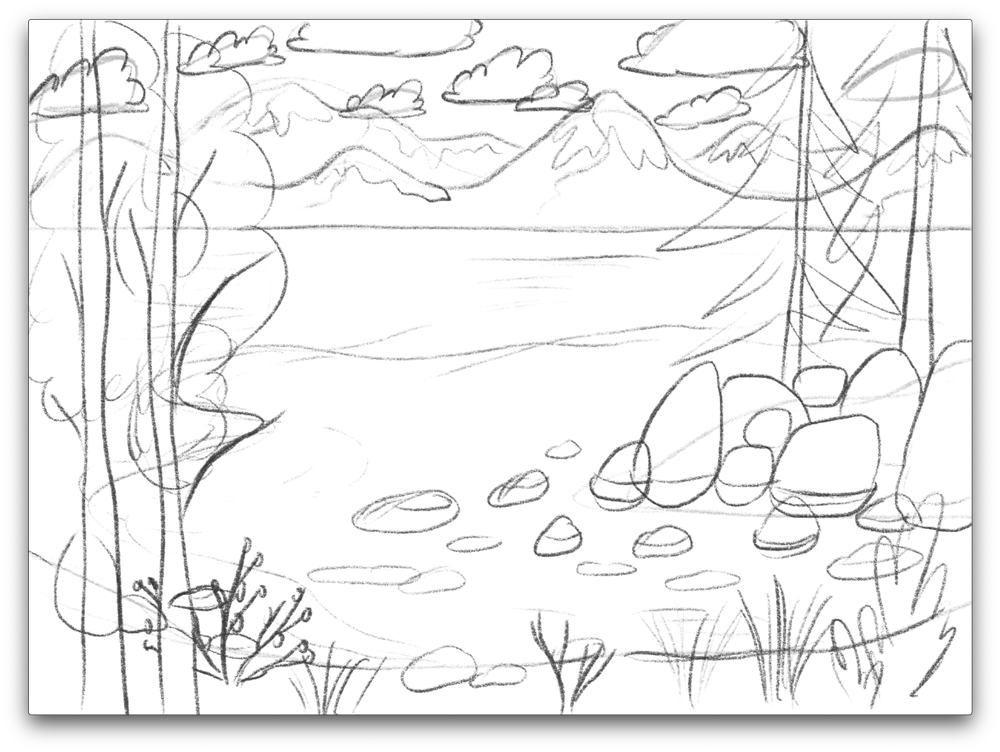
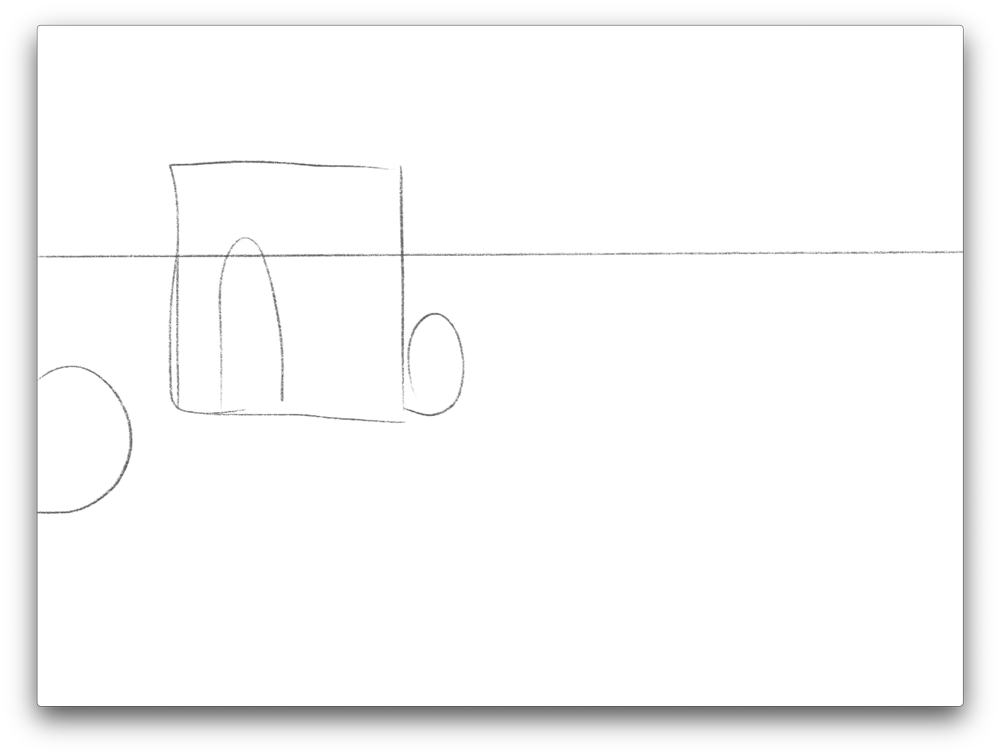
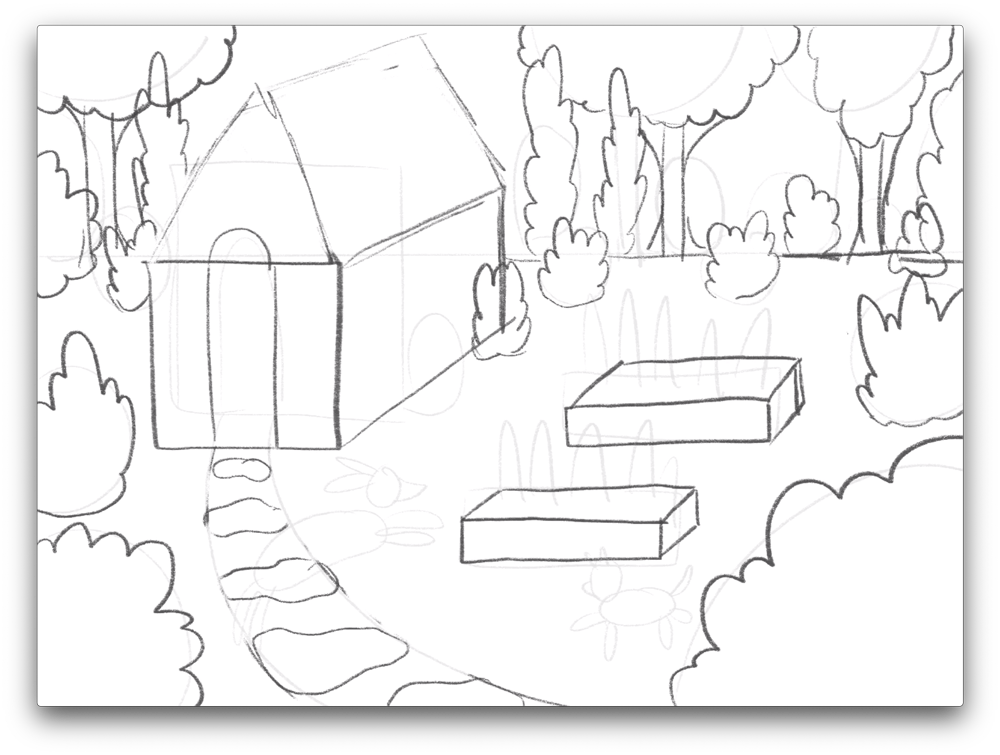
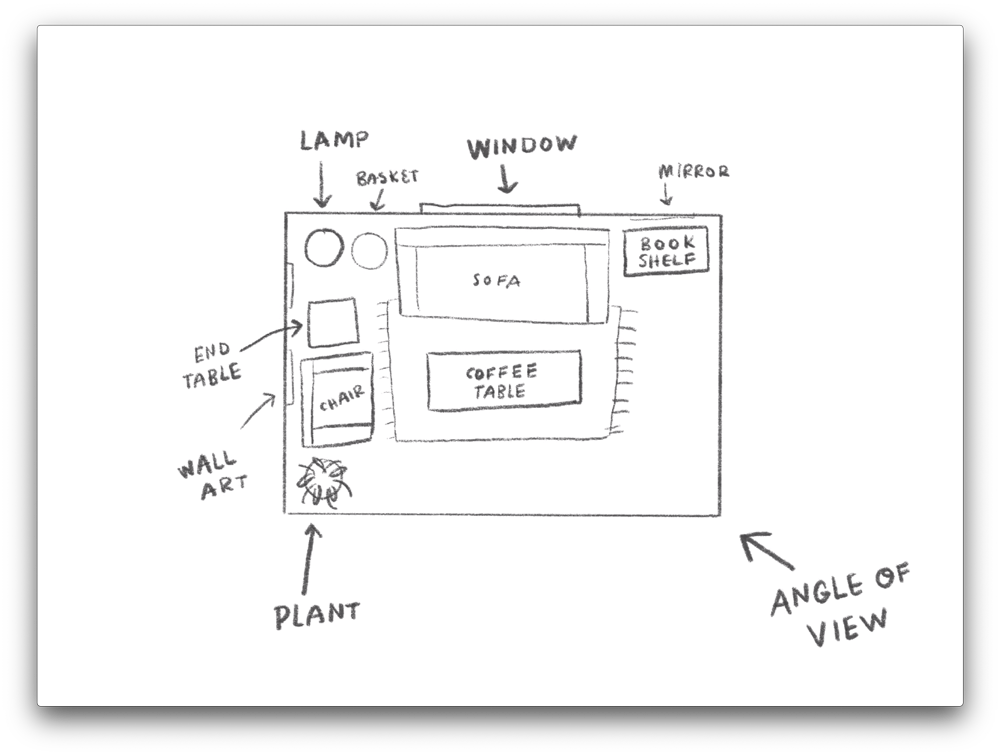
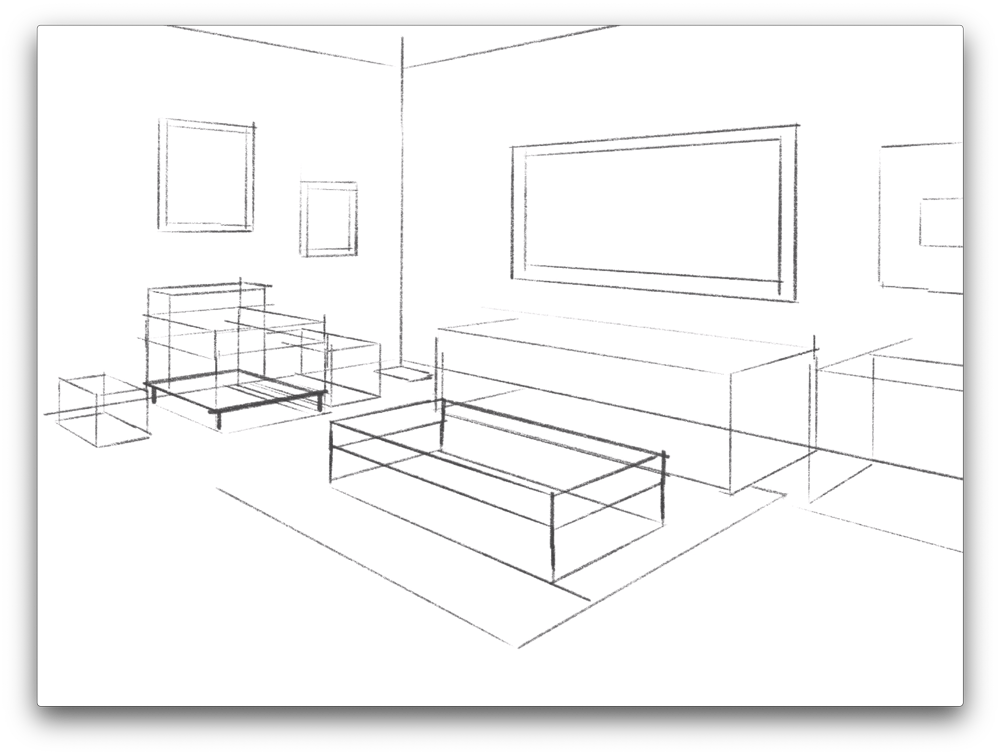
Step 1a: Layout components as basic shapes
Create a rough sketch of your scene’s layout. In this step you are determining the placement and scale of the different components in your scene. Use basic shapes, like ovals, rectangles, cubes, etc., and leave out the details. Start with the largest parts first and work your way to the smaller elements of your scene. The order I recommend is above.
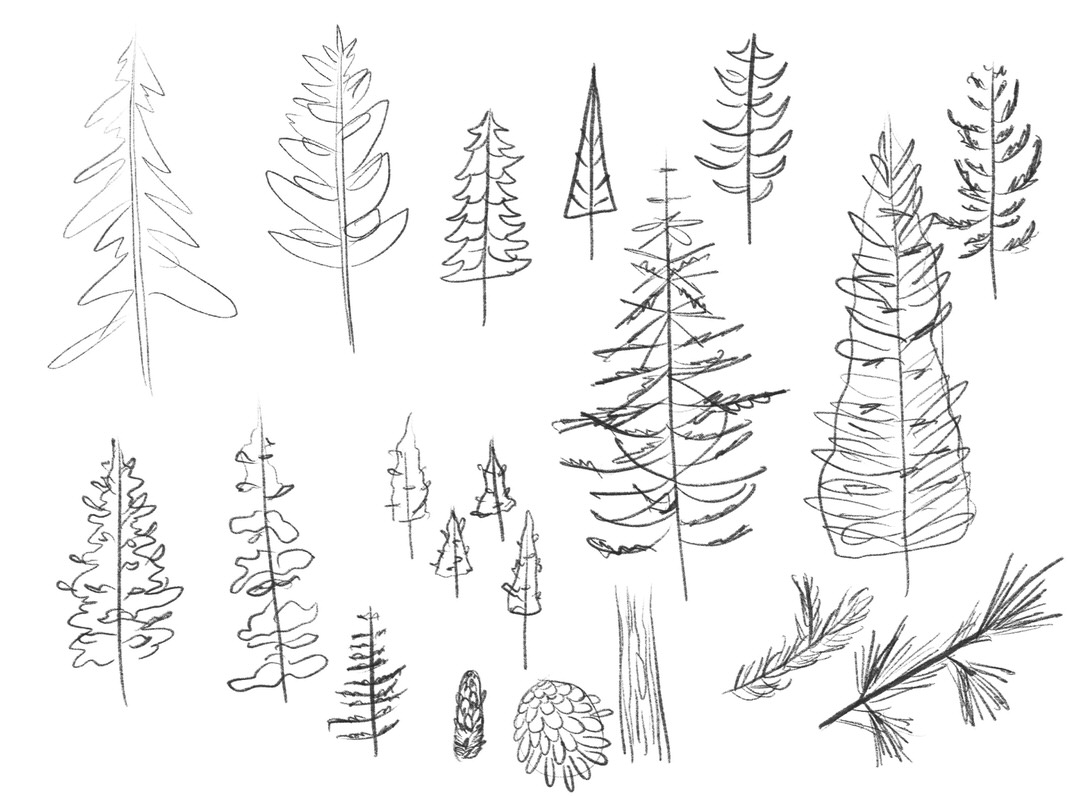
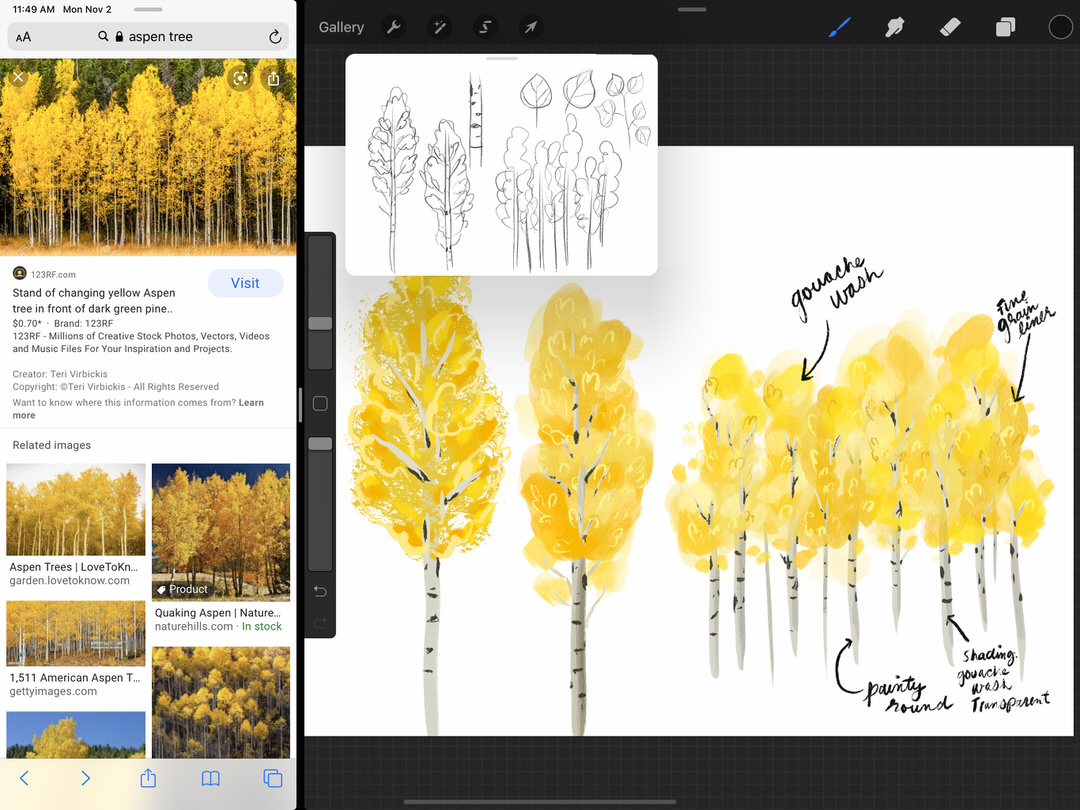
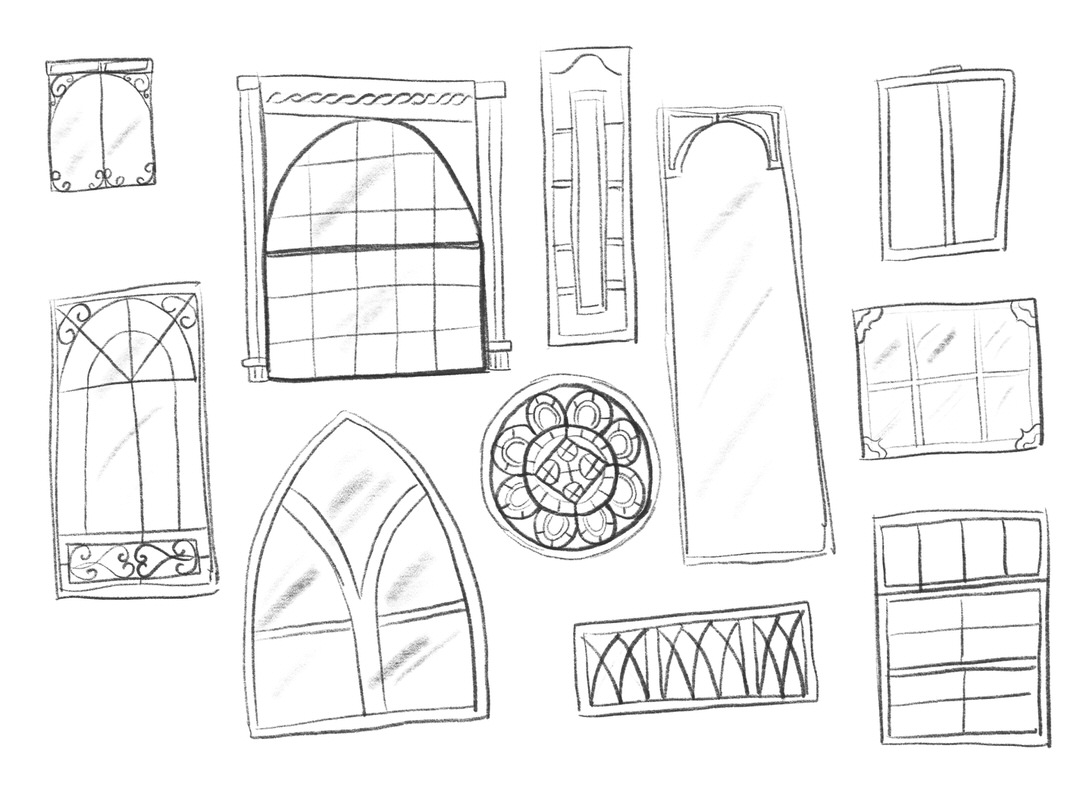
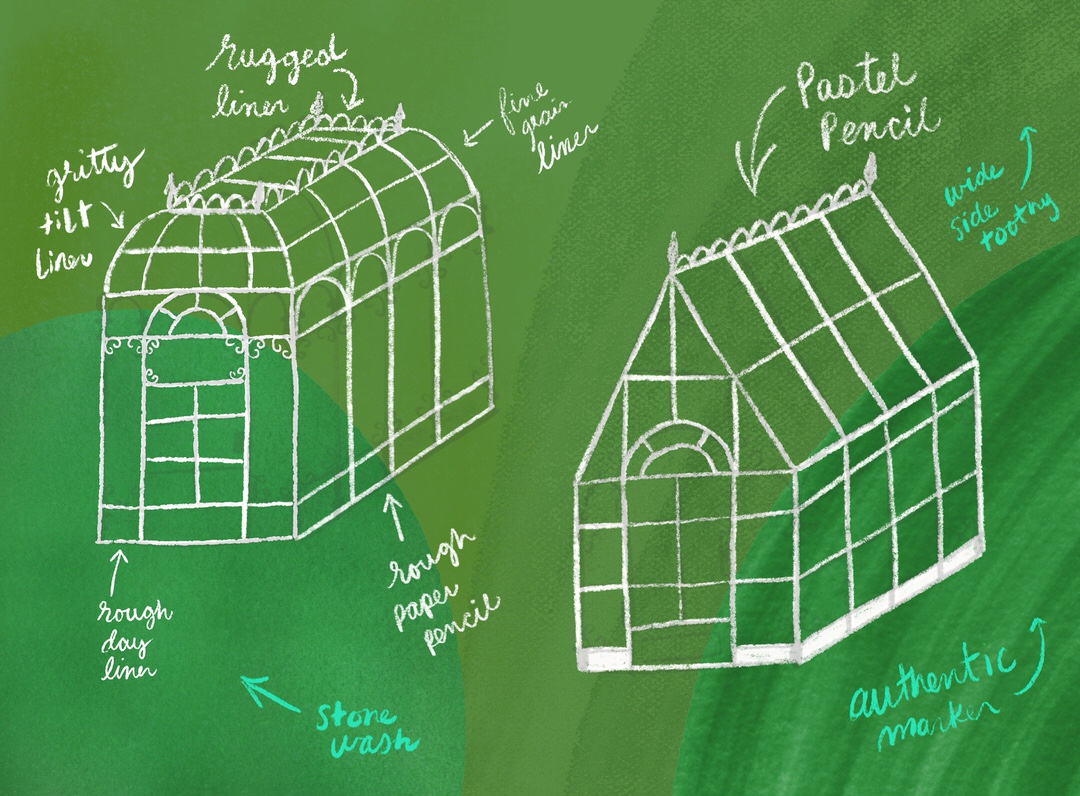
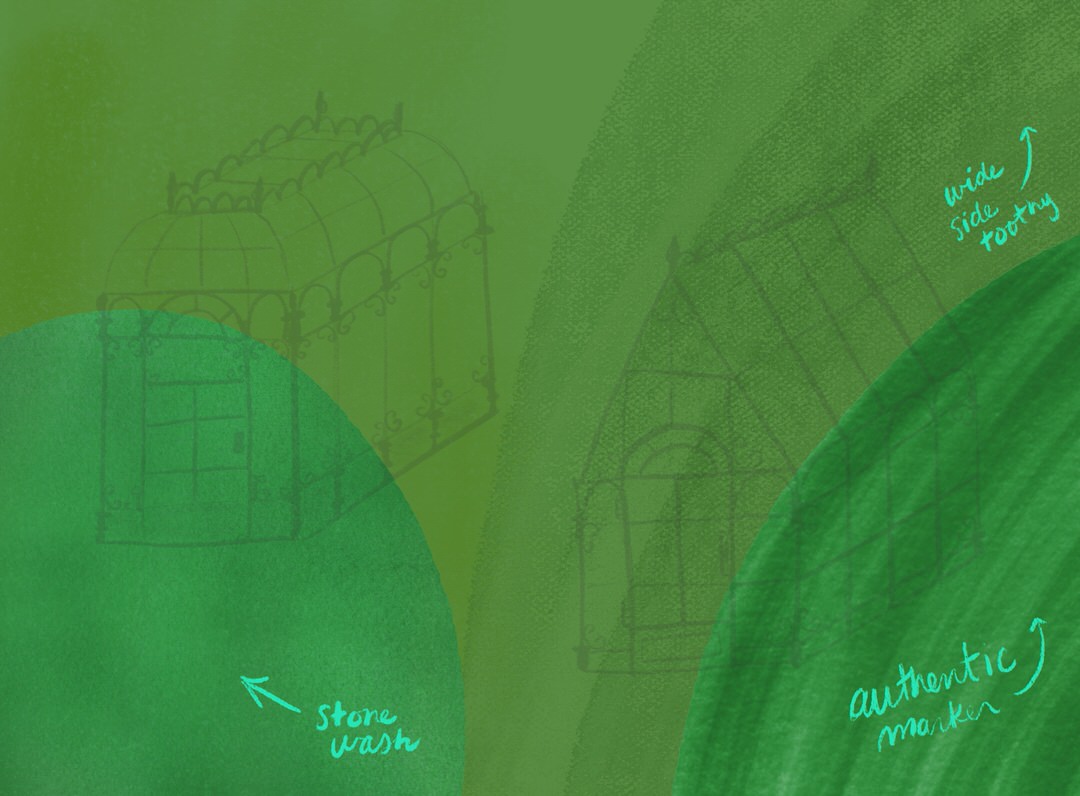
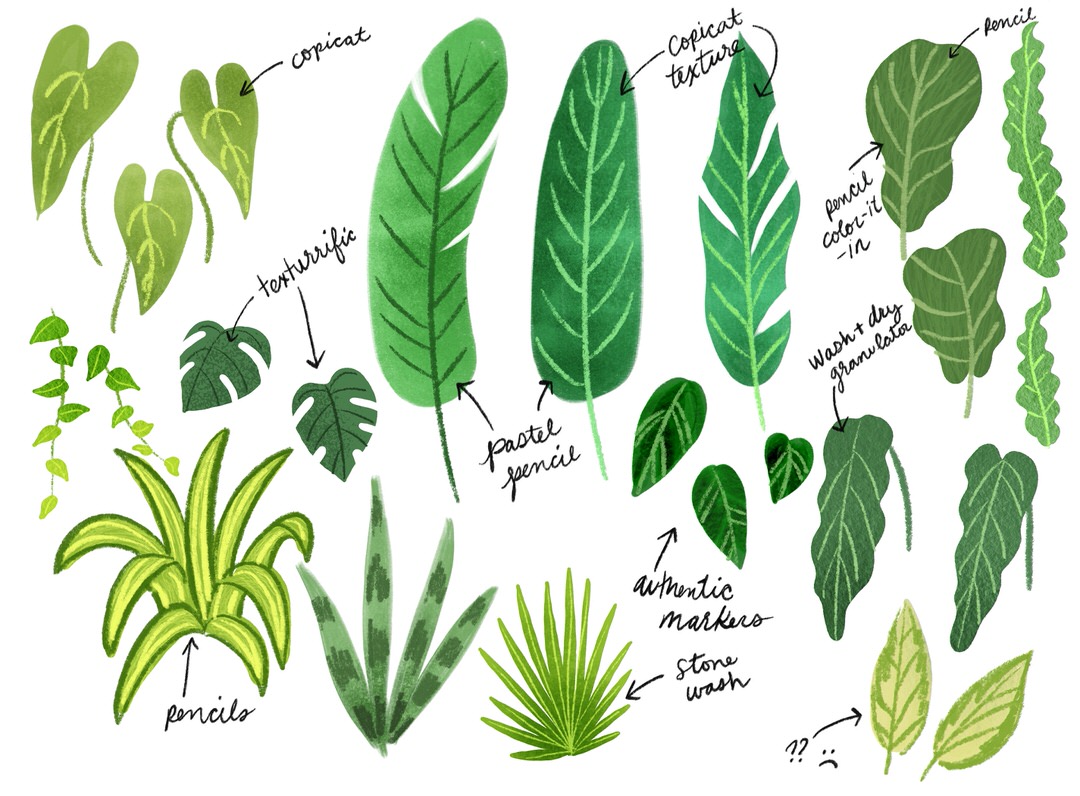
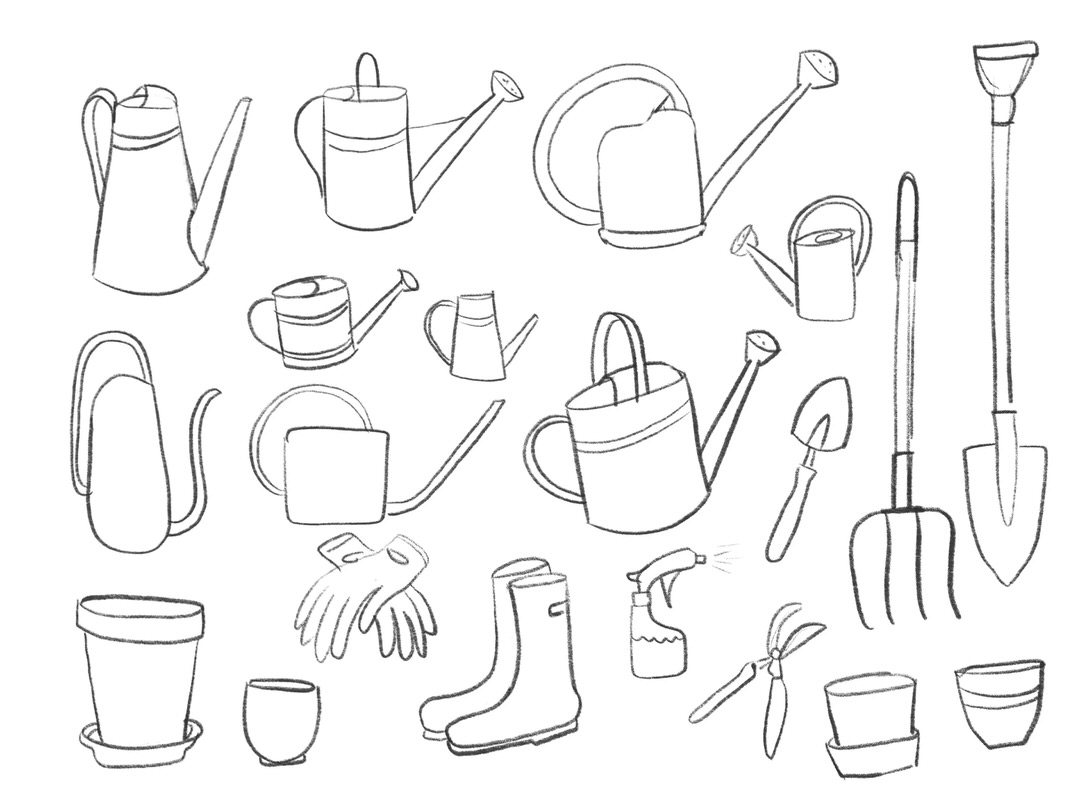
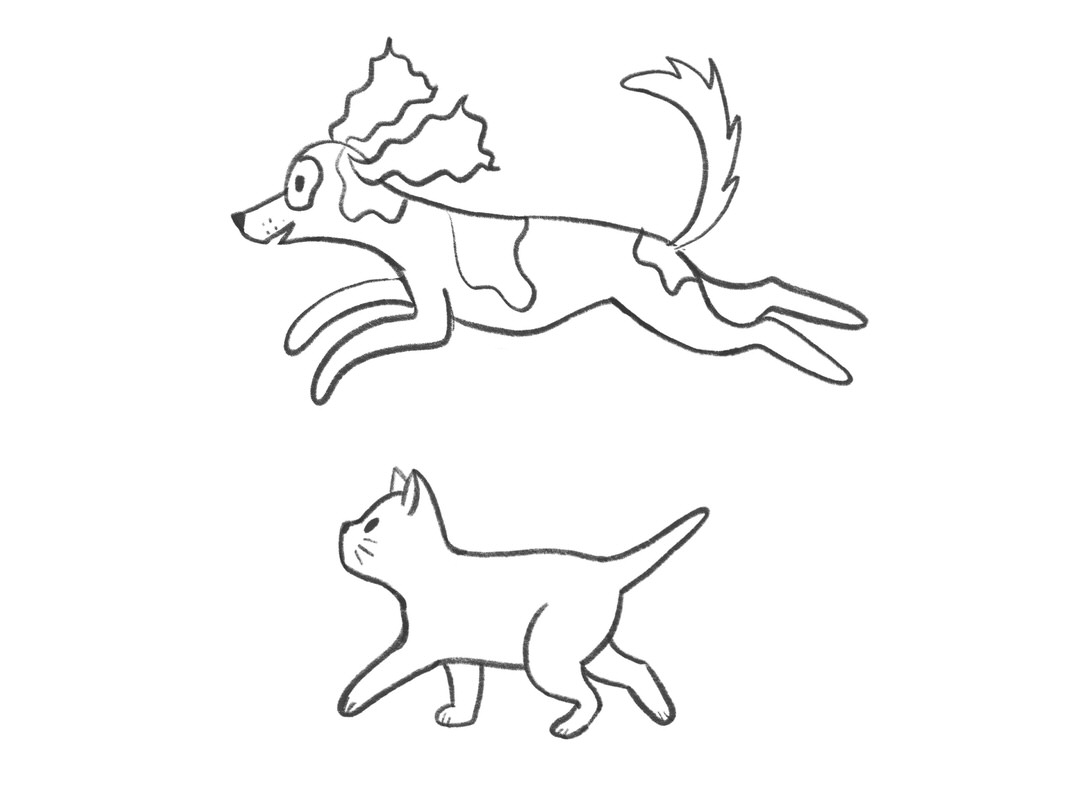
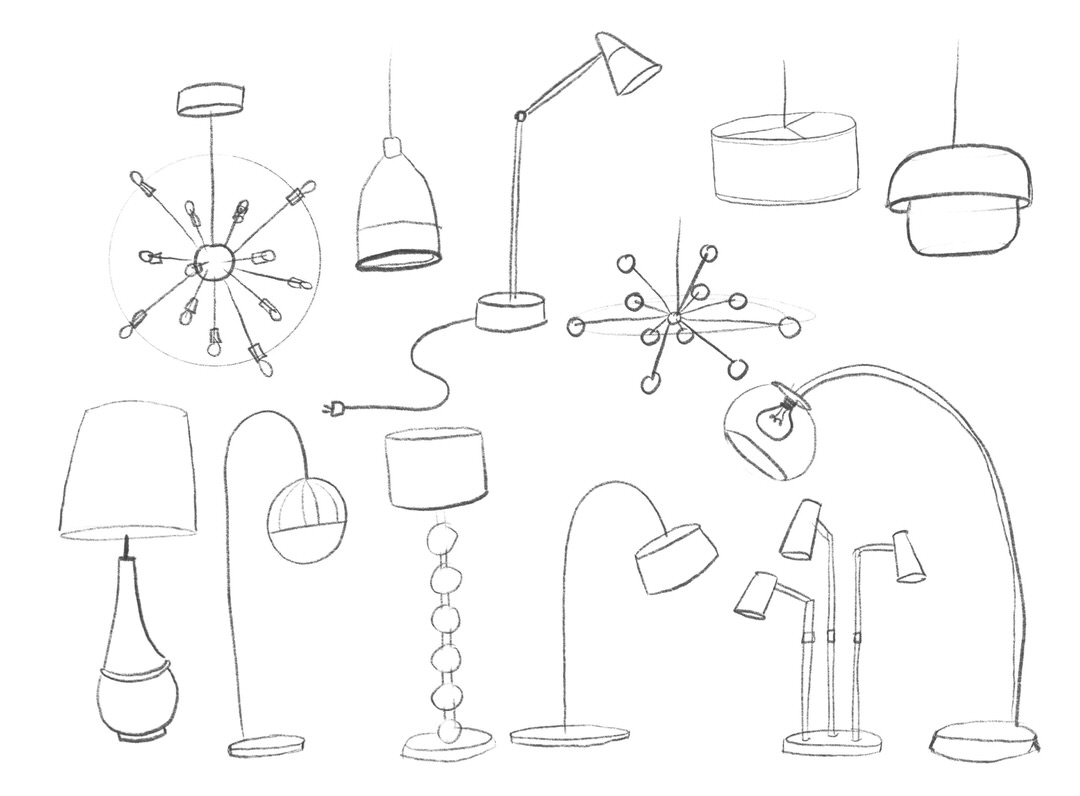
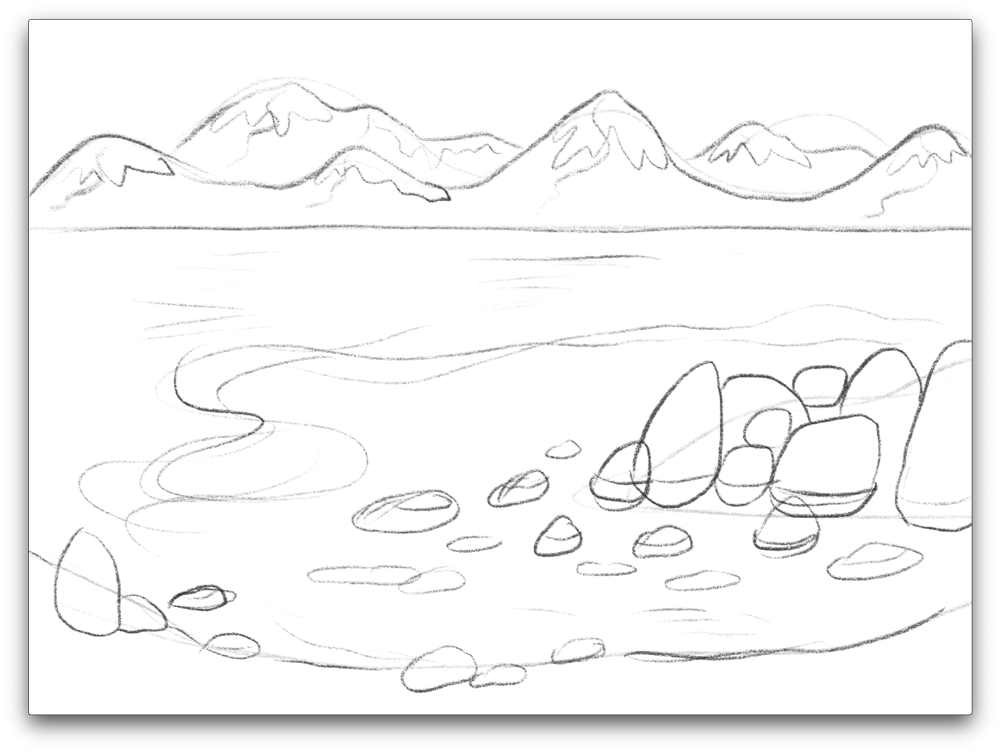
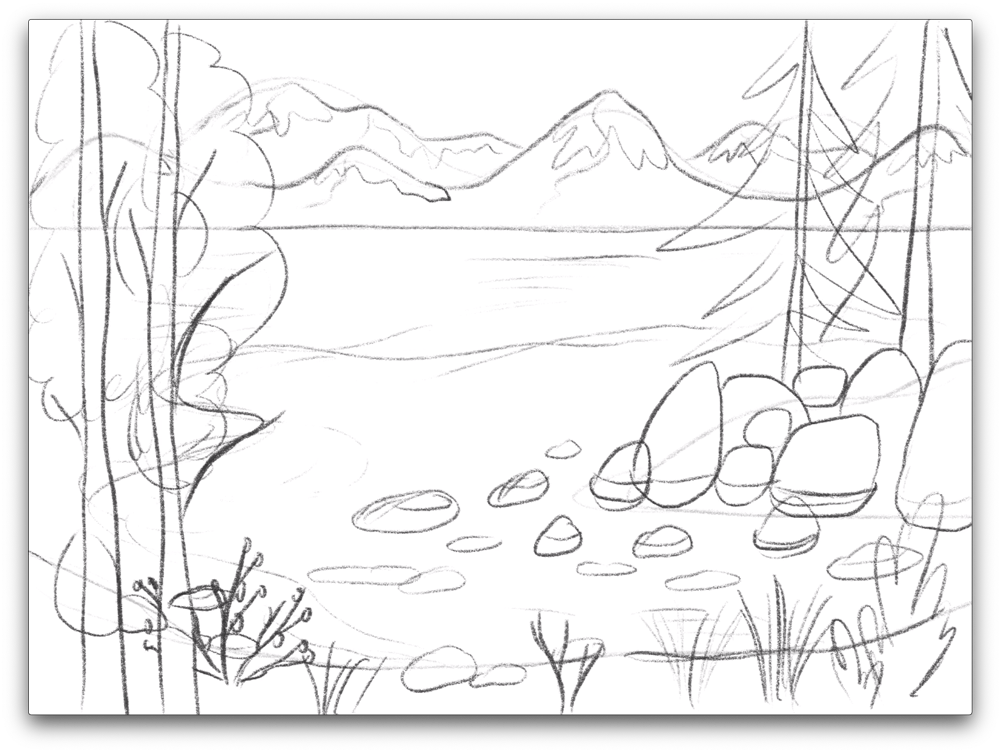
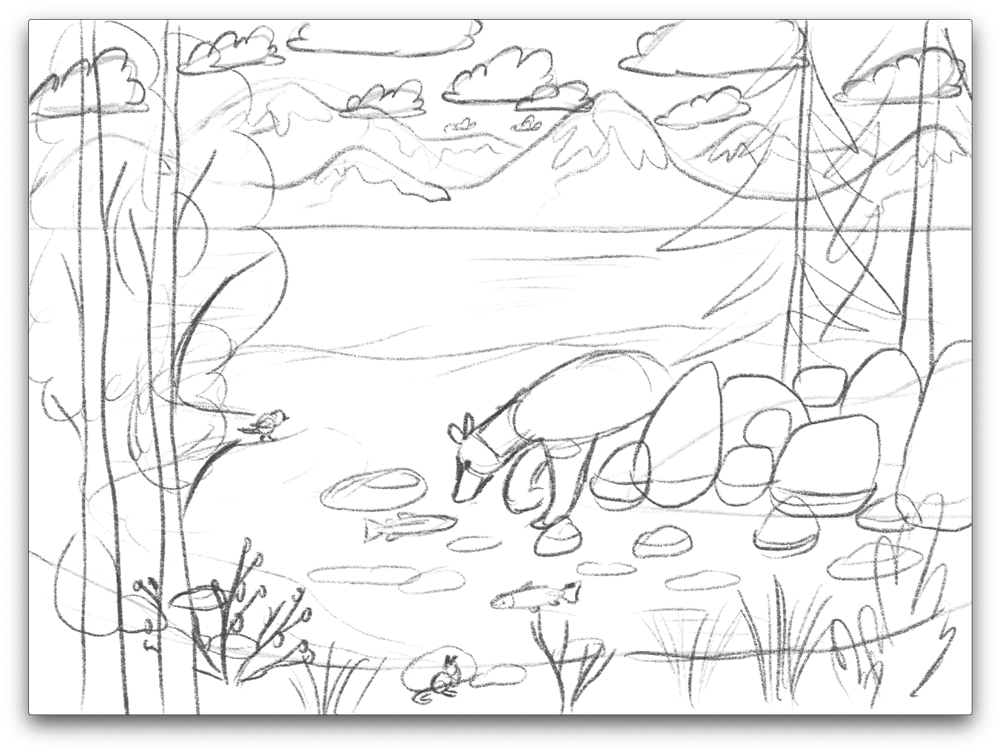
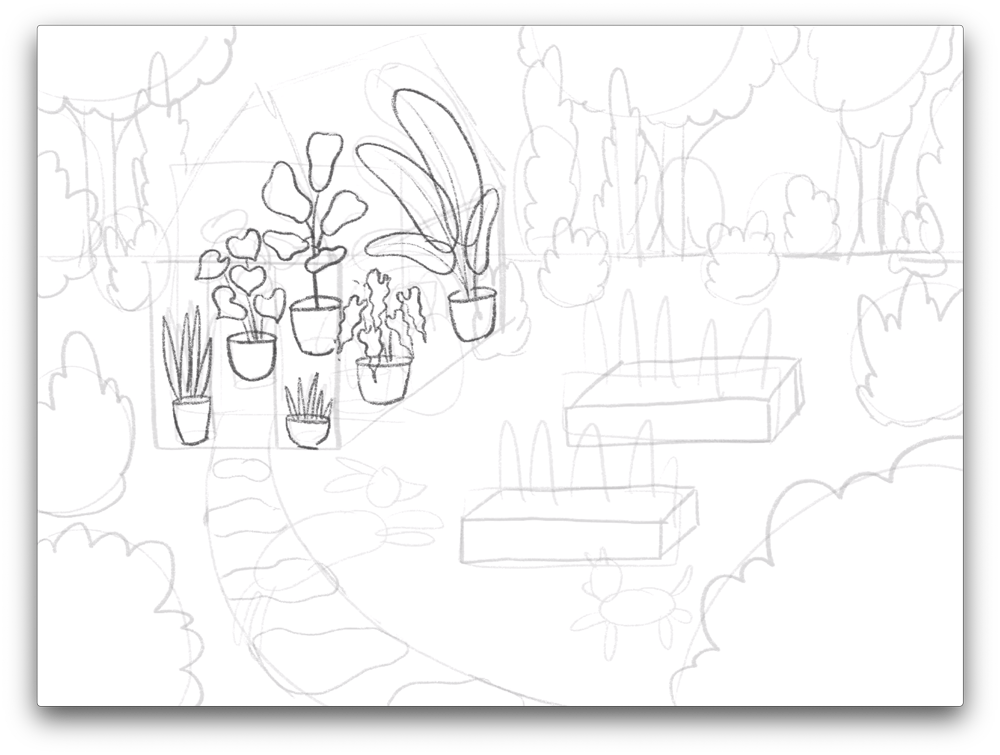
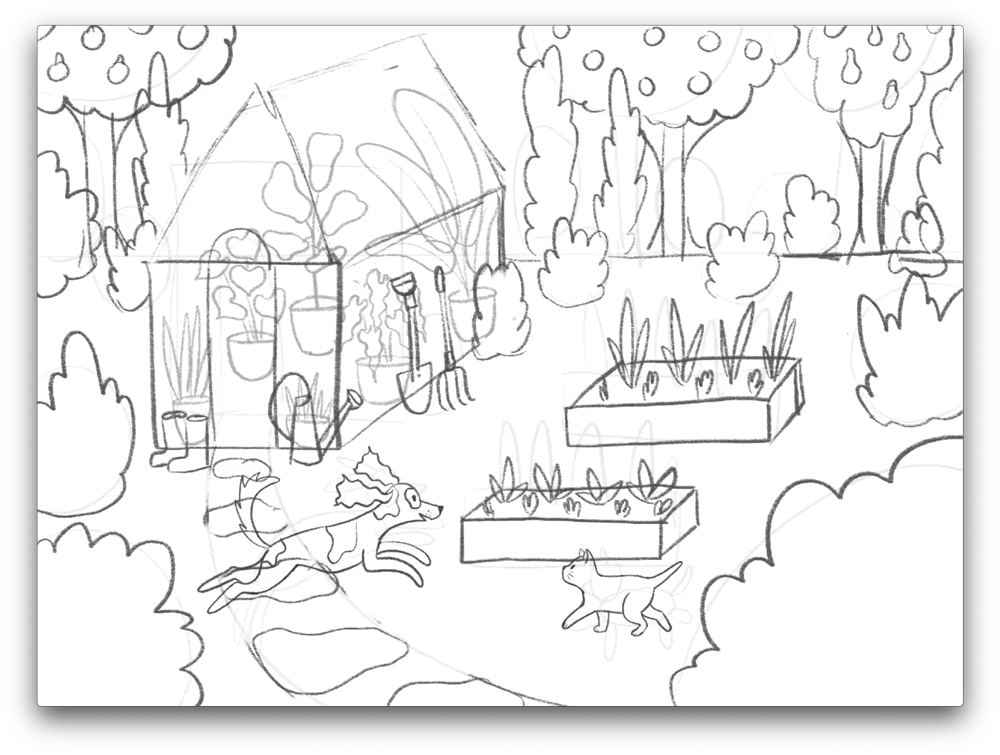
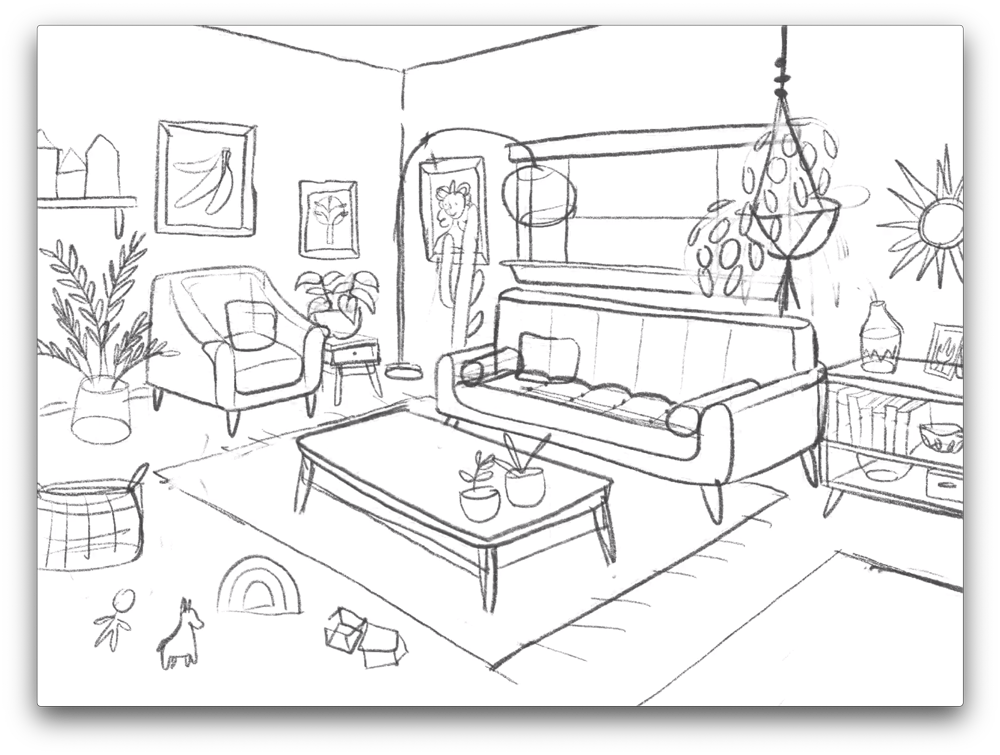
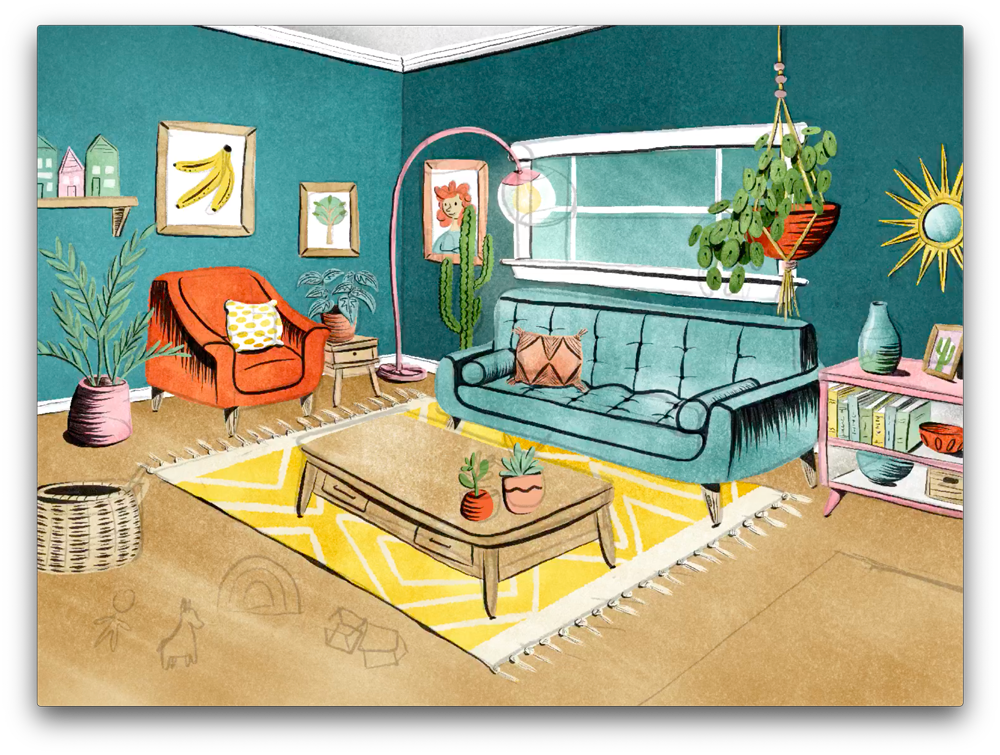
Step 1b: Refine sketch & add details
In Procreate, reduce the opacity of your initial sketch, then create a new layer. Trace over all the components of your scene, this time drawing shapes and details that you’ll use in your final piece. This is the stage when you’ll draw everything as you want it to look in the final art.
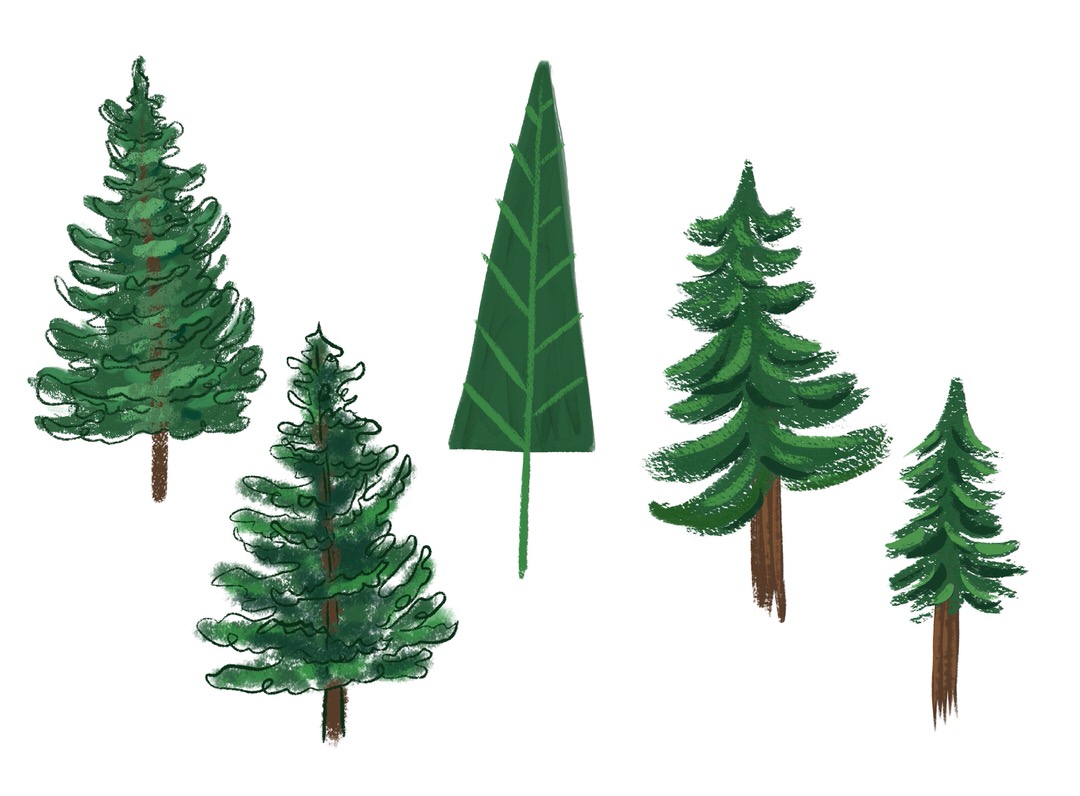
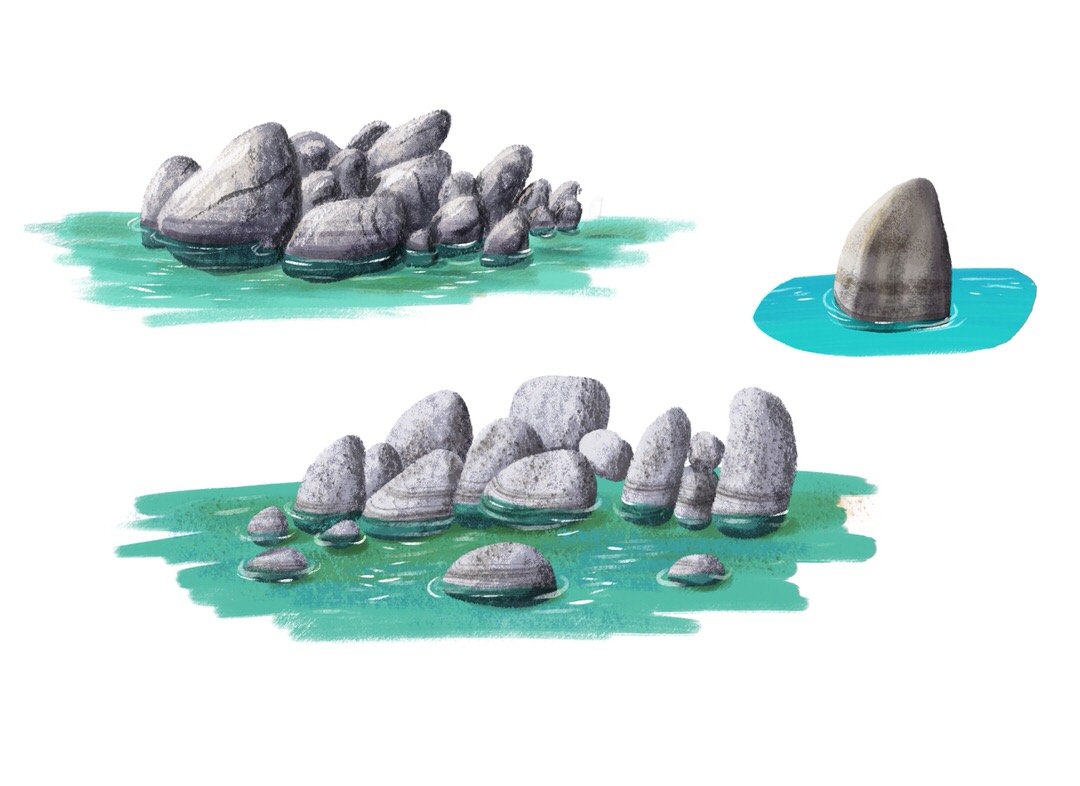
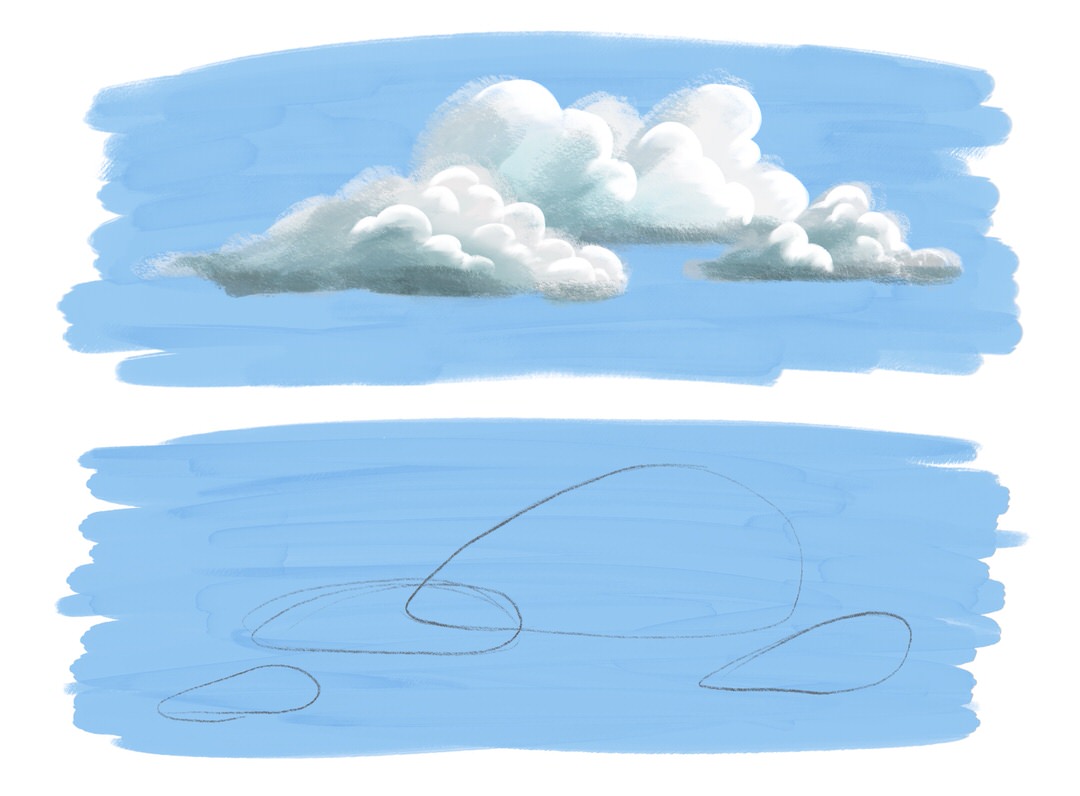
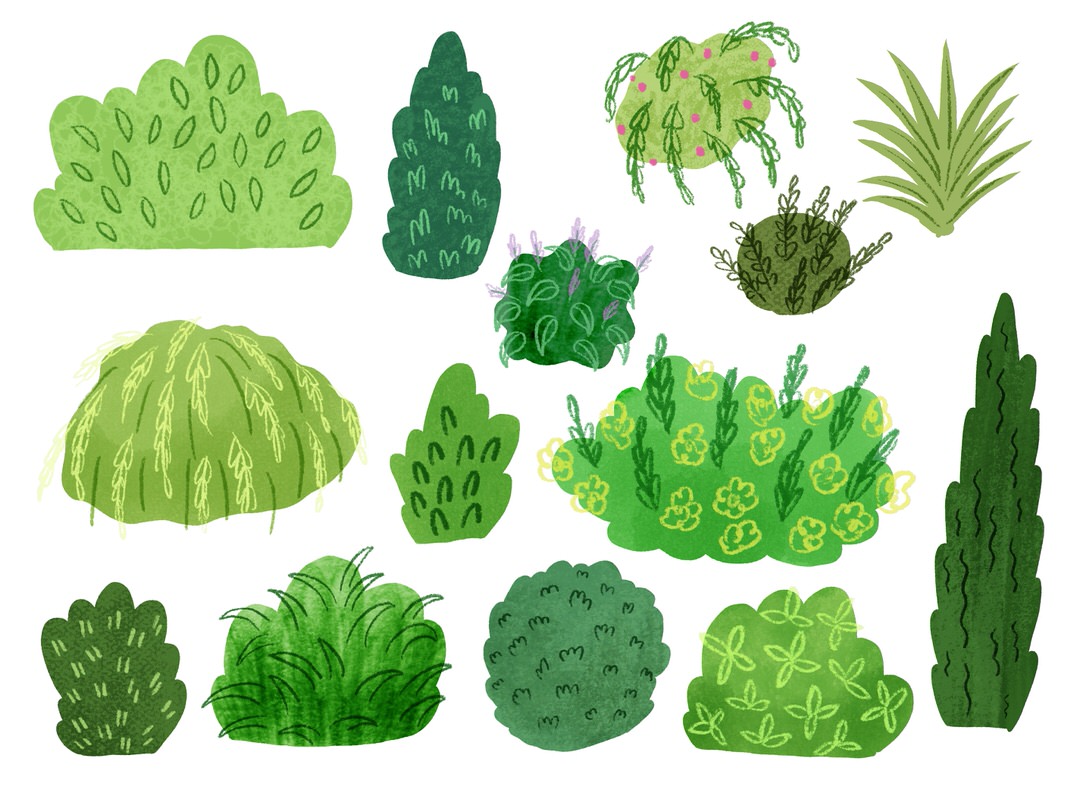
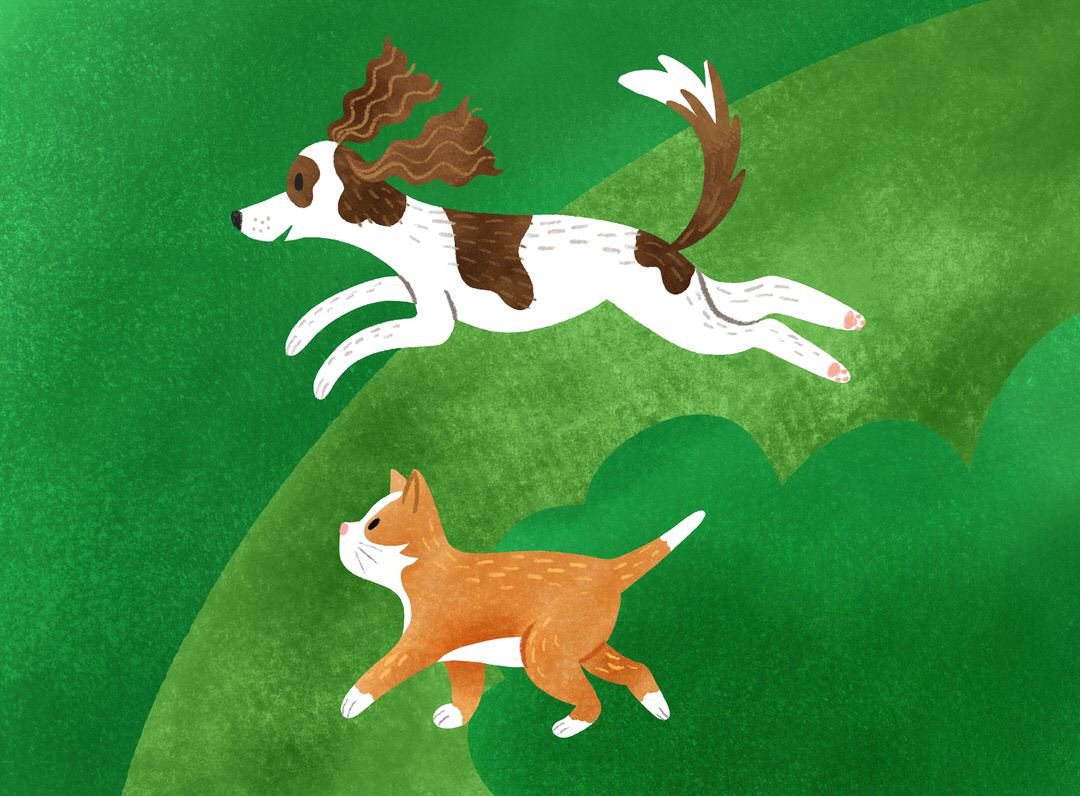
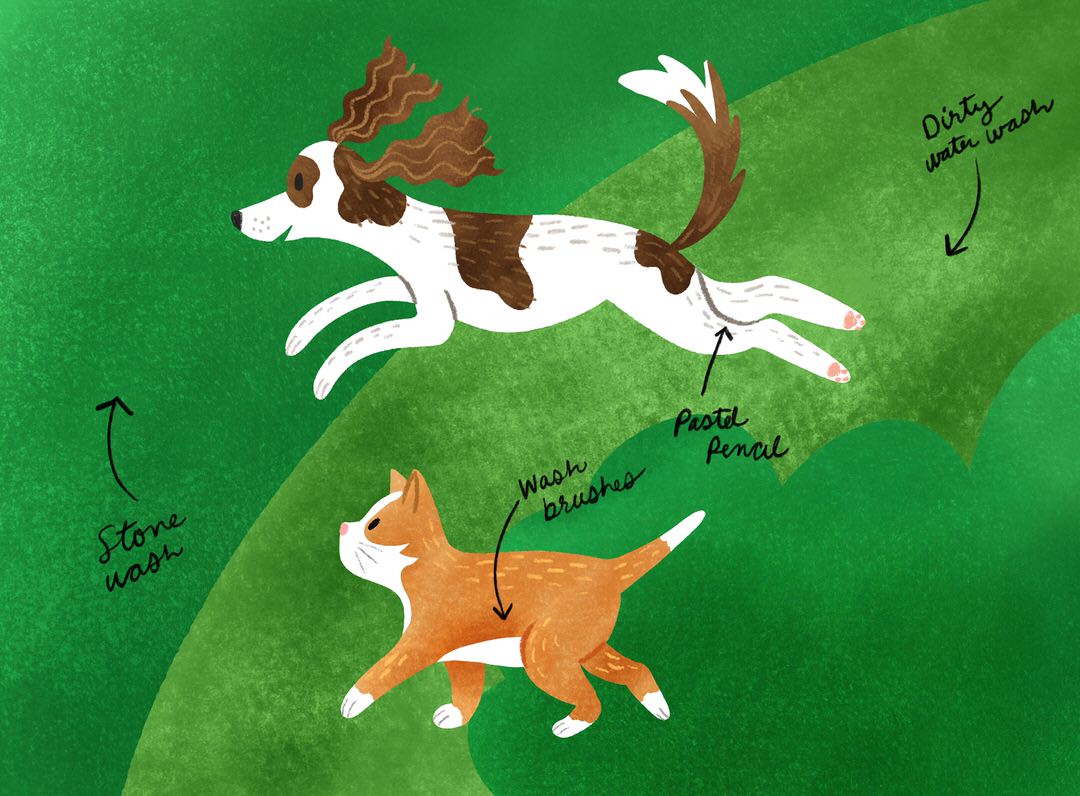
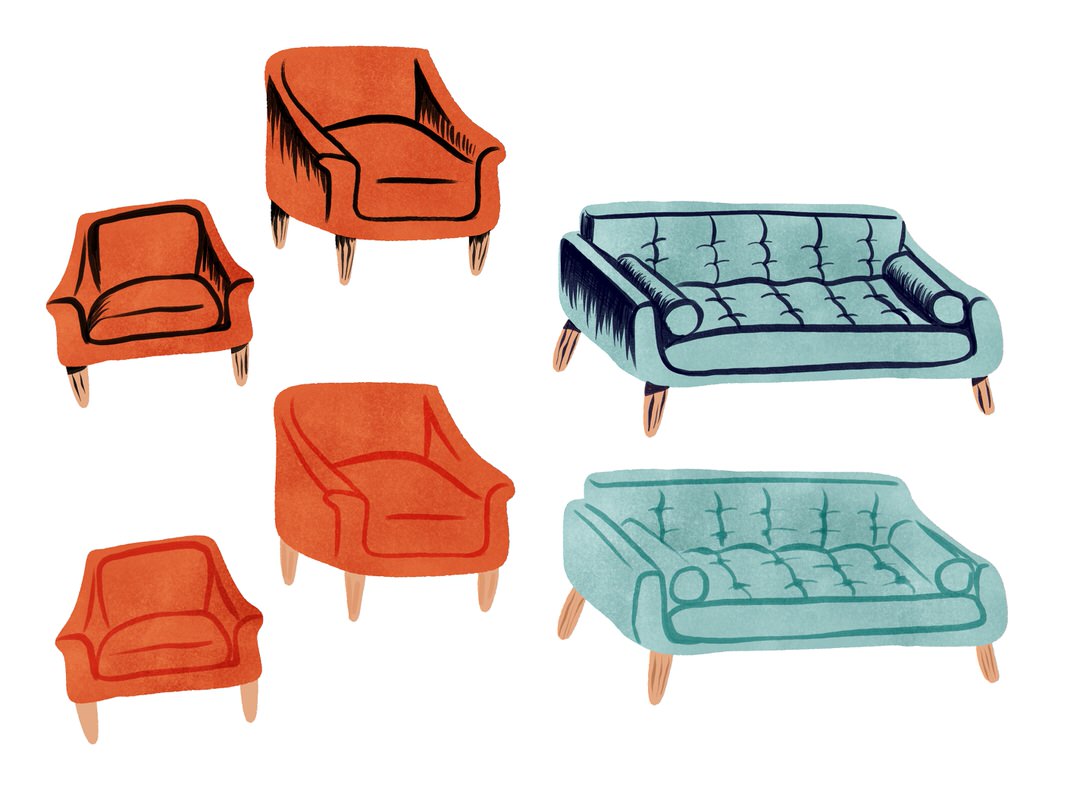
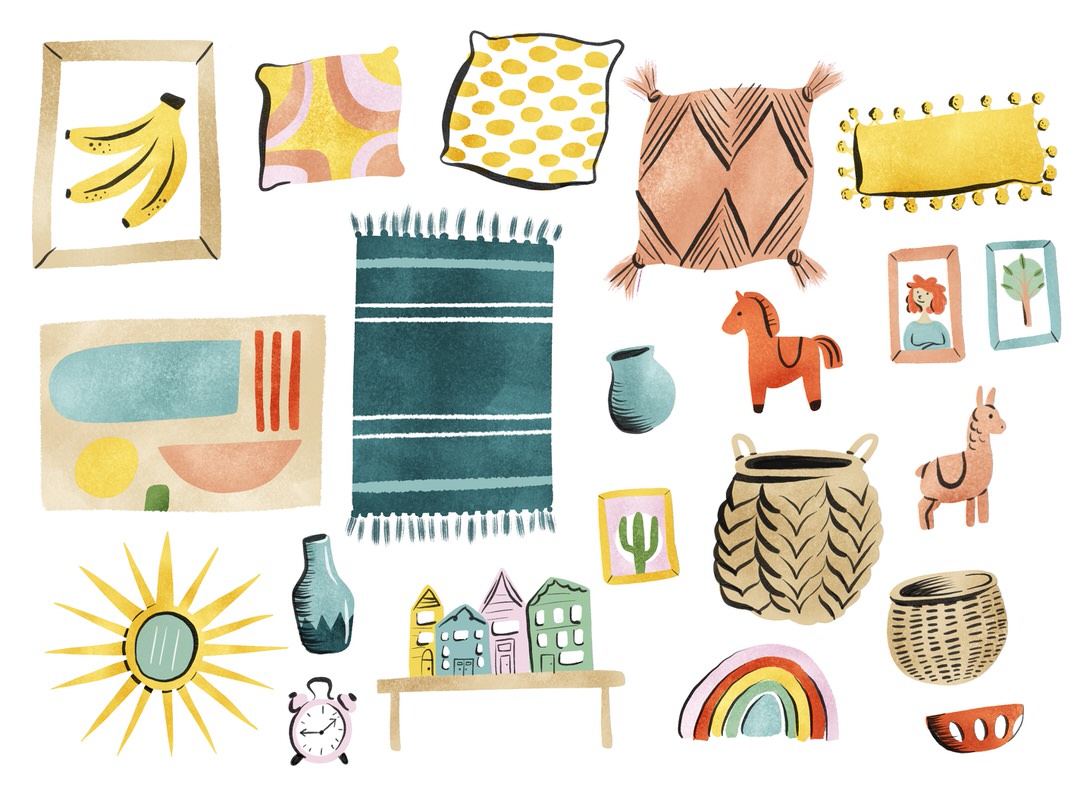
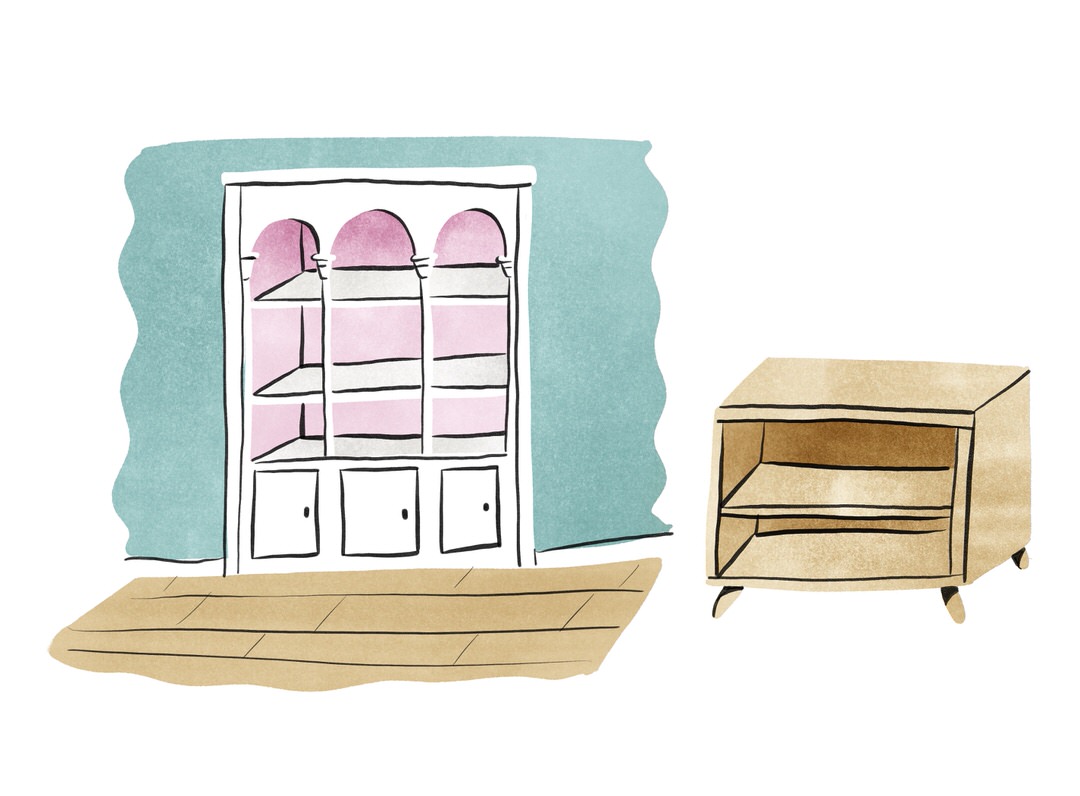
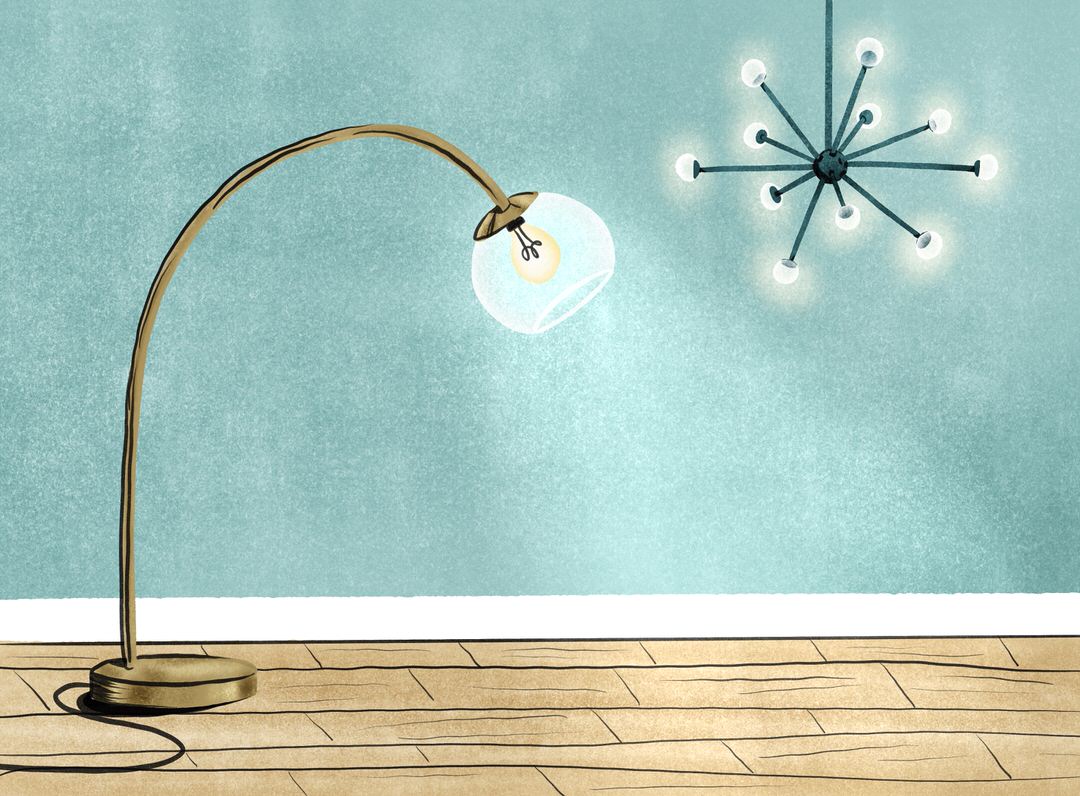
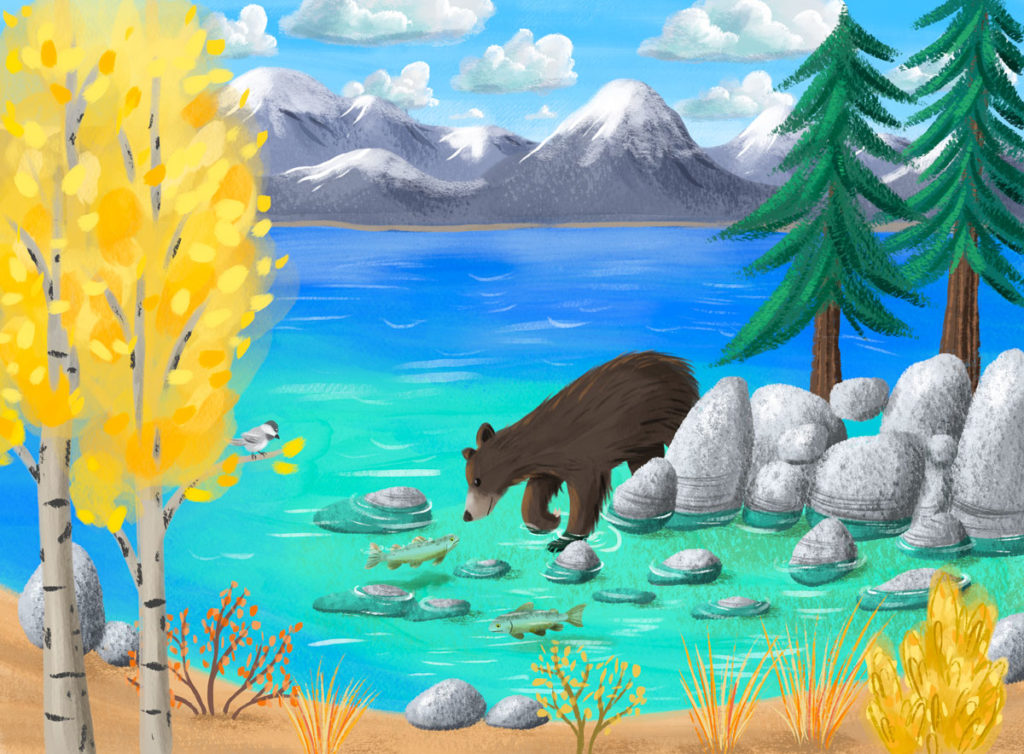
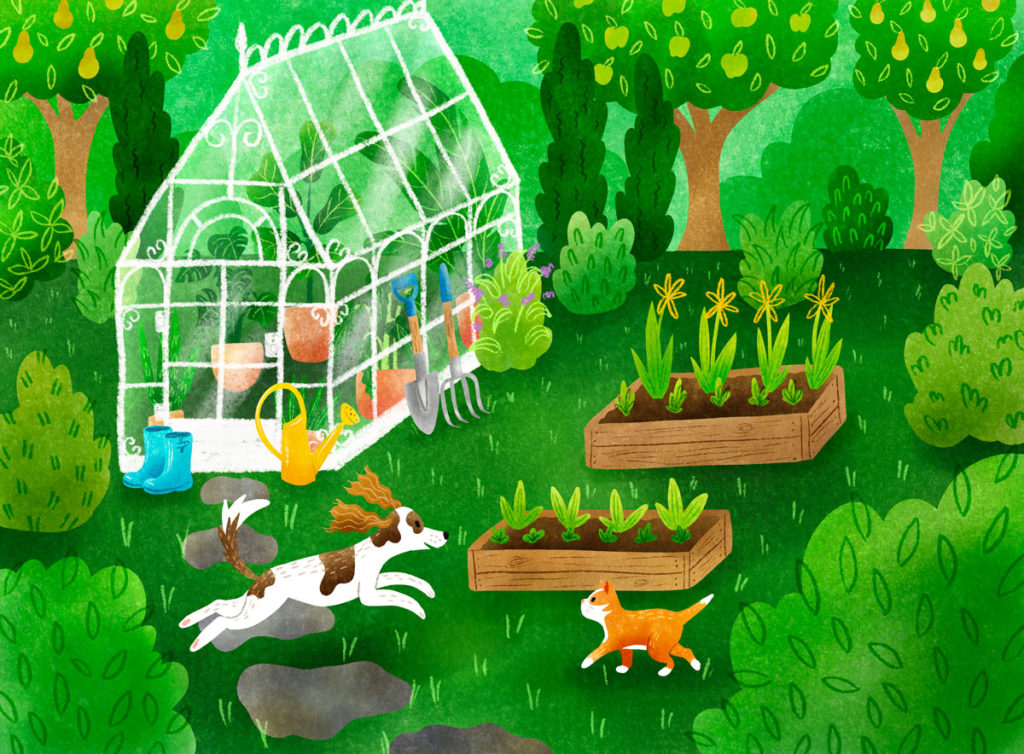
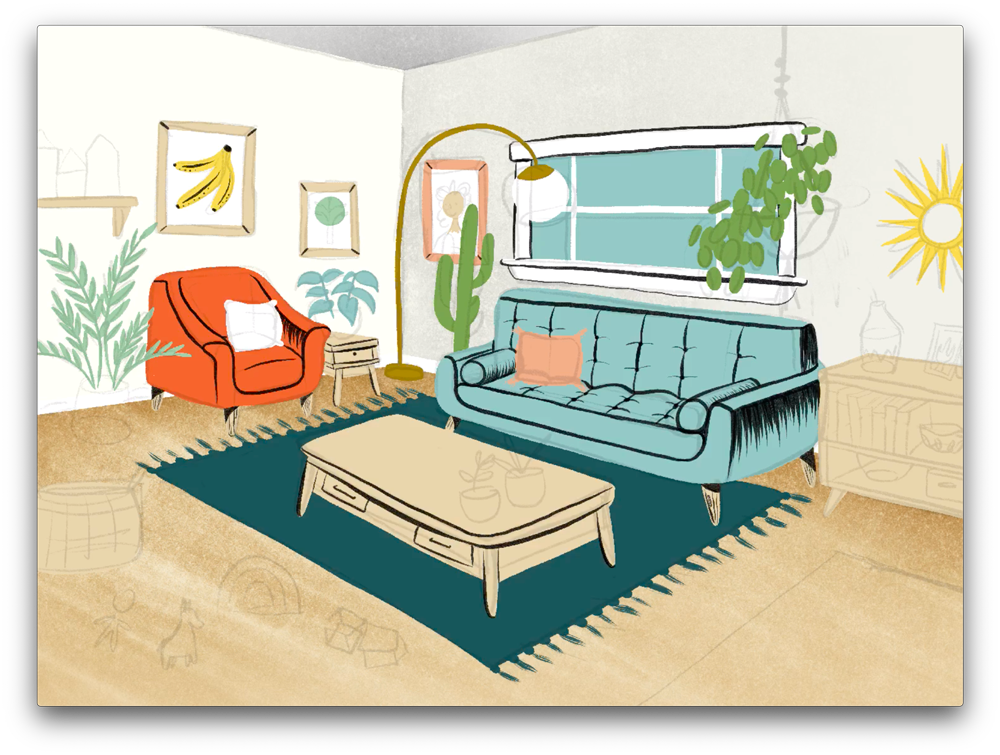
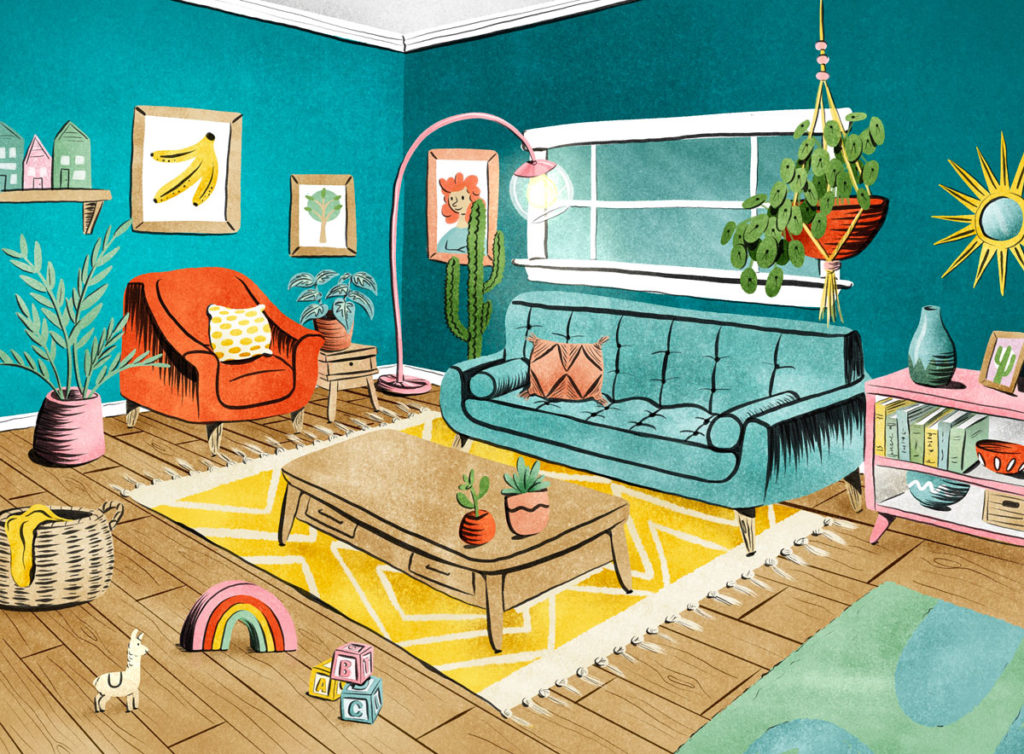
Step 2: Color and finish your scene
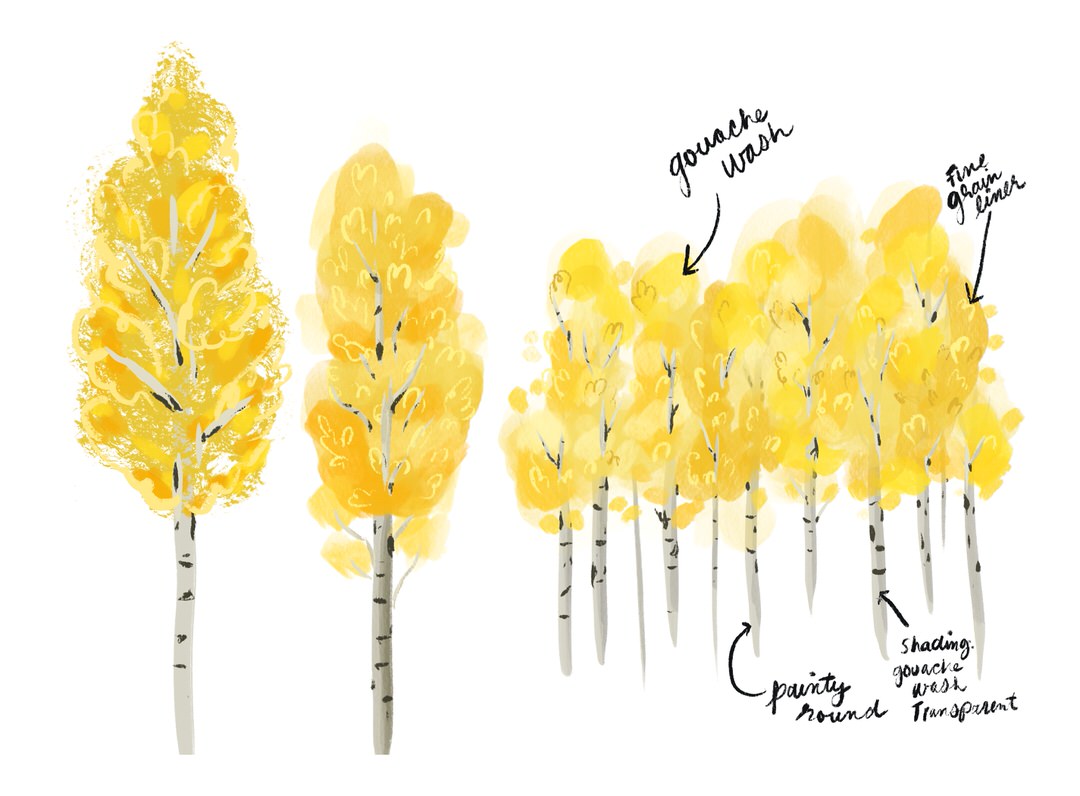
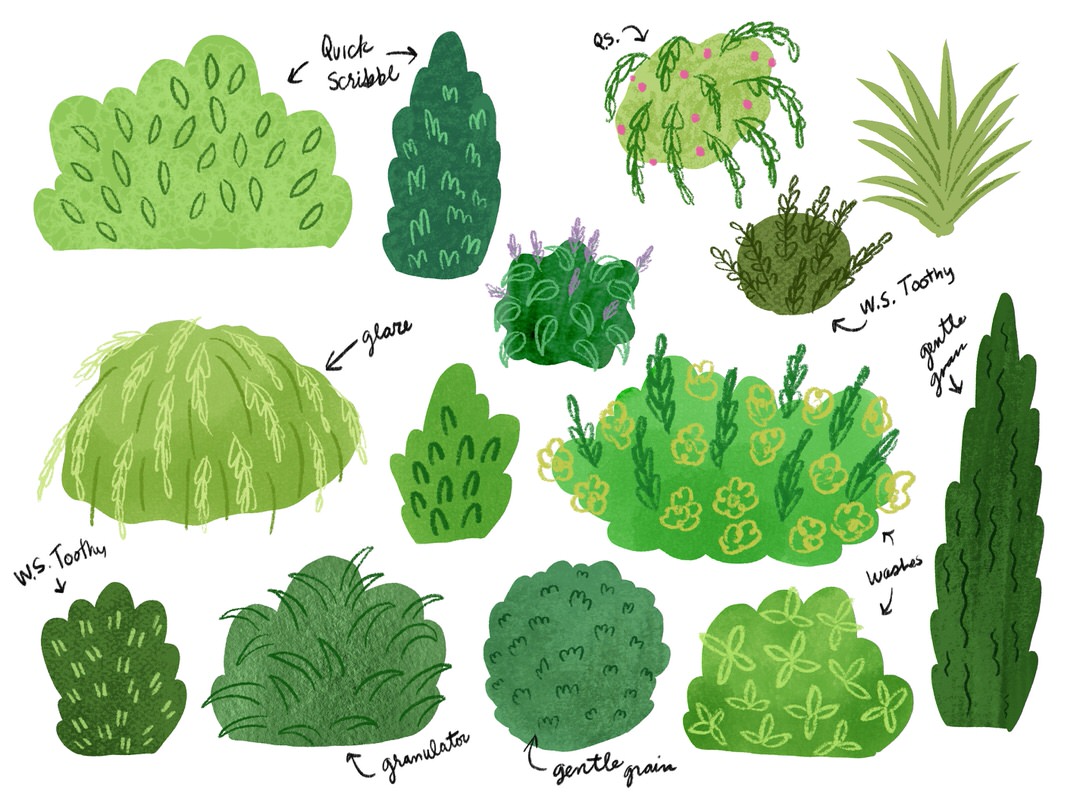
a. Color: Start by coloring in everything in the composition in flat colors. TIP: IF you are unsure about what colors to use, it can help to scribble in colors on a temporary layer to get your color palette figured out.
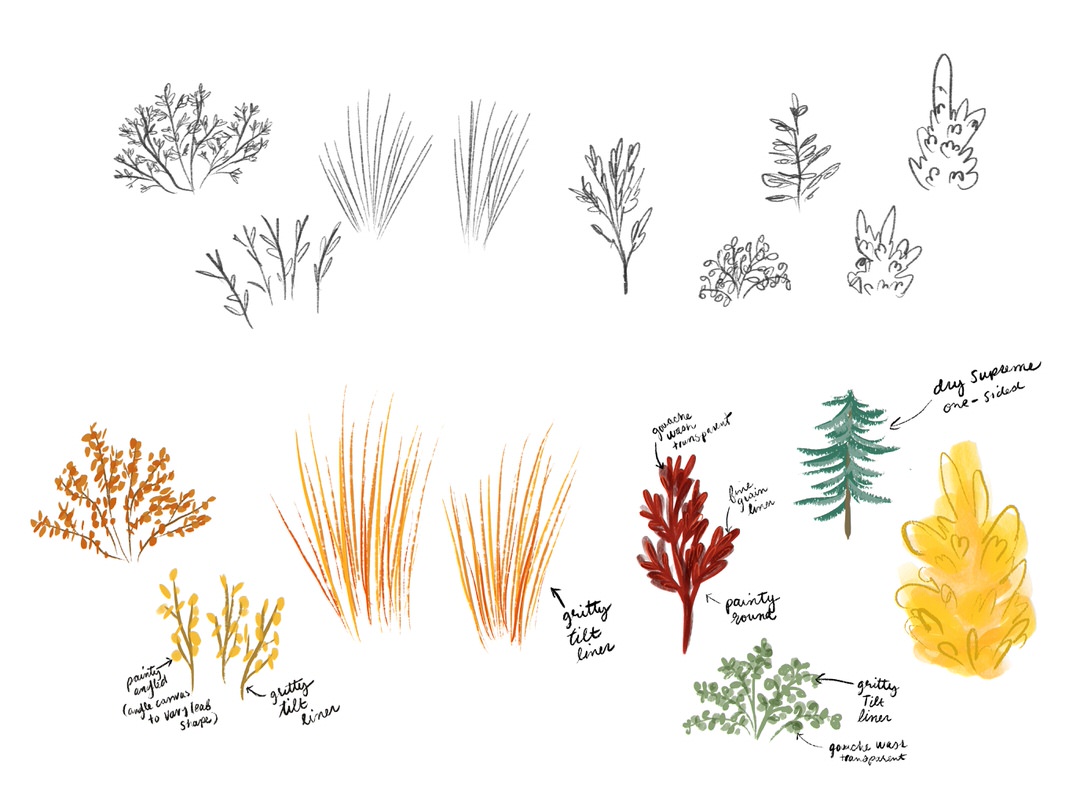
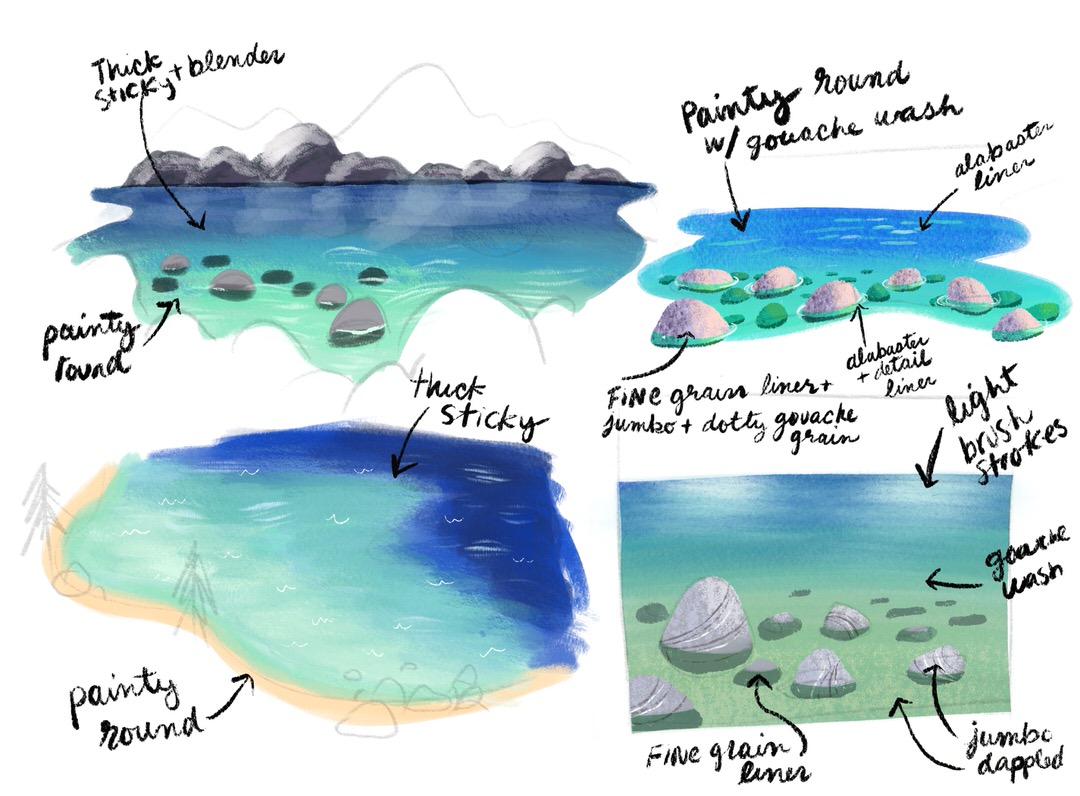
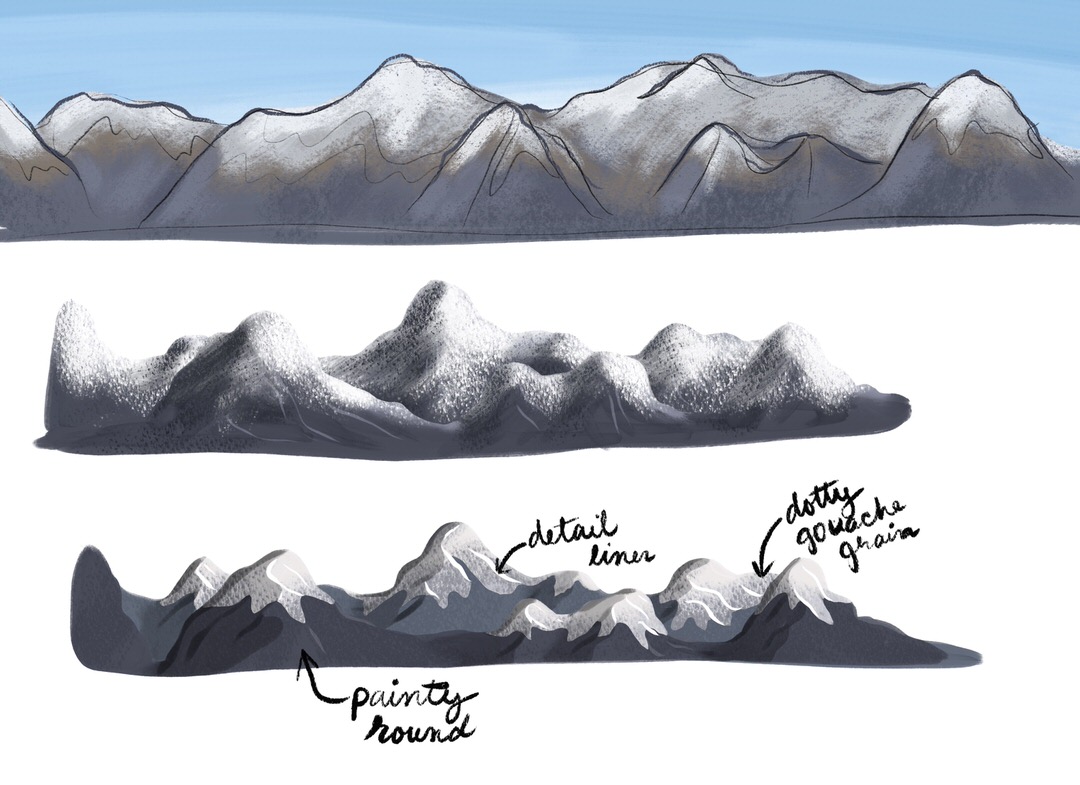
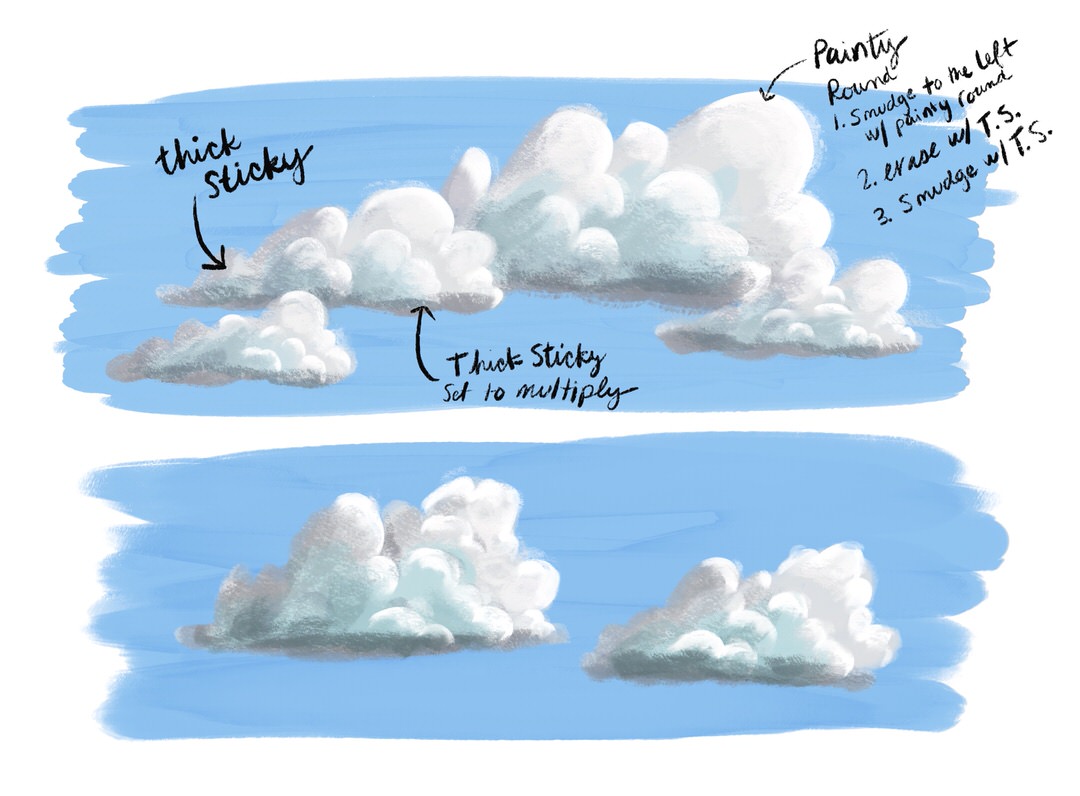
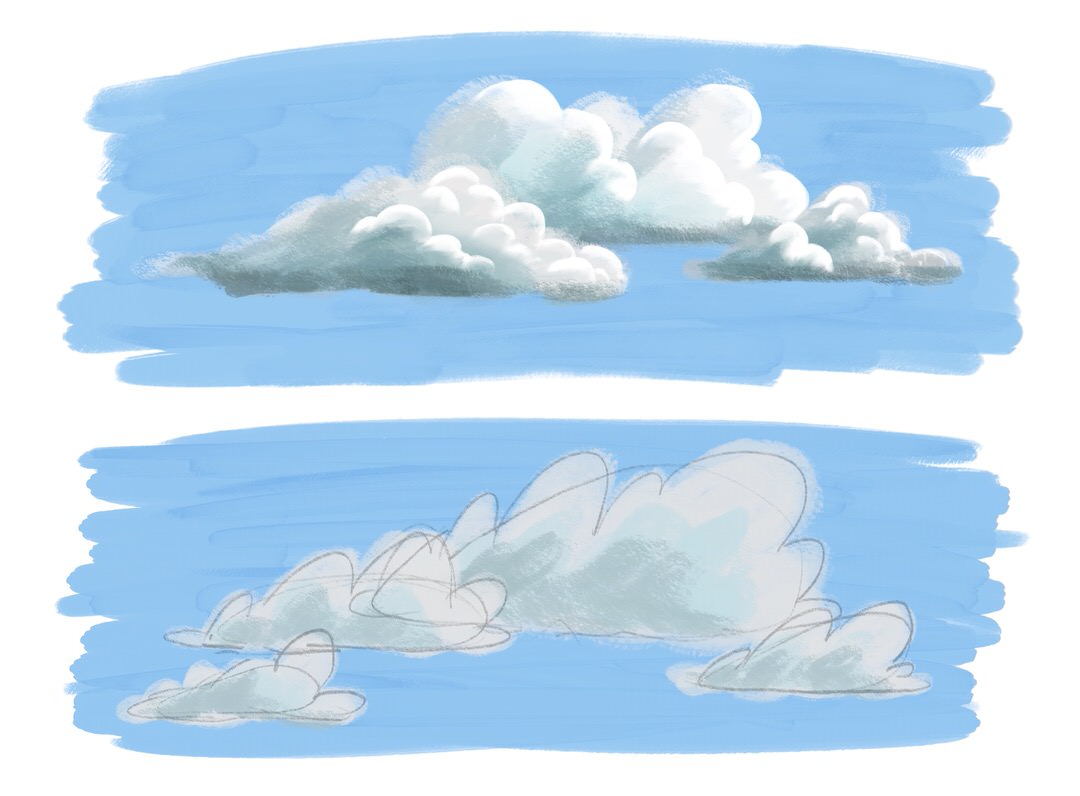
b. Basic Shading: Apply basic shading to the elements of your scene to give them form and volume. Be sure to consider your light source as you add shading!
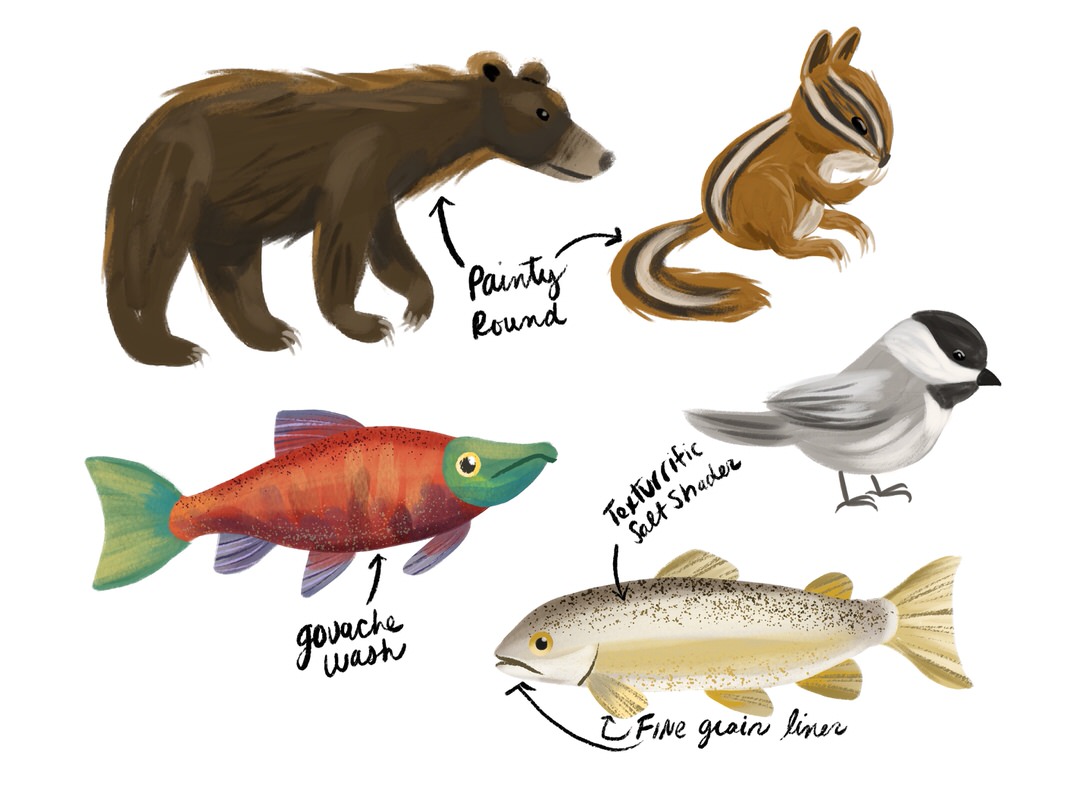
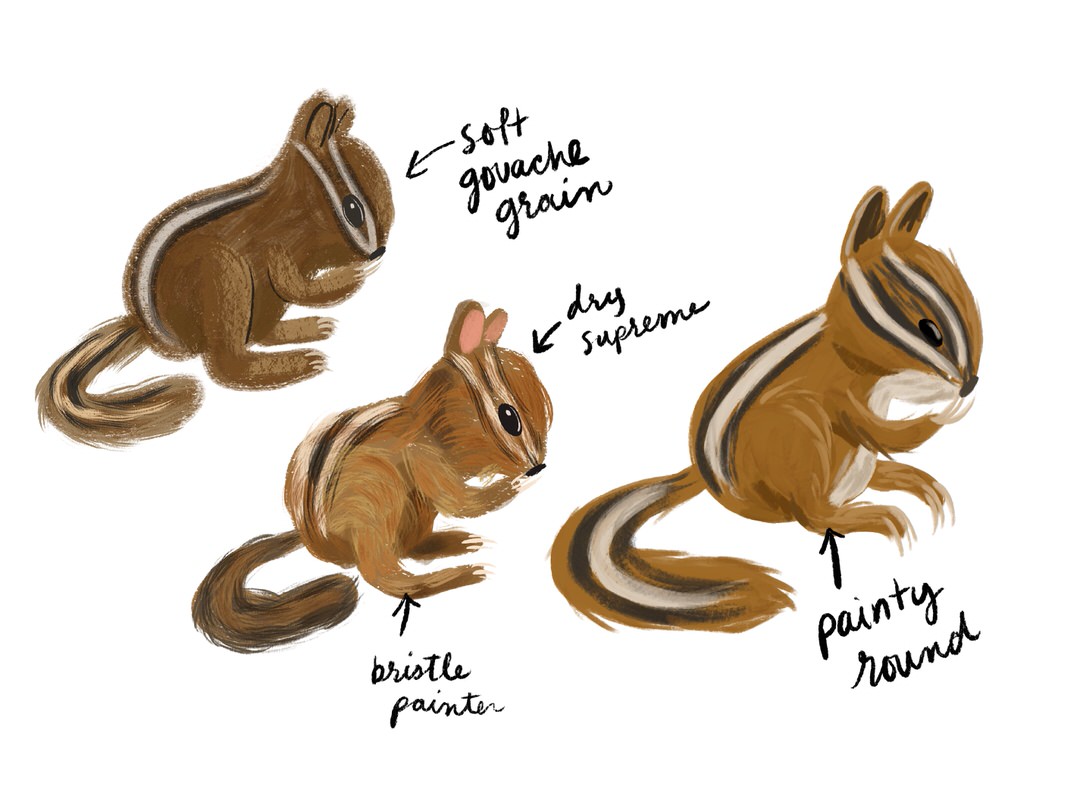
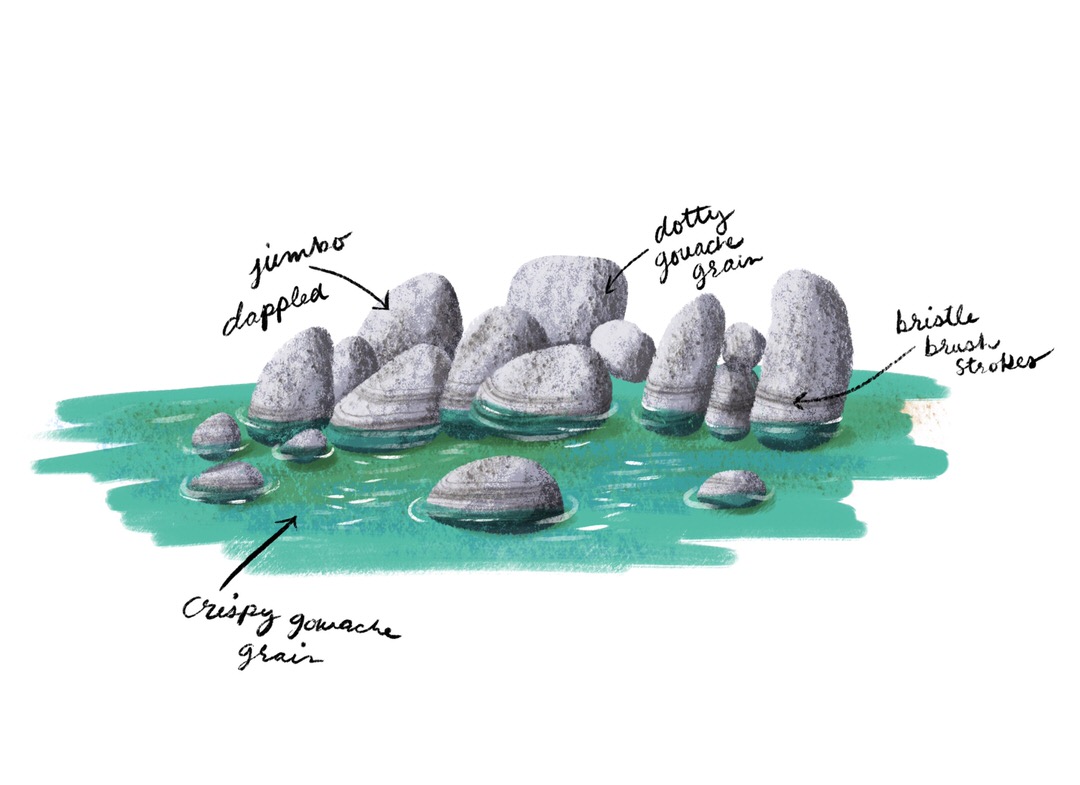
c. Texture & Detail: add linework and detail to depict texture and fine details
d. Highlights & Shadows: Finish your piece by adding additional cast shadows created by your light source as well as highlights.