How to Make Procreate Brushes // Galaxy Art Tutorial
Play Video
Learn how to make brushes in Procreate!
If you’ve ever been curious about making your own brushes in Procreate, you will love this tutorial! In this video, I’ll introduce you to the basics of making Procreate brushes. I’ll show you how to make a trio of custom star brushes with special light effects, and we’ll use them to draw some beautiful galaxy art. This tutorial is an excellent introduction to brush-making. You’ll learn how to draw your own brush shape, how to create a new Procreate brush, and import your custom shape. Then I’ll take you through adjusting the various brush settings in Procreate’s Brush Studio to create three unique brushes.
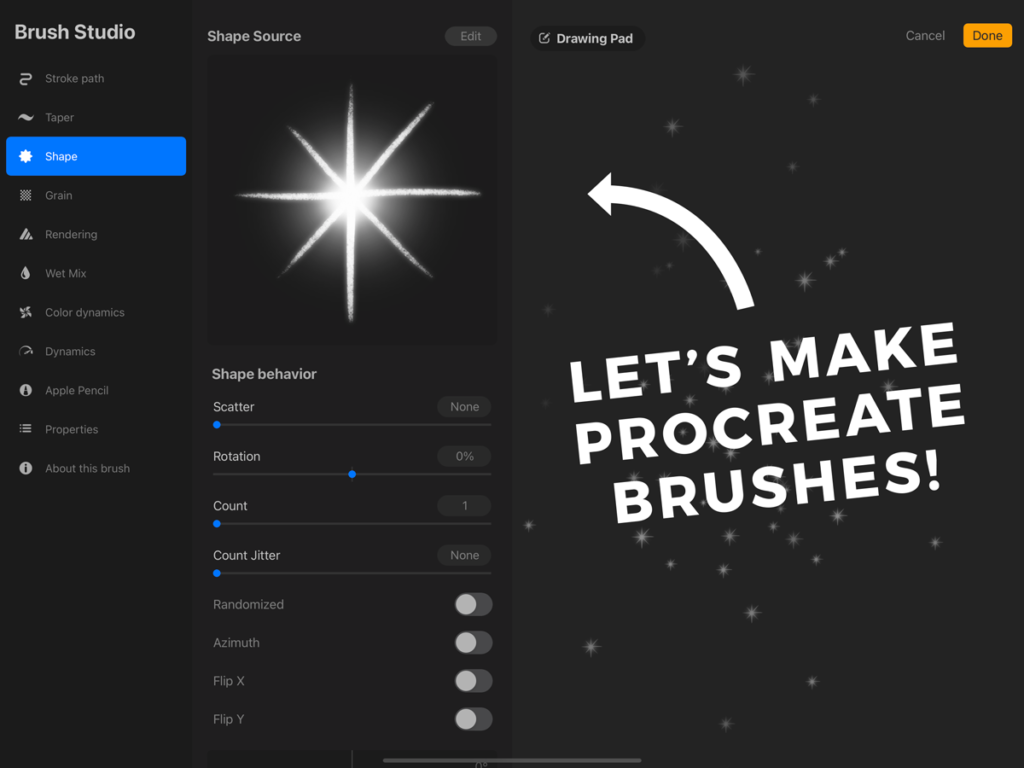
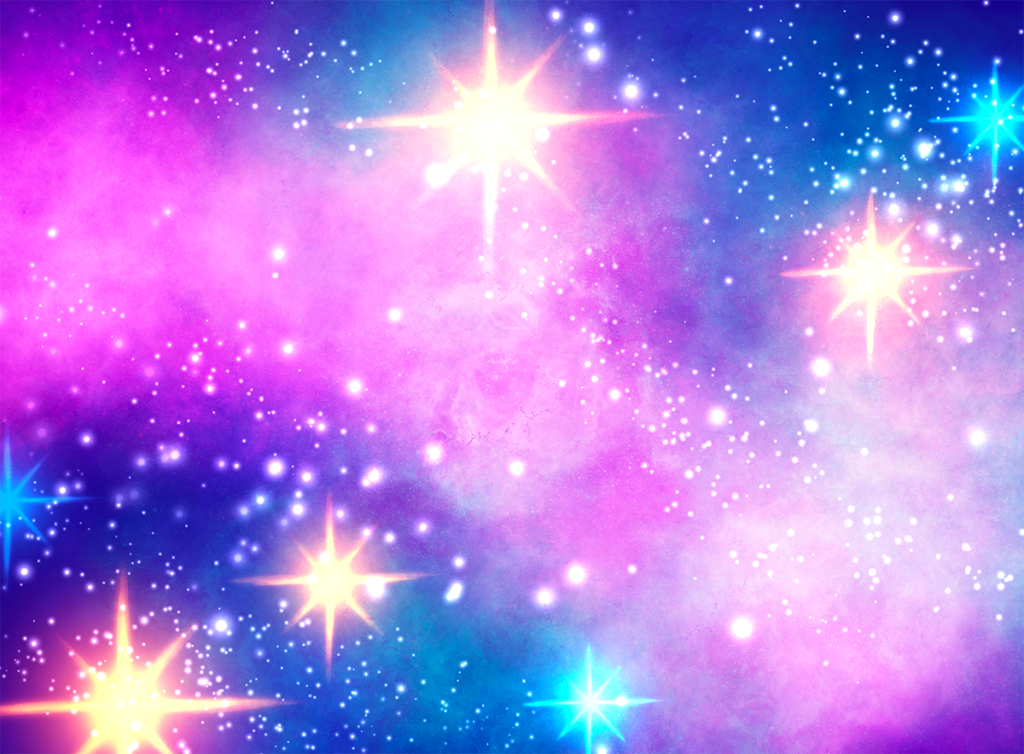
In this tutorial, you’ll make these three Procreate brushes:
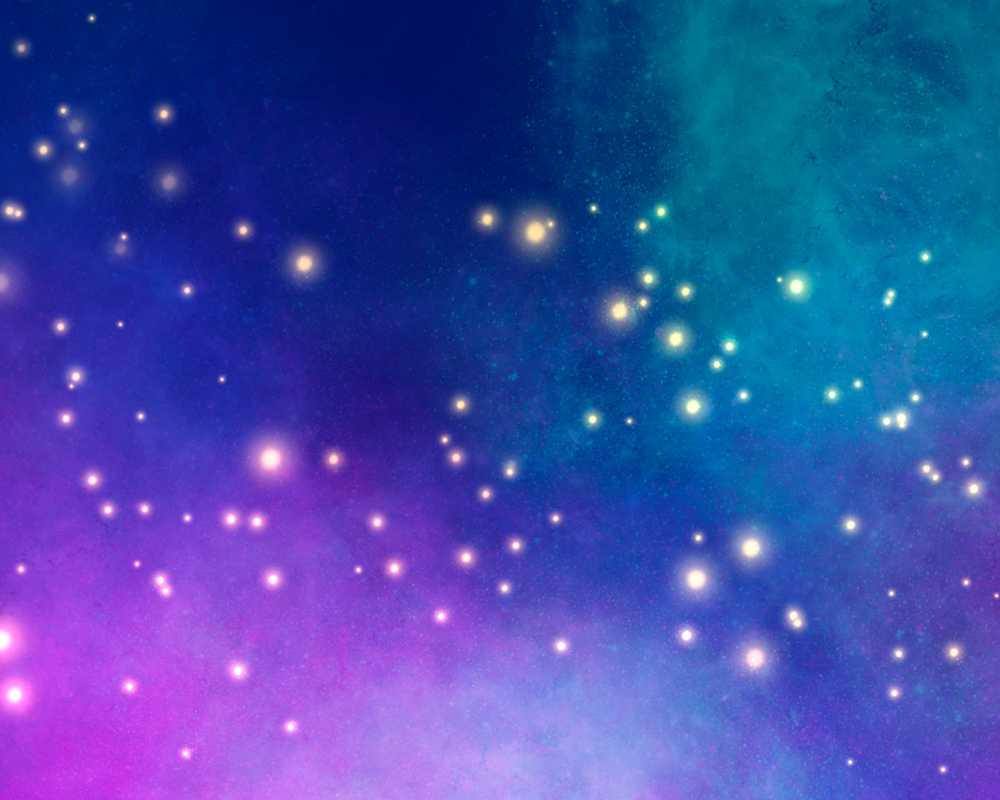
Dot Stars
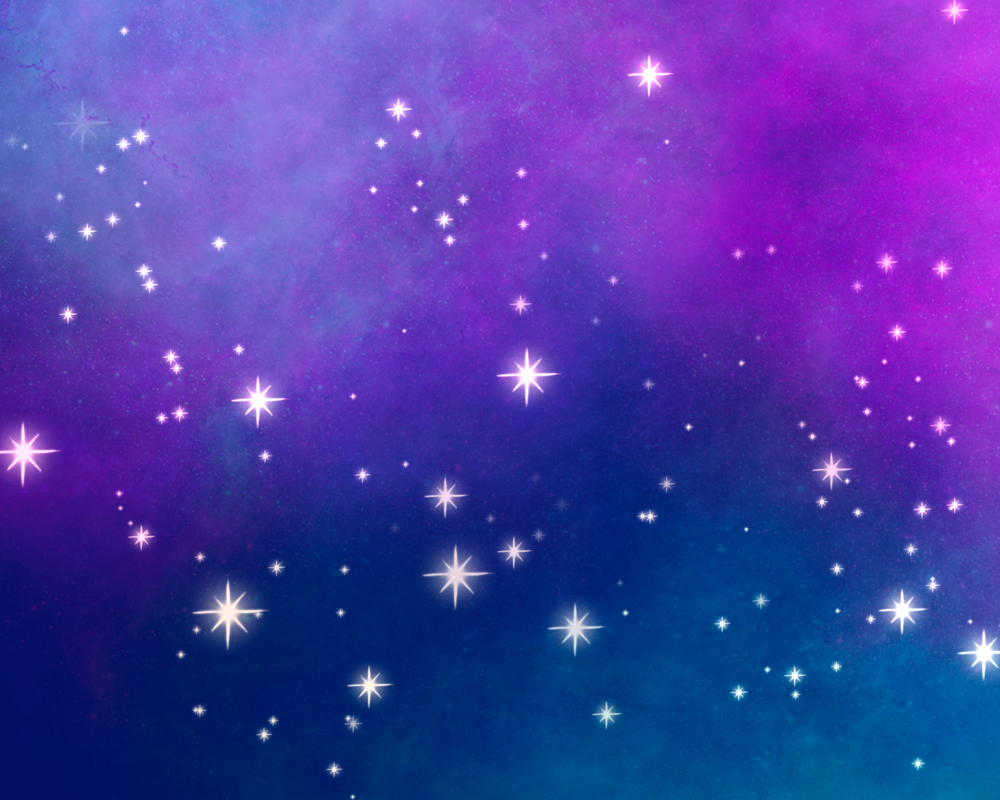
Shining Stars
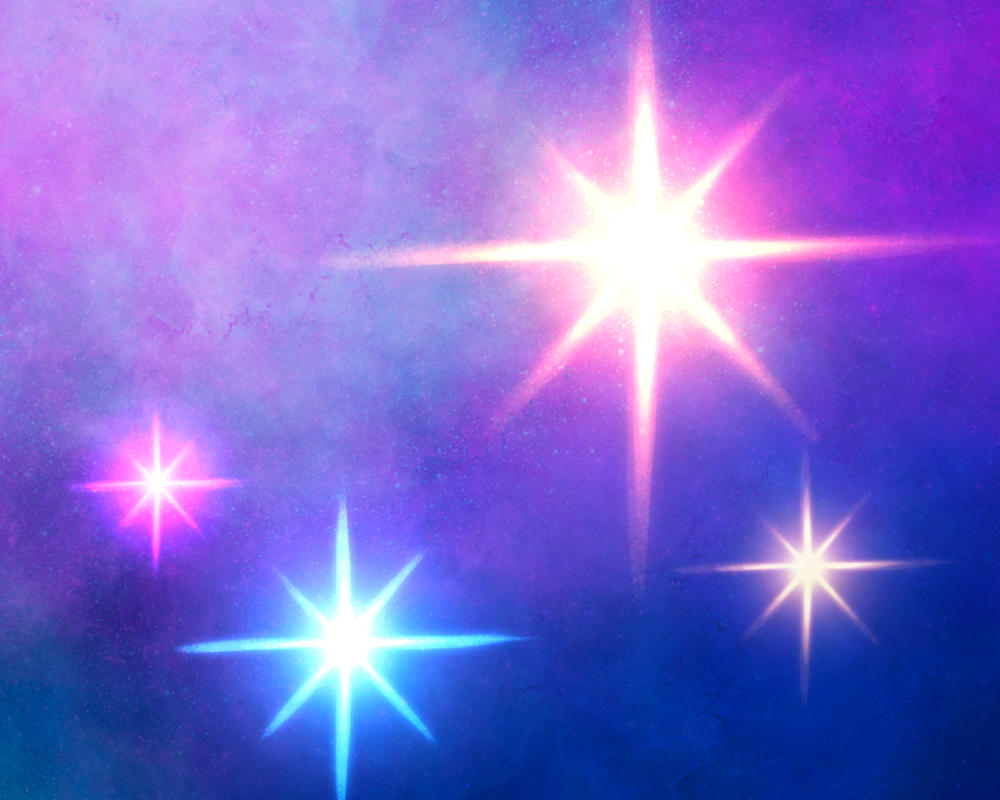
Sparkle Star Stamp
Canvas Size Used
- 3800×2800 Pixels for Galaxy Art
- 2500 x 2500 Pixels for Brush Shape
BRUSHES USED
- Nebula: Nebula from the Luminance Set (built-in Procreate brush)
- Star Shape: Oberon from the Drawing Set (built-in Procreate brush)
Artwork made in this Tutorial
Categories: Procreate Tutorial
Tags: Built-In Procreate Brushes

Fantastic video – thanks so much!
Wow!
This was so much fun! Thanks so much!
Whoa, it’s so simple… whilst my background didn’t quite look like yours it still looked great (for my first effort anyway, lol). I’m definitely going to have a play with the settings and create my own star brushes.
Well explained. Easy to follow.
Thank you.
You are a great teacher