©2022 Bardot Brush by Lisa Bardot // All Rights Reserved
How to Make a
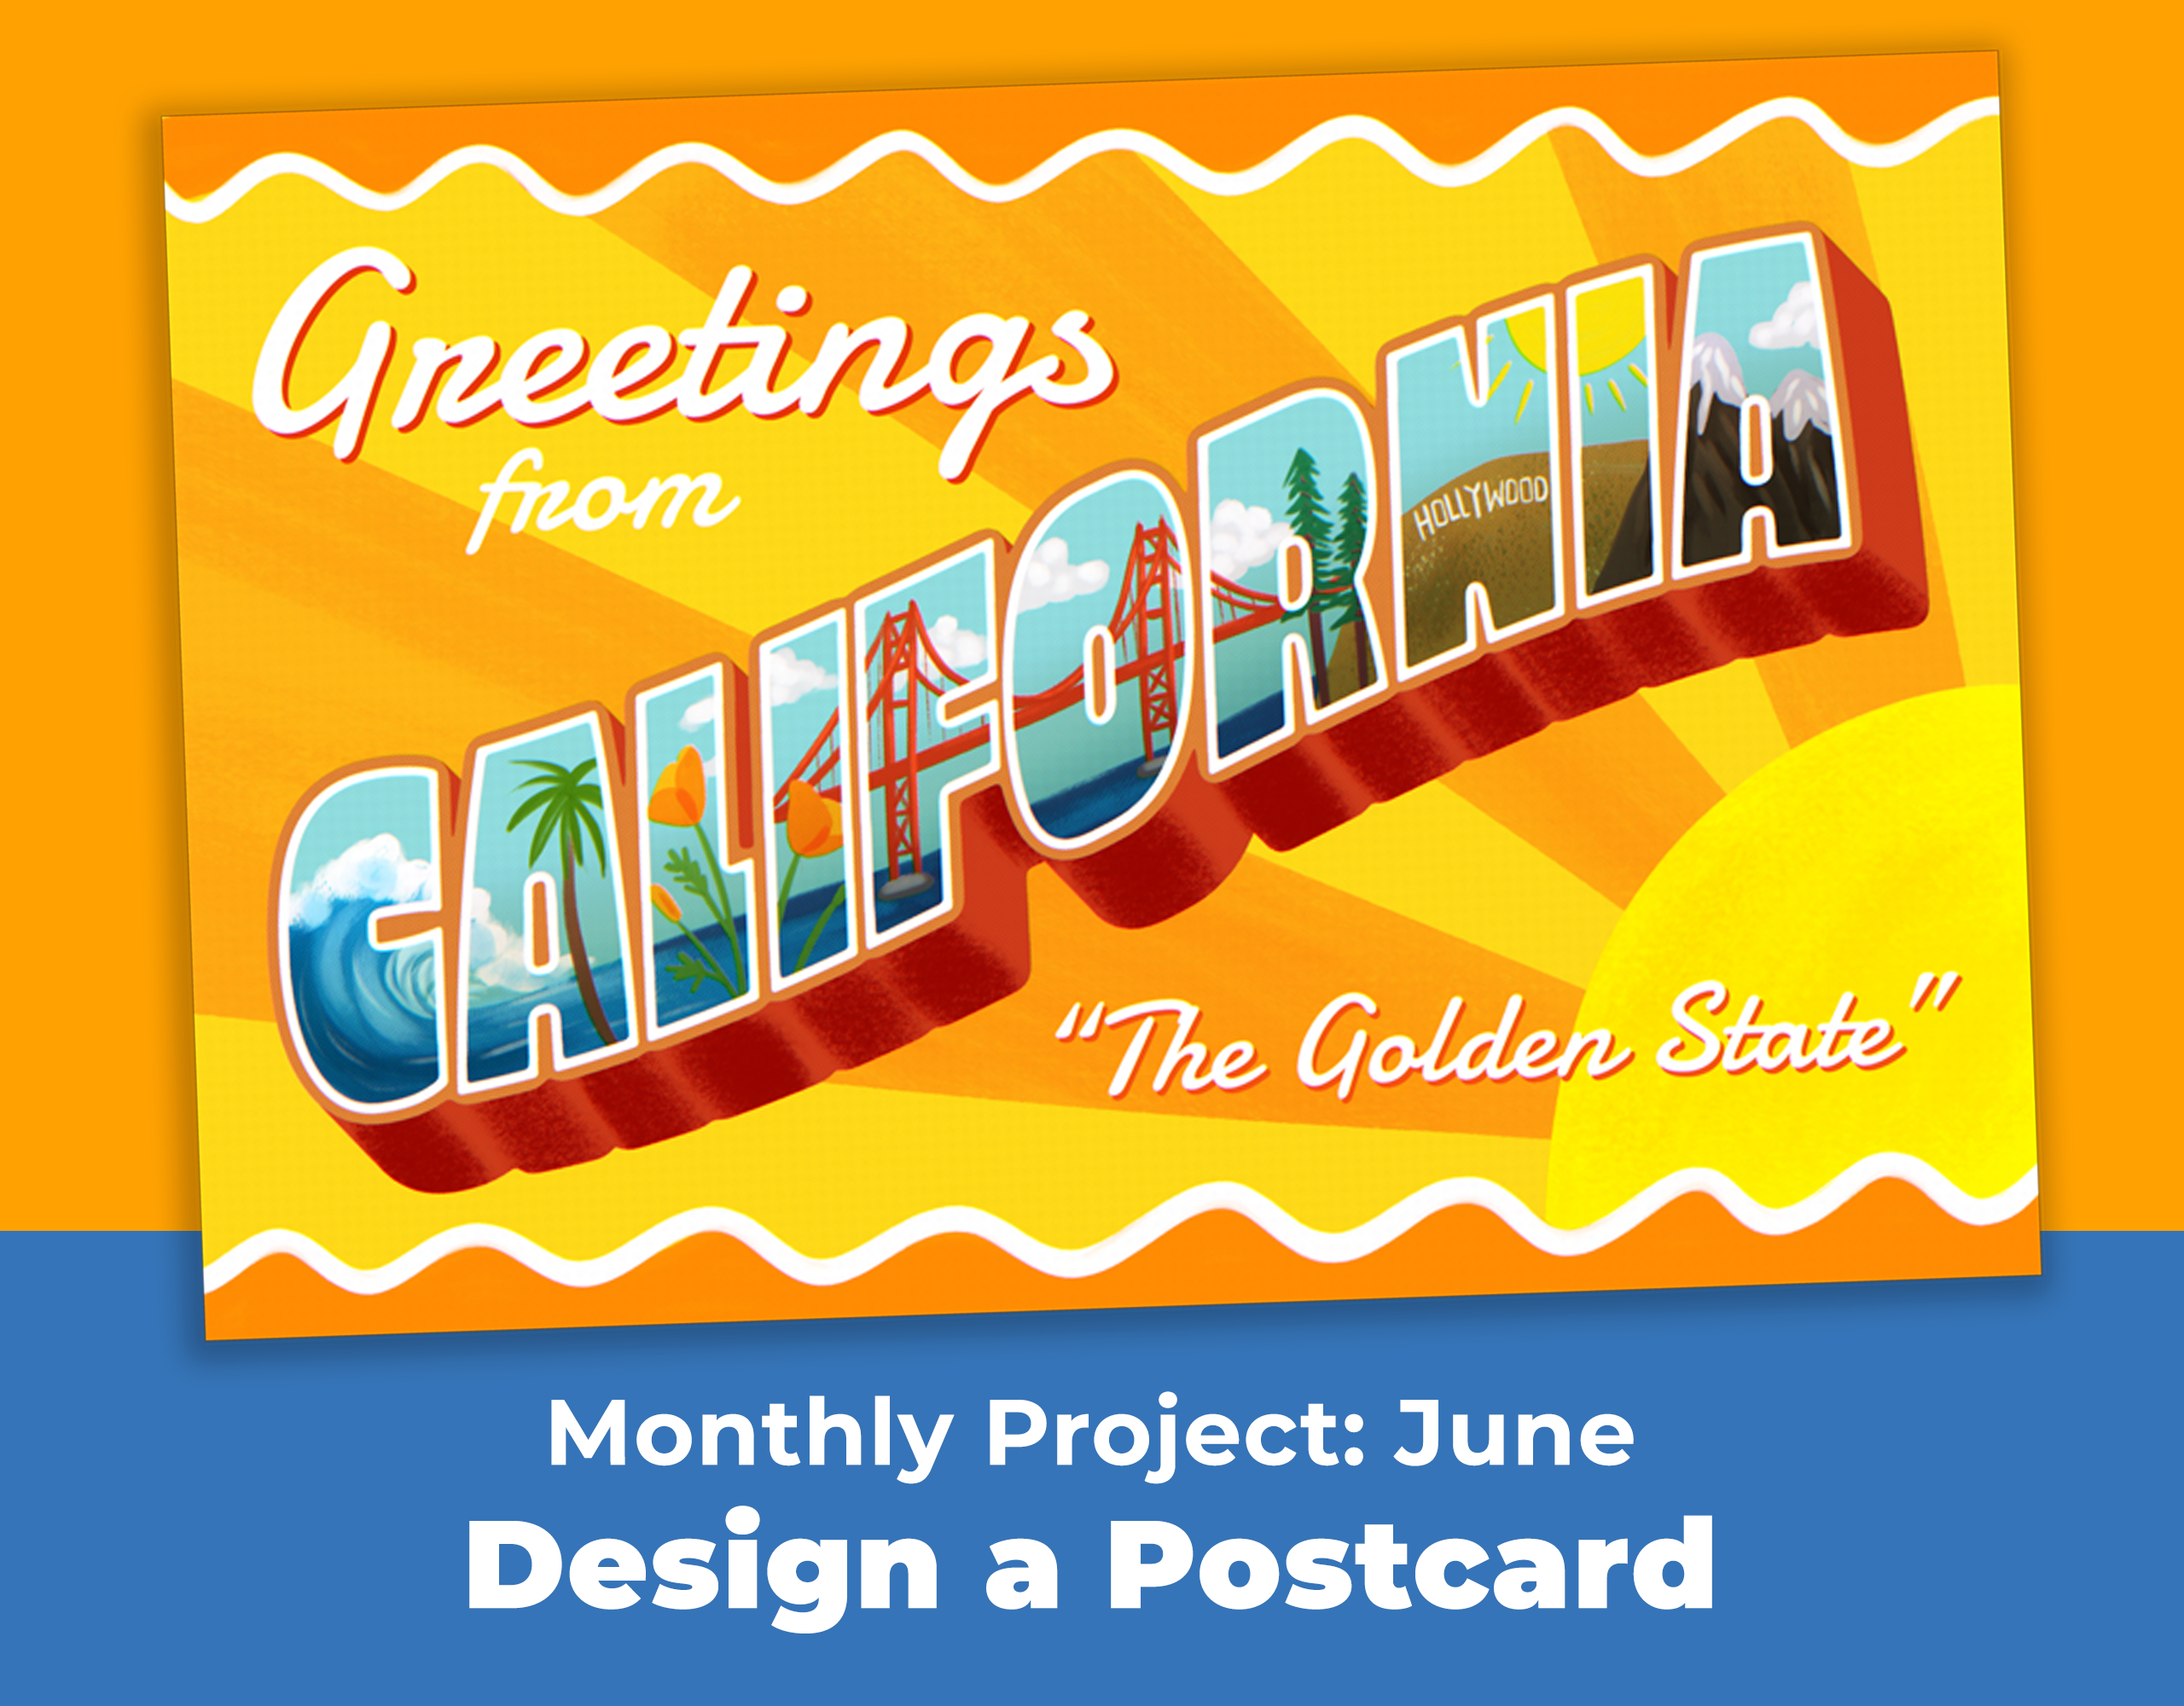
Greeting Card
in Procreate
Making your own greeting card is a really fun way to use your art in the real world. They also make excellent gifts! People love receiving something that’s personal, custom and handmade. You can make single cards for a special occasion, or you can mass produce your cards and sell them online. Whatever you choose to do, creating art for greeting cards is a really satisfying experience!
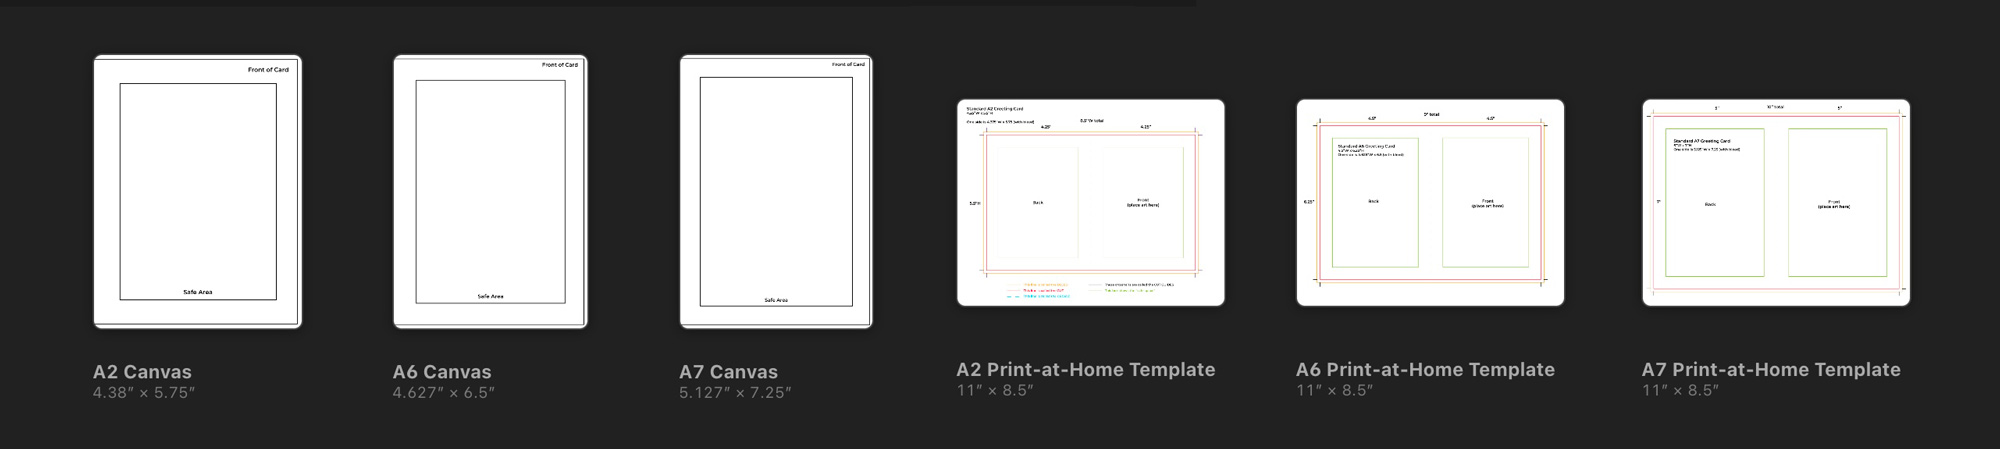
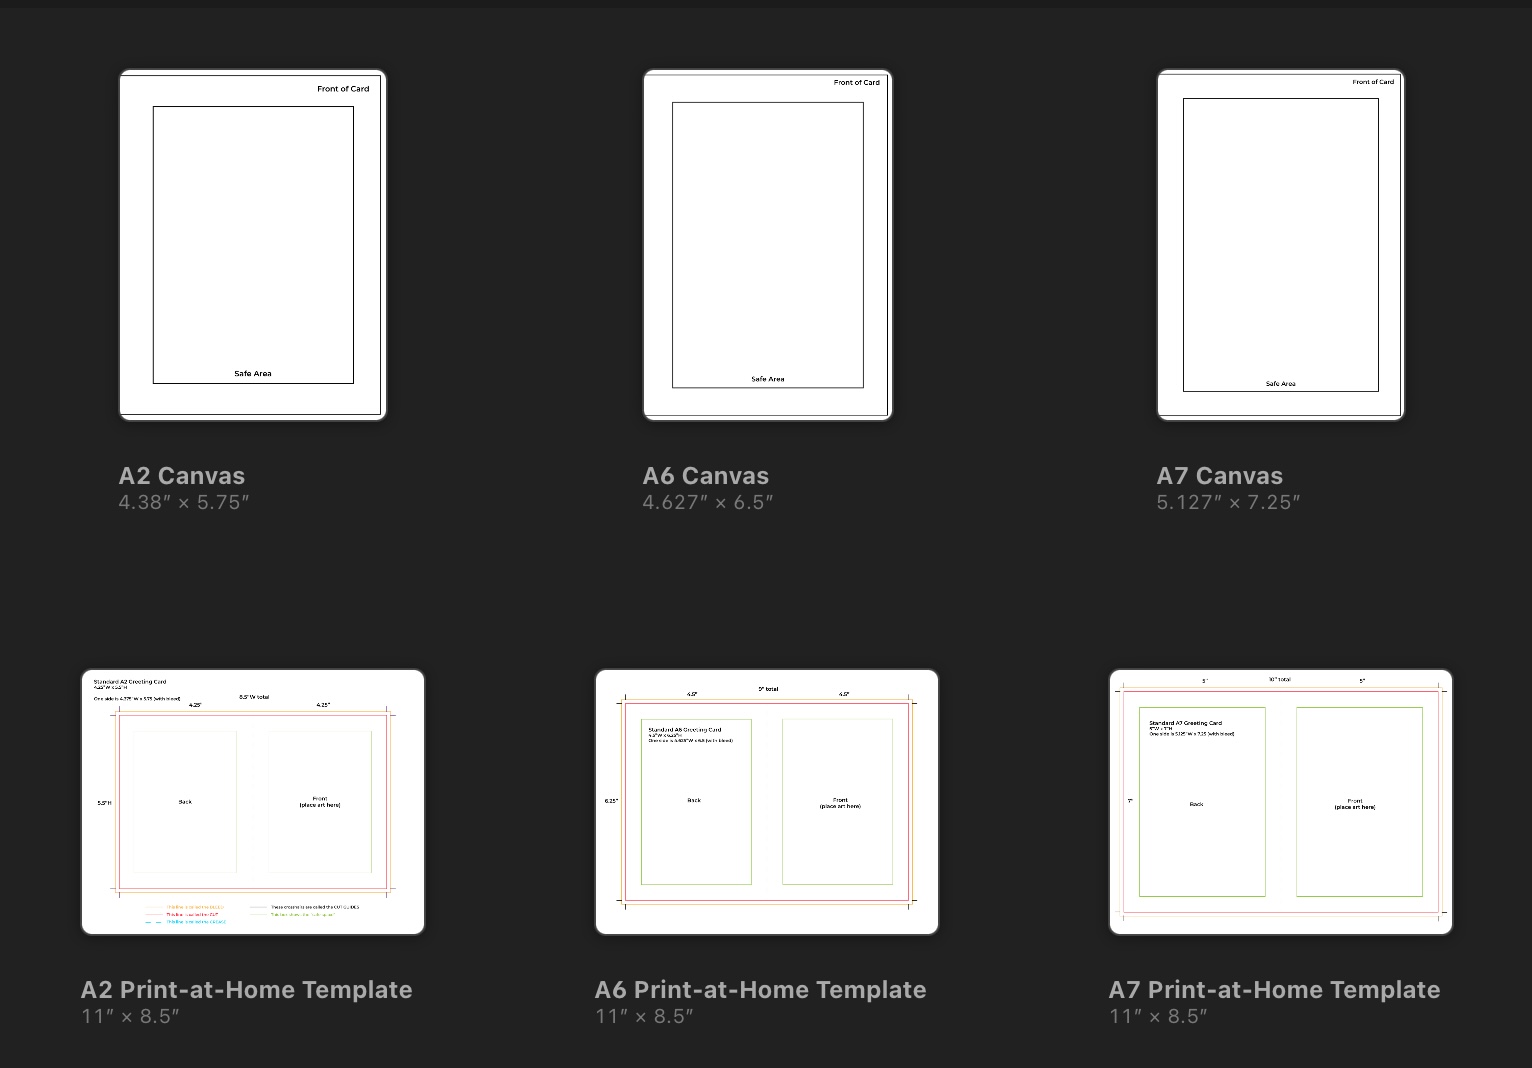
Greeting Card Procreate Templates
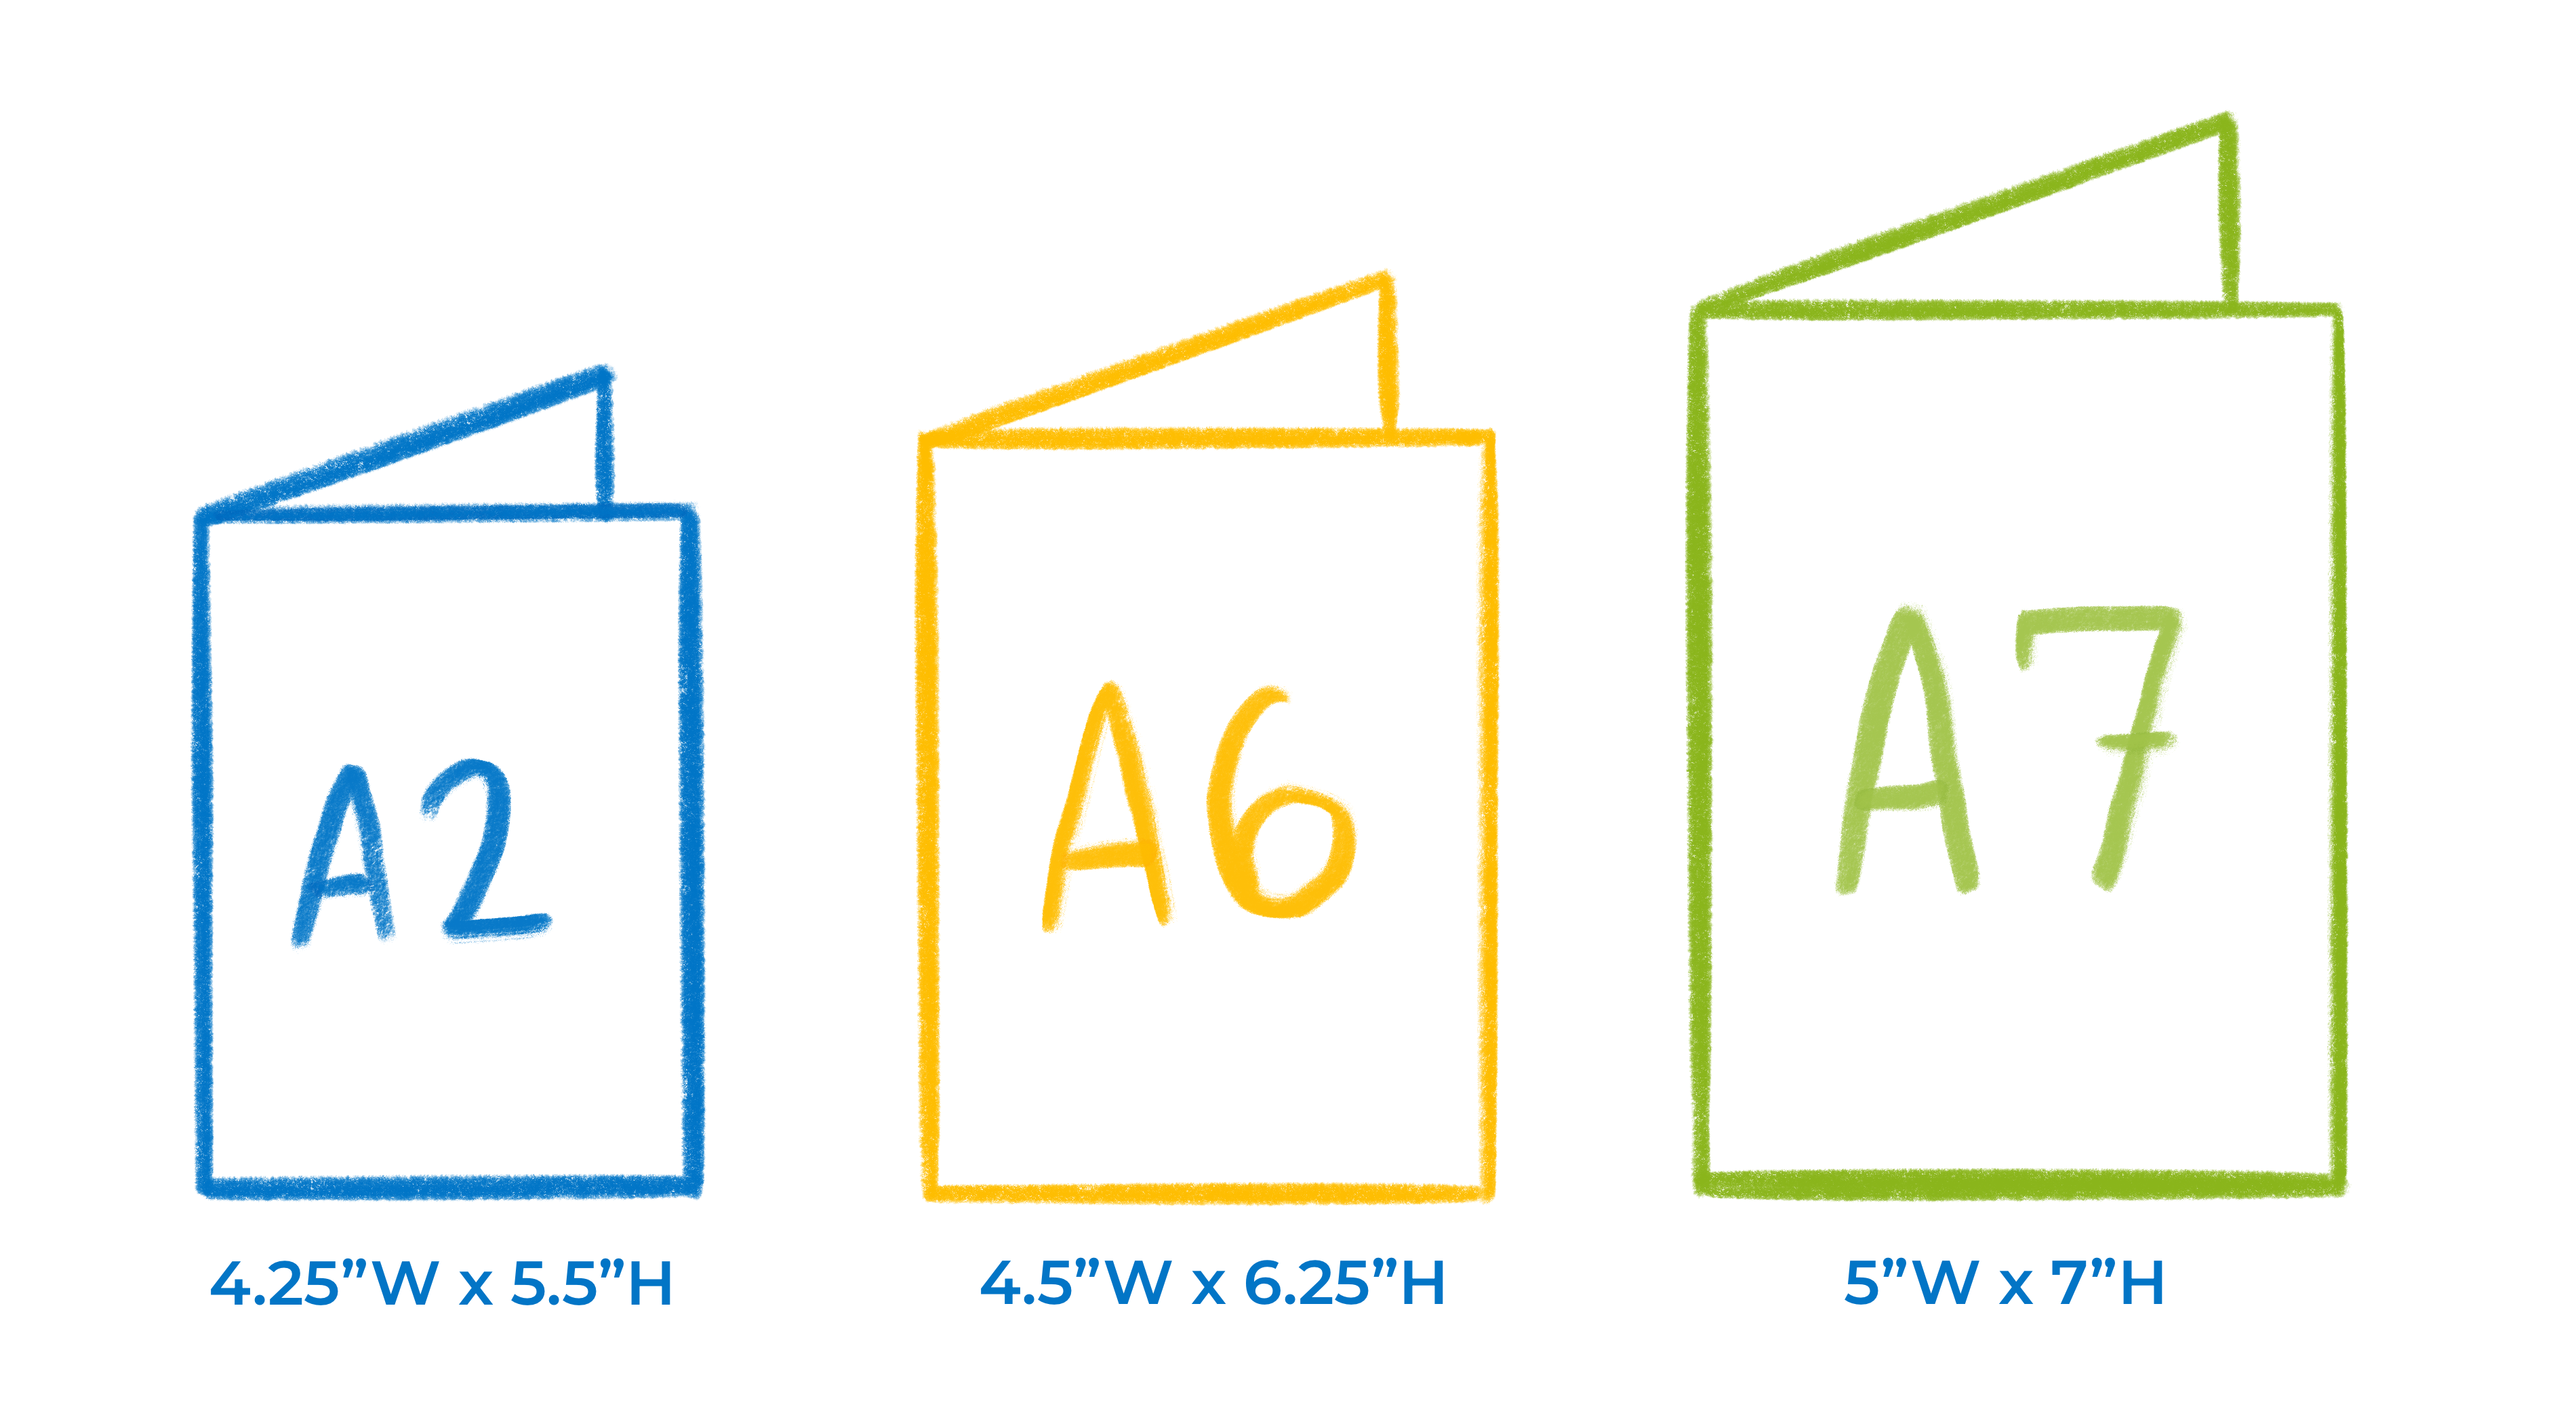
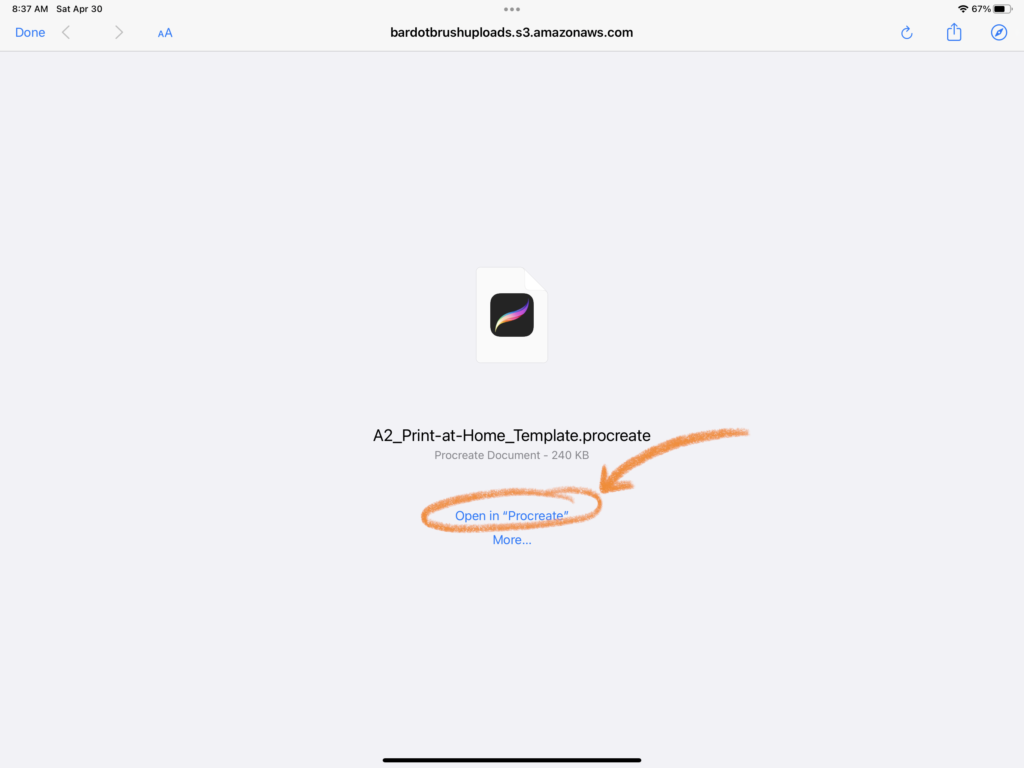
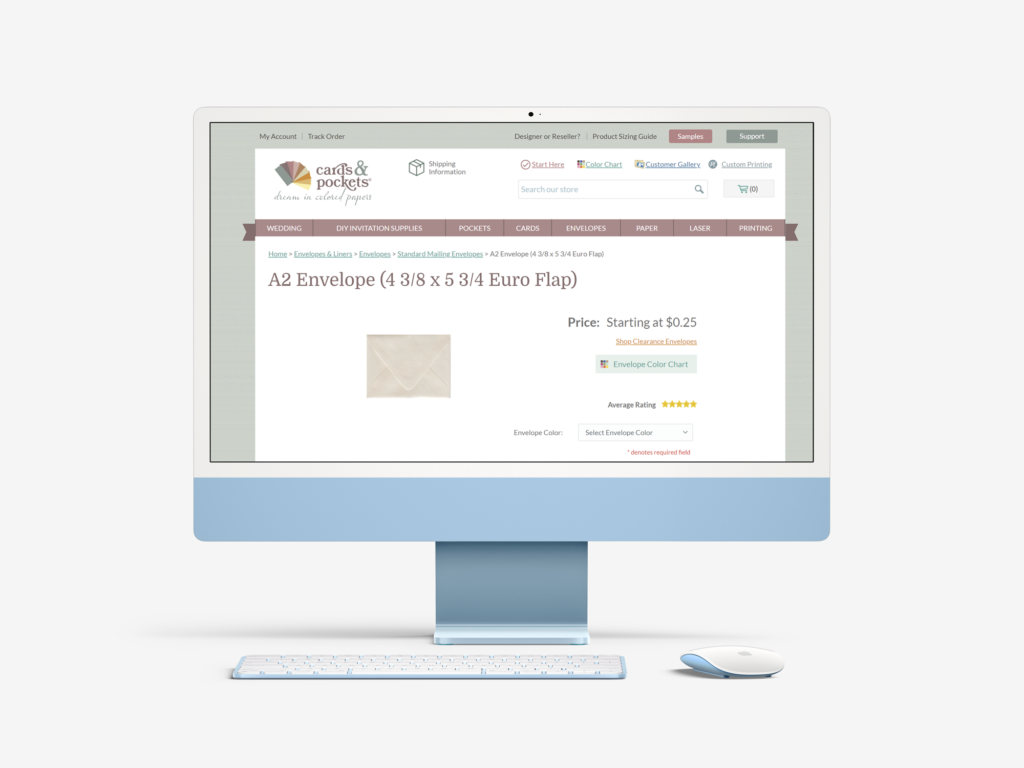
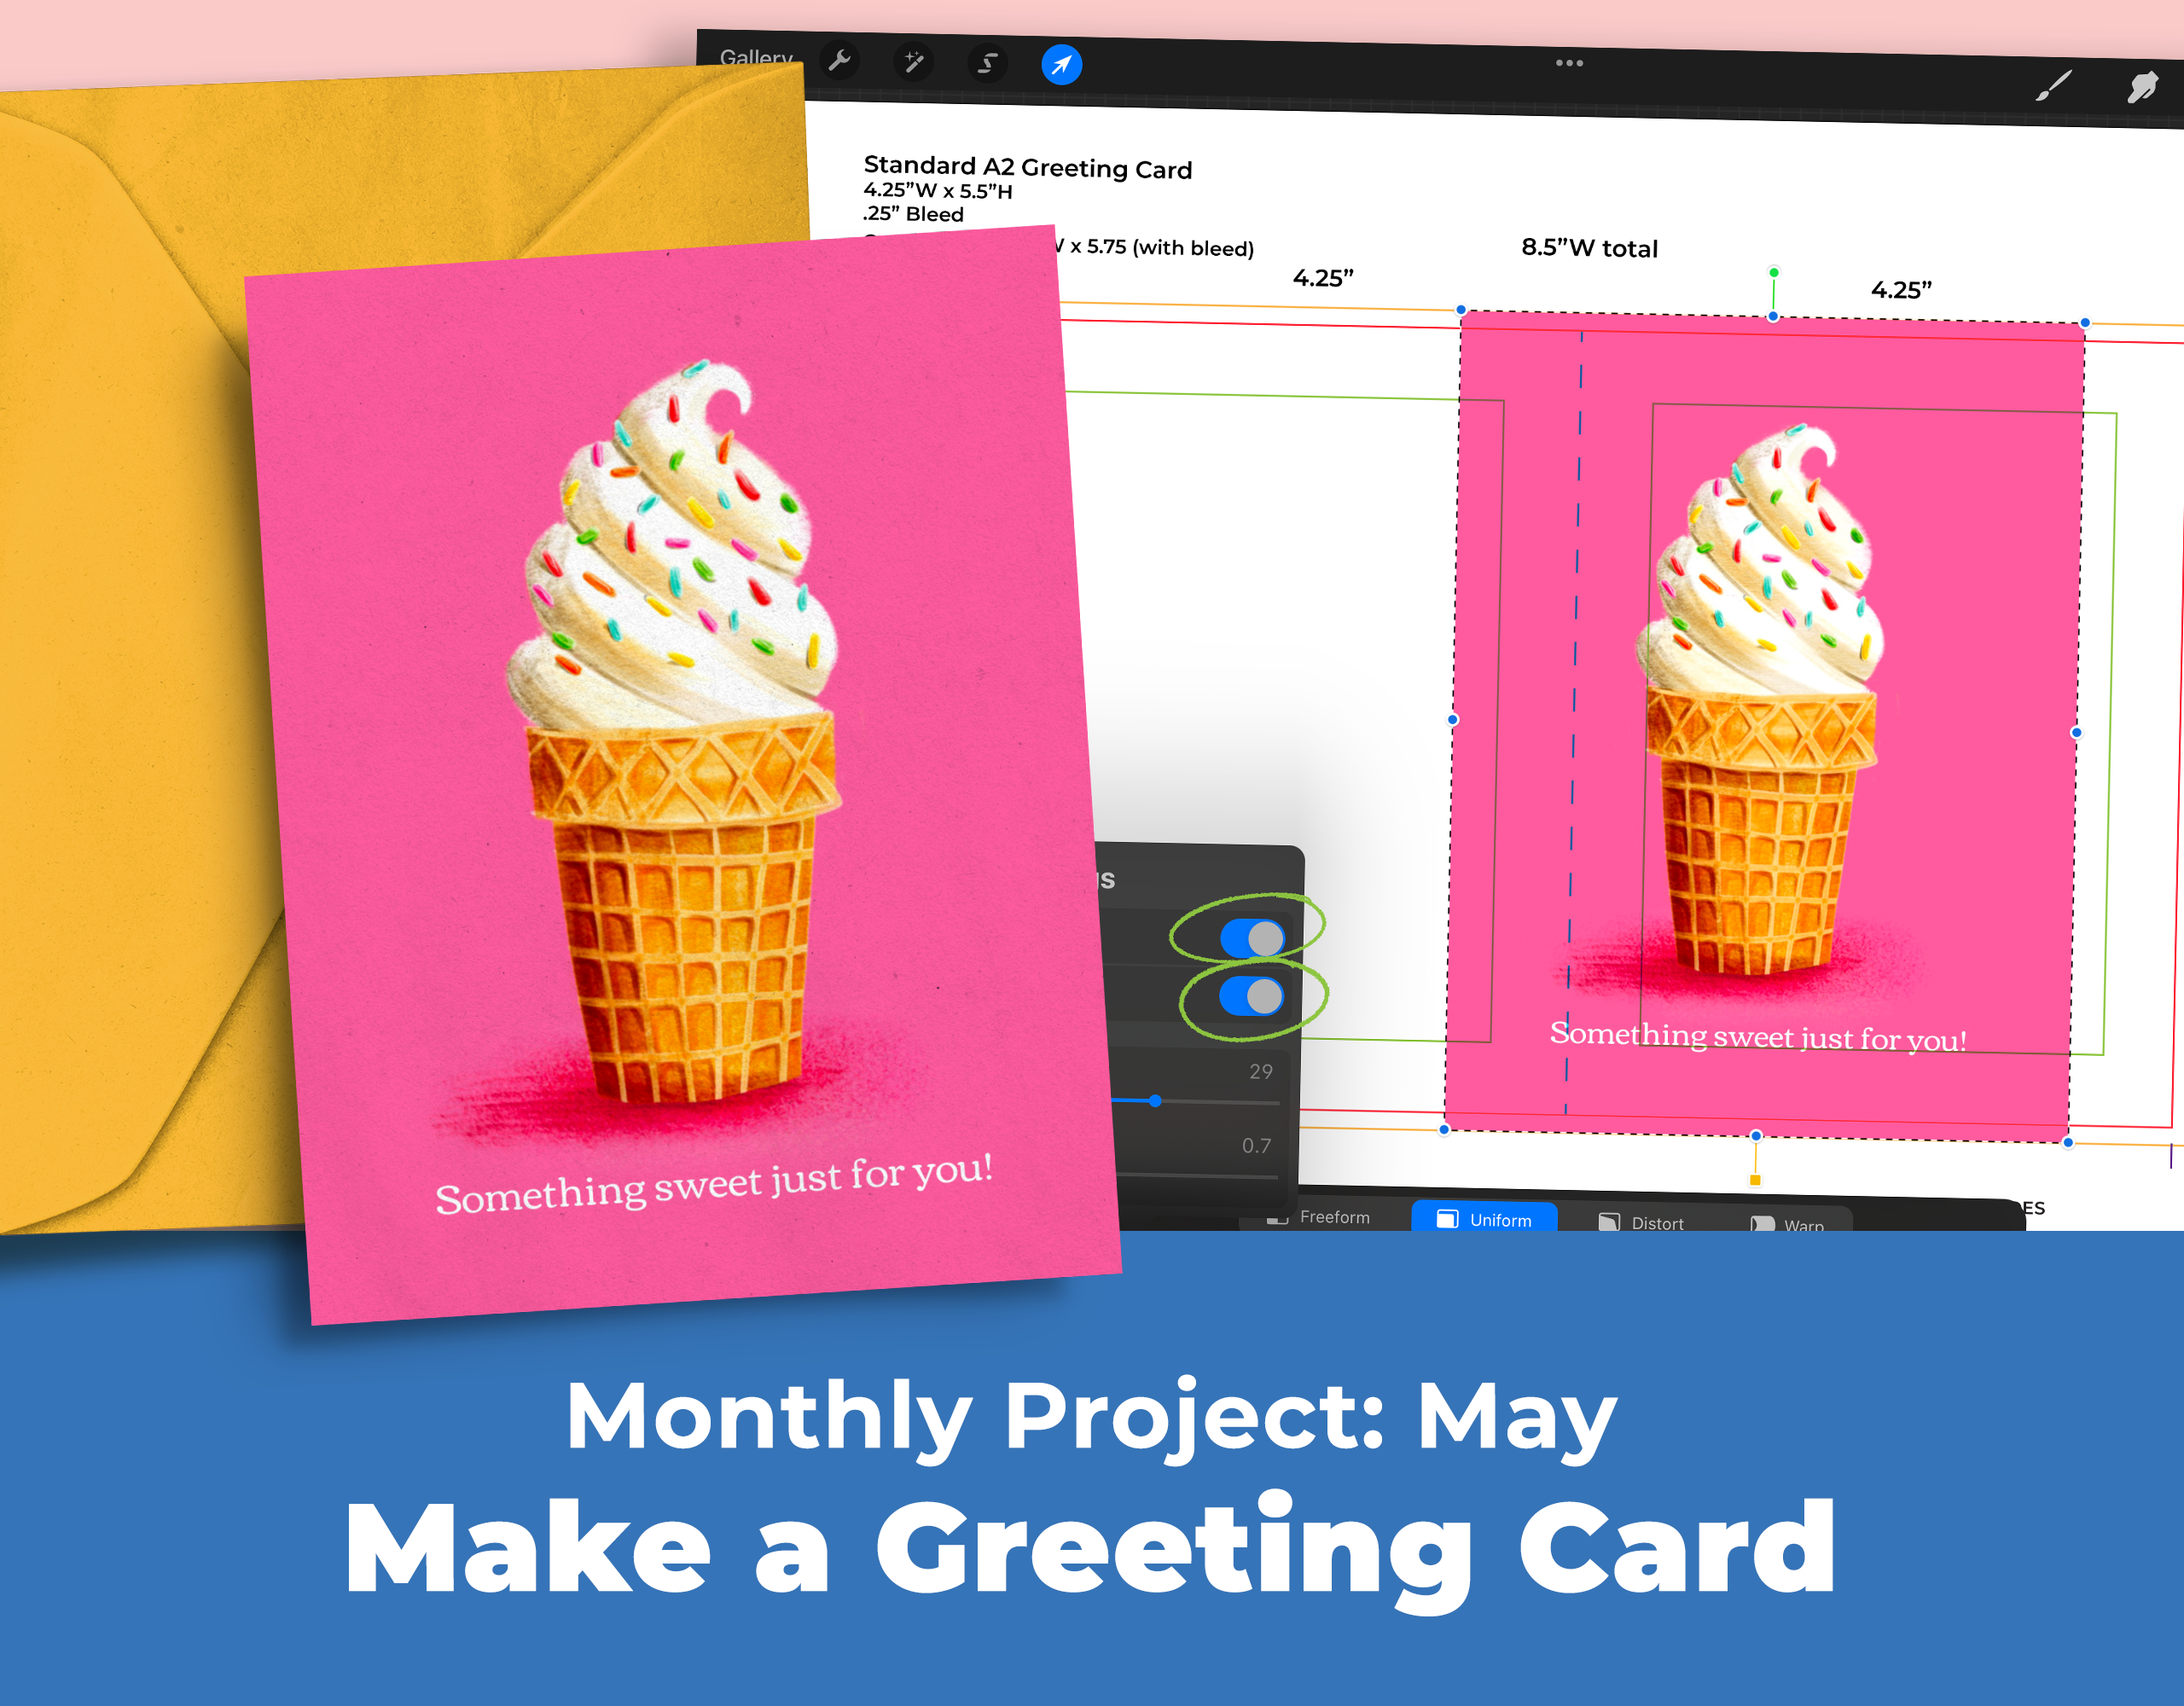
Greeting cards come in an array of shapes and sizes, the most popular being A2, A6, and A7. We’ve created a Print-at-Home Procreate template for each size that you can download here. You’ll get 6 custom Procreate canvases that take the stress out of making cards. No measuring, no math required! This will allow you to focus on the fun part of creating a greeting card; illustrating! You’ll find detailed instructions further down on this page.
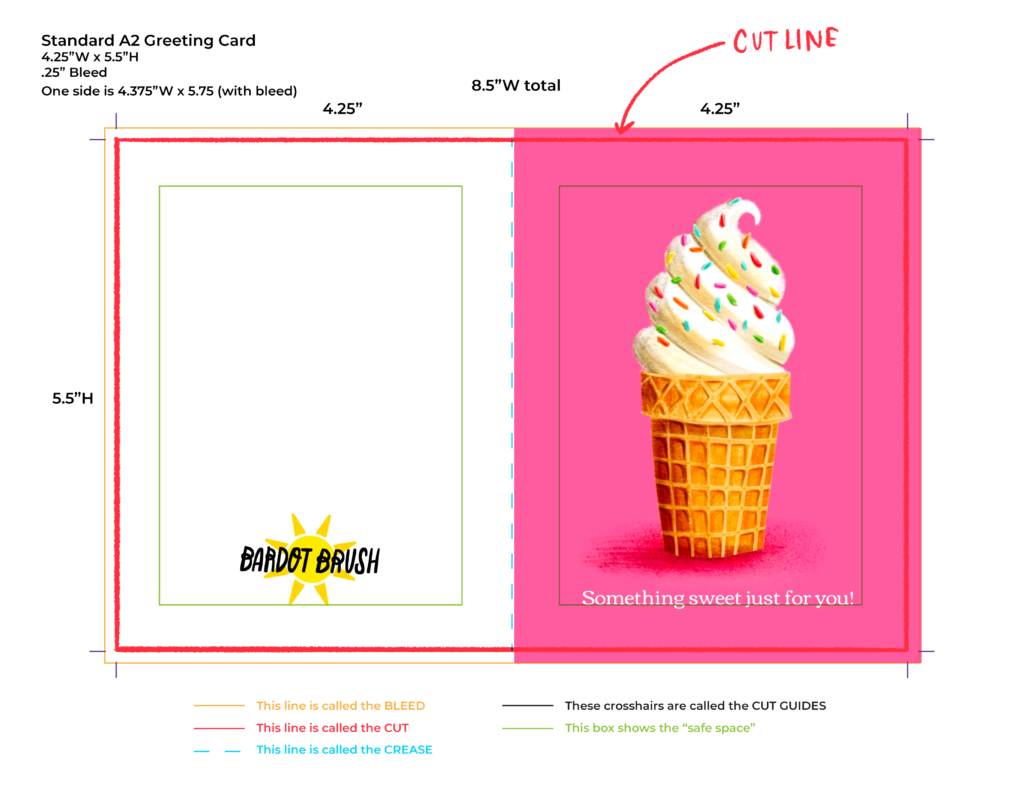
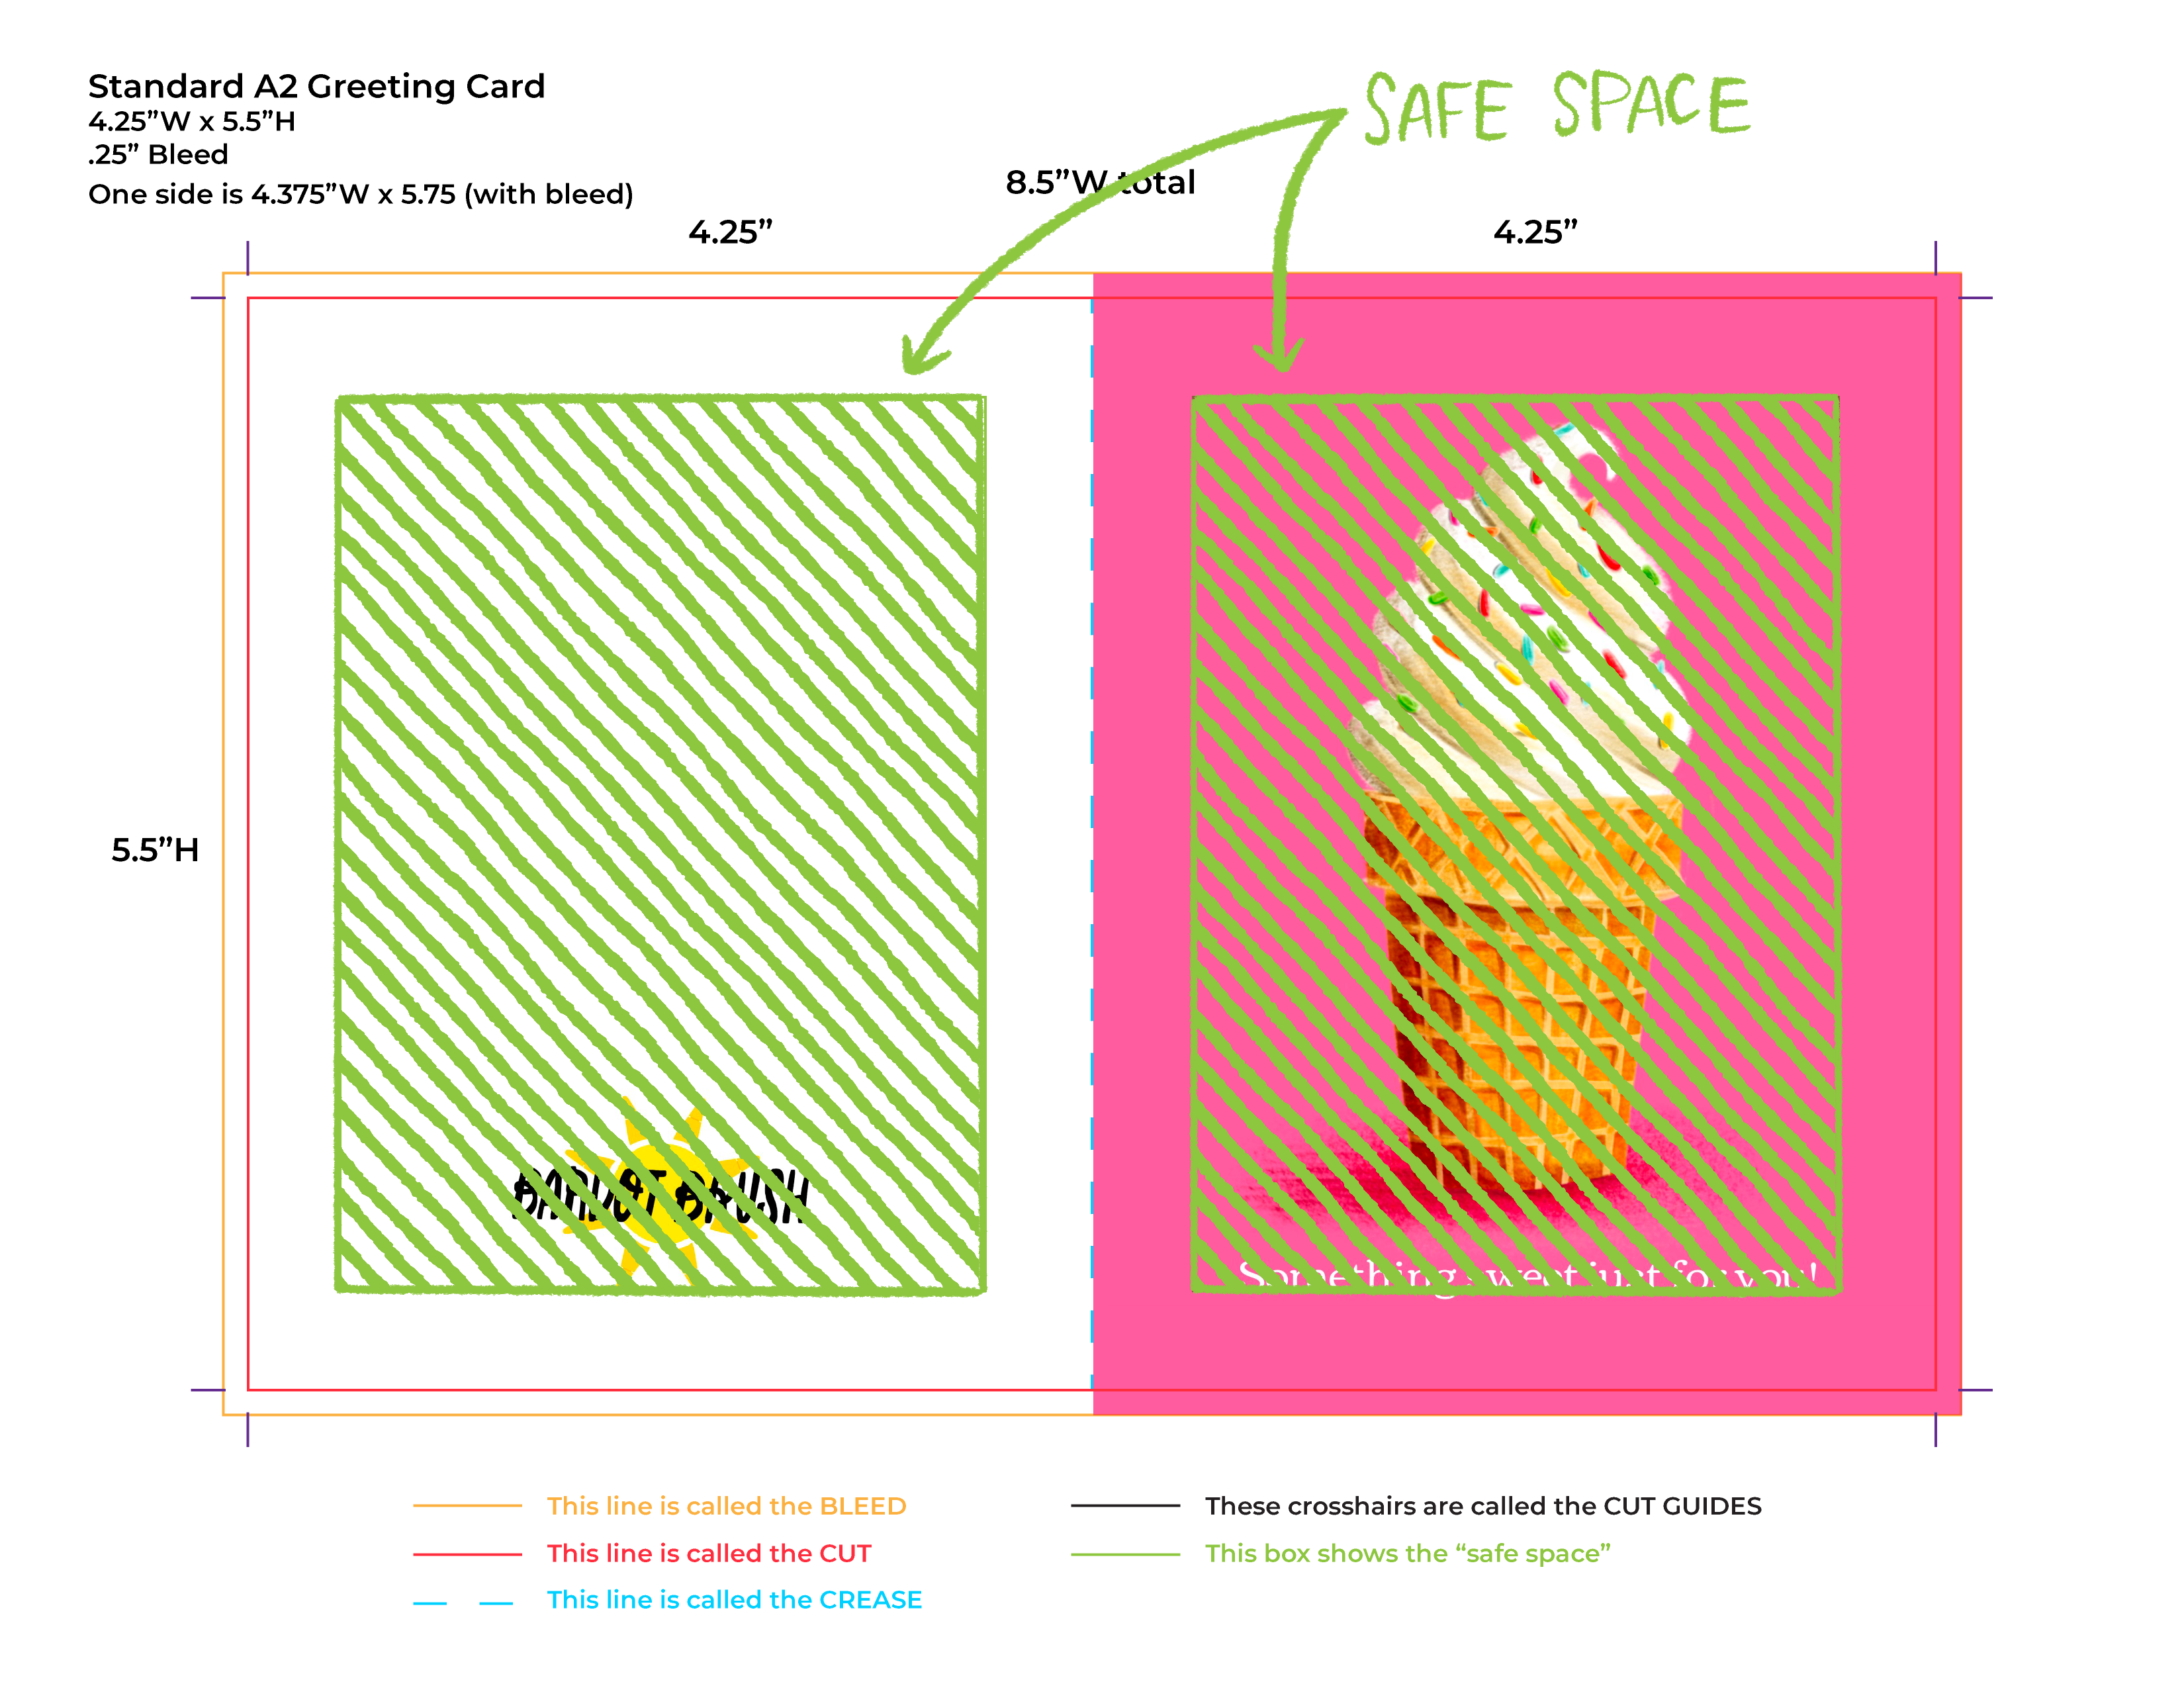
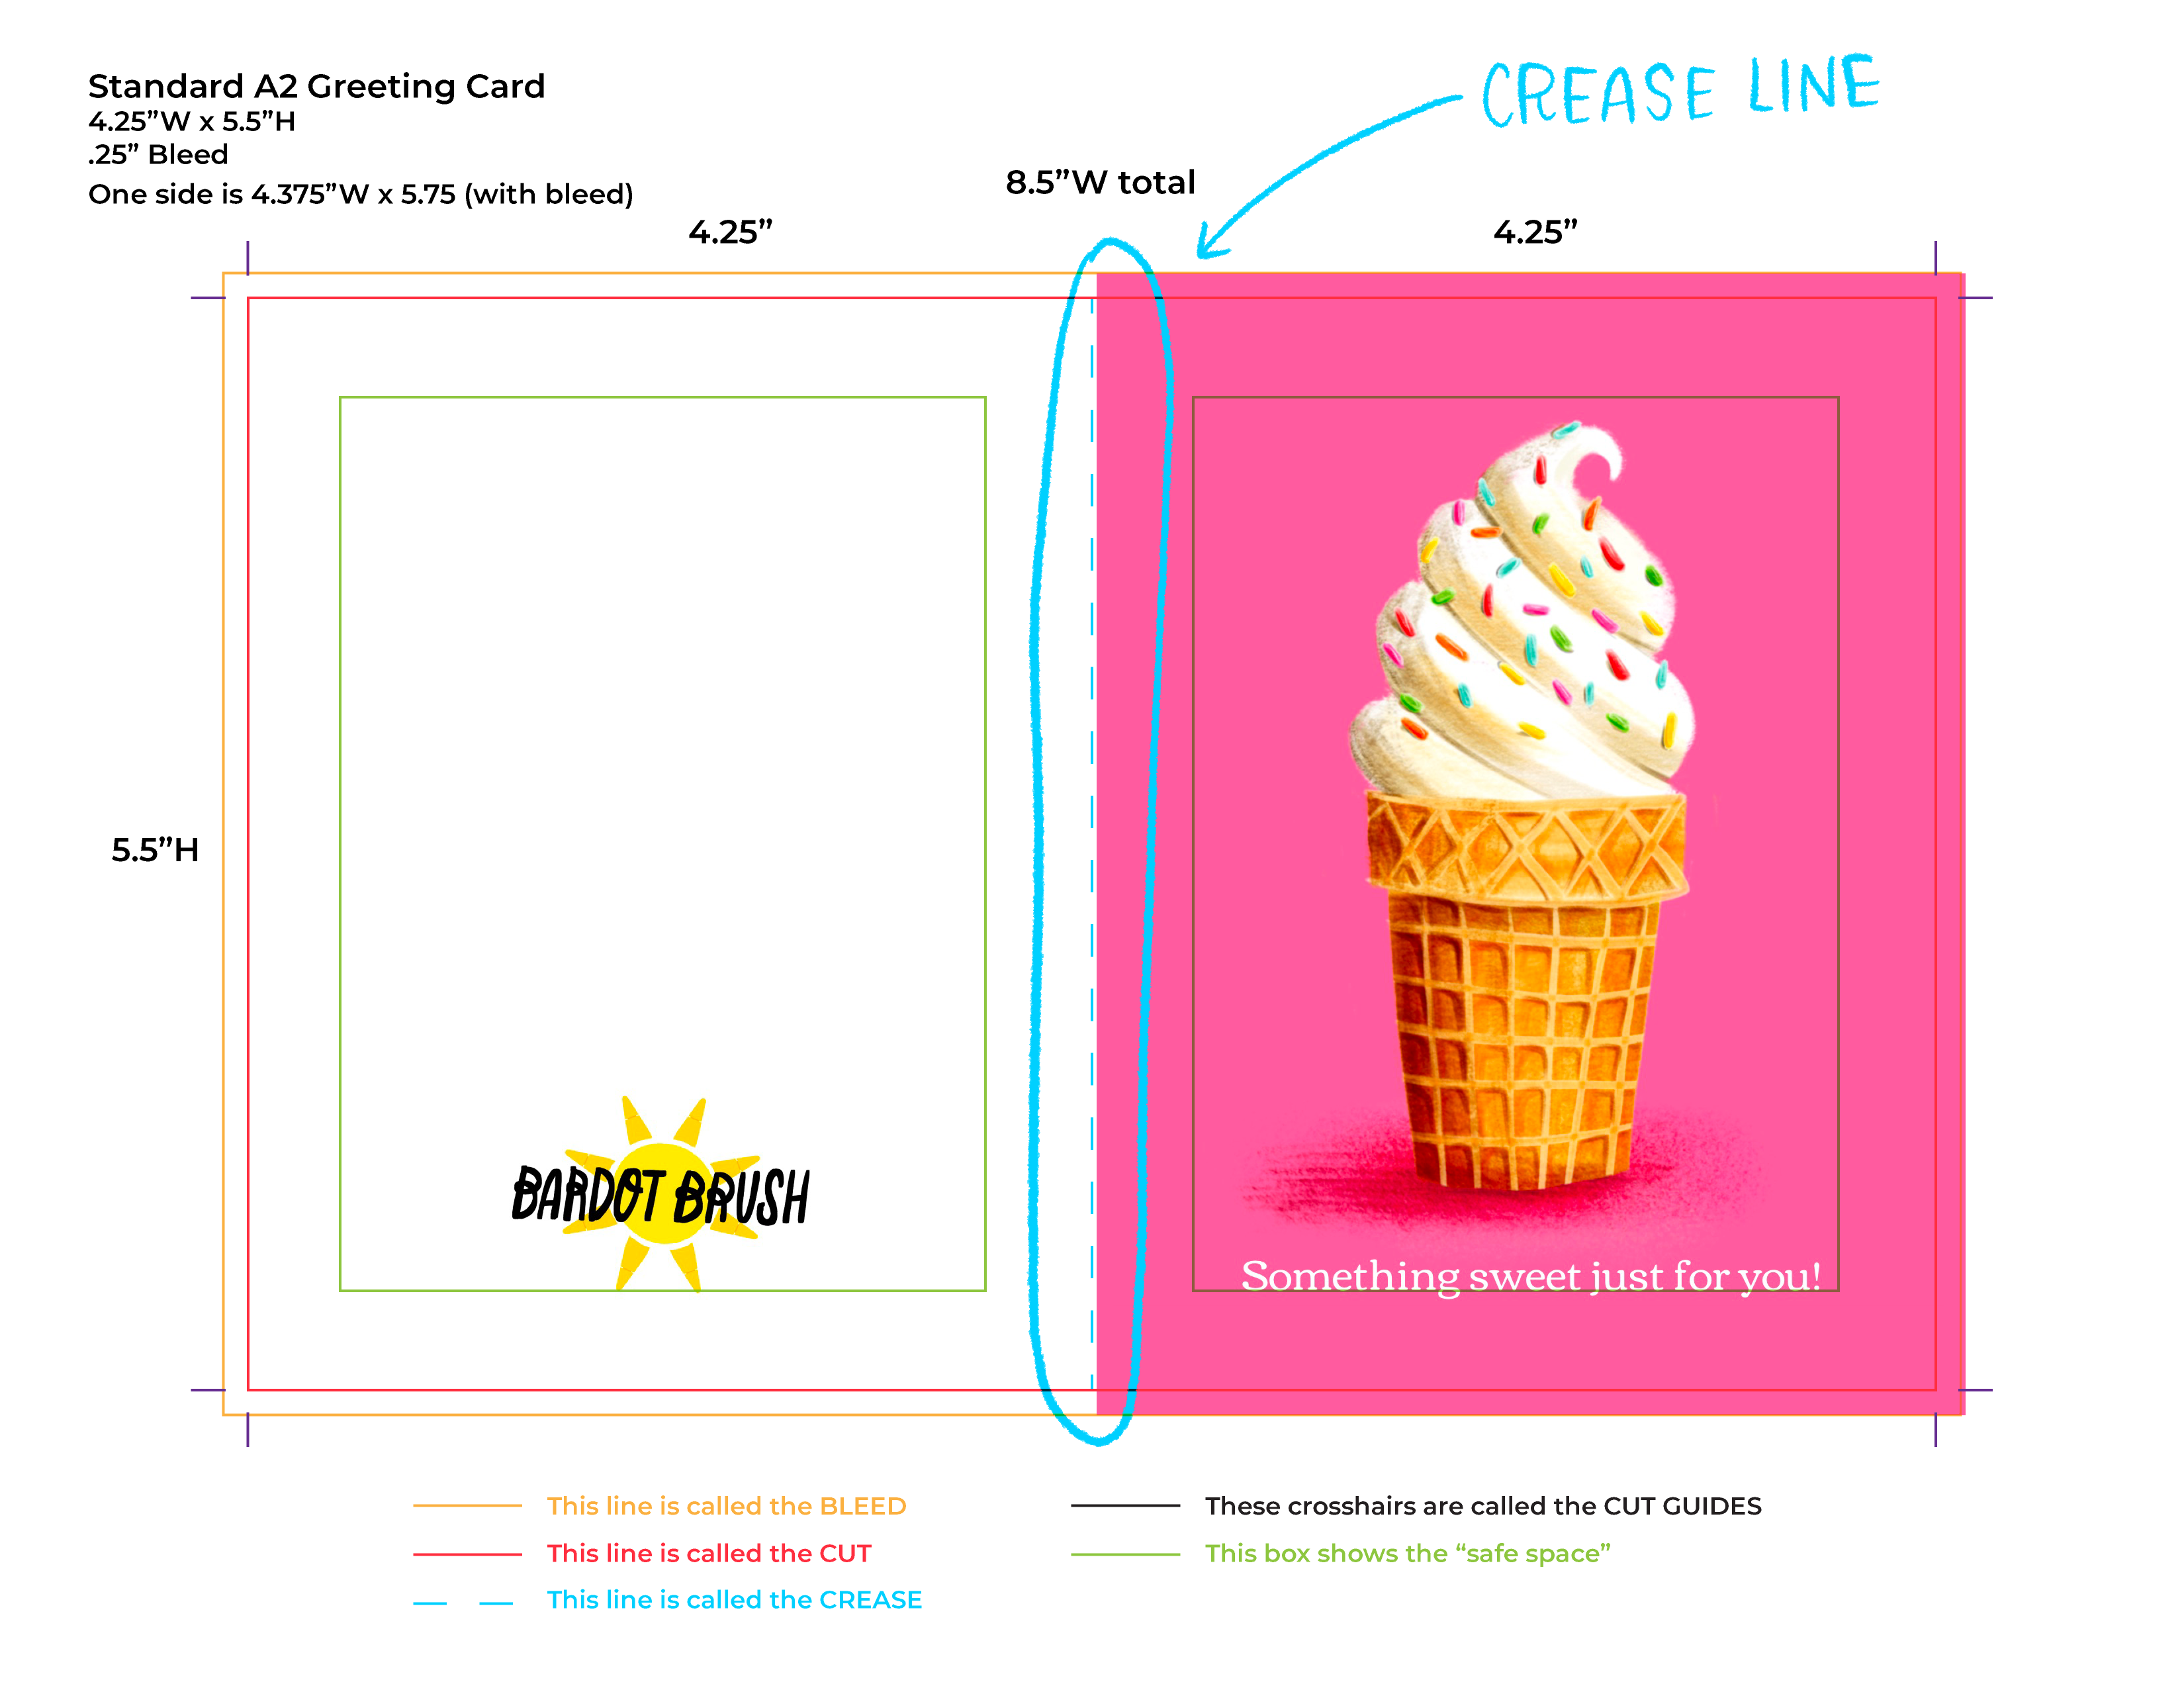
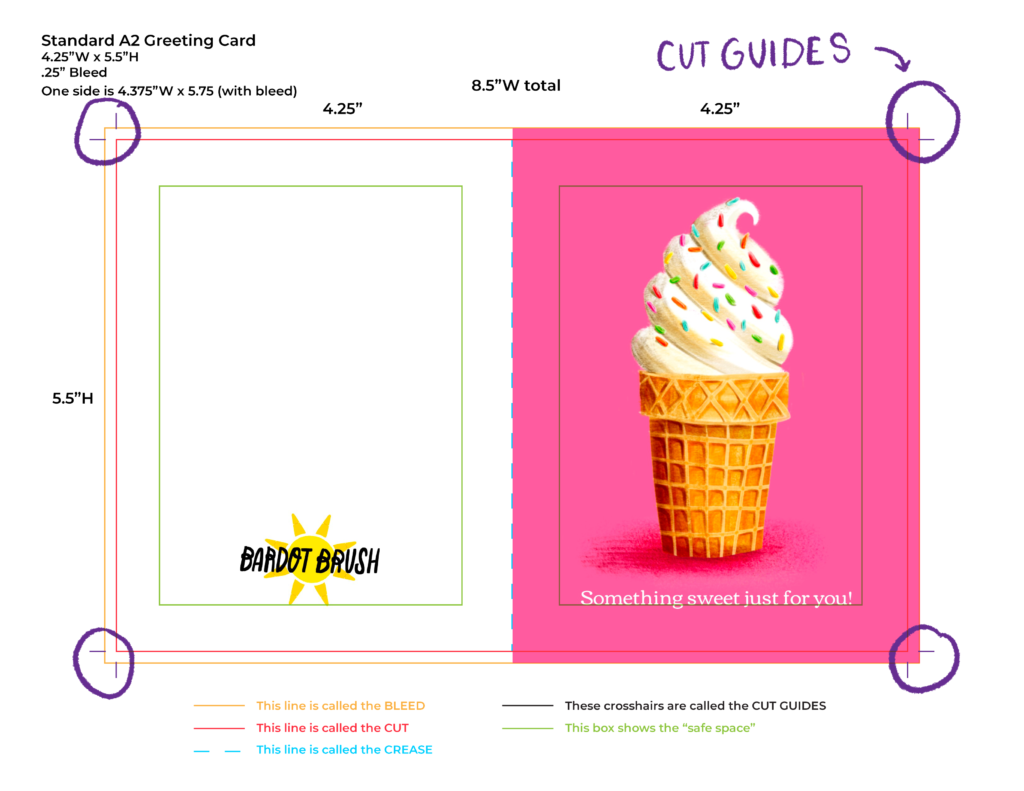
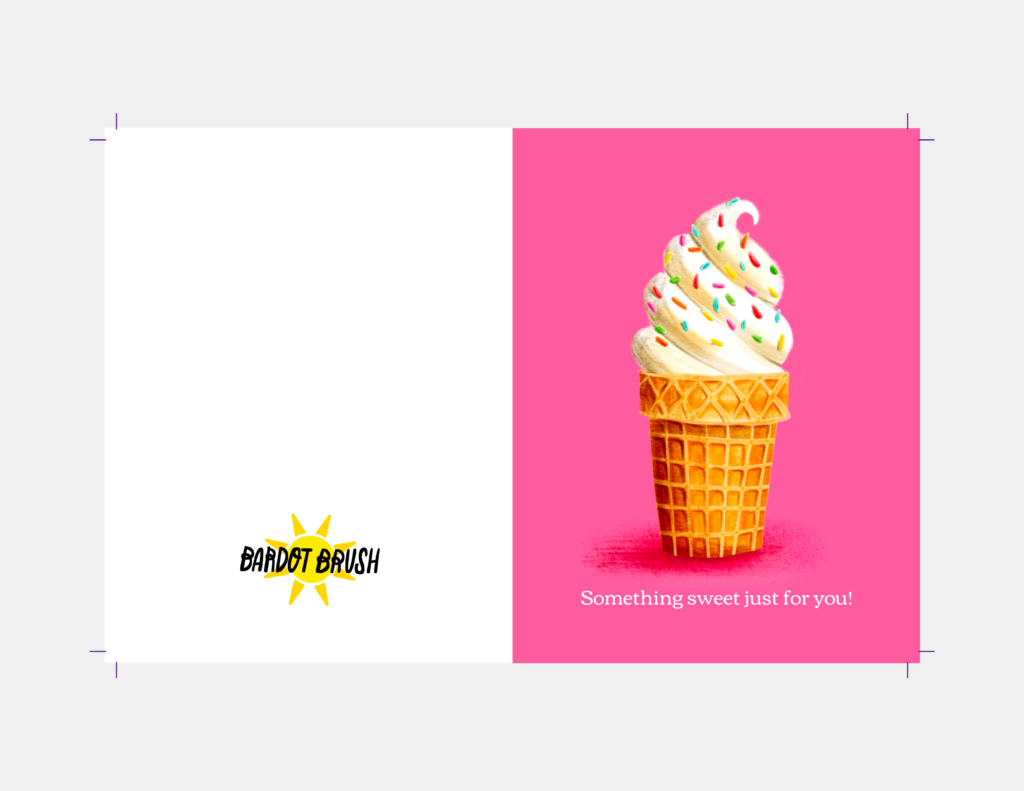
Greeting Card Anatomy
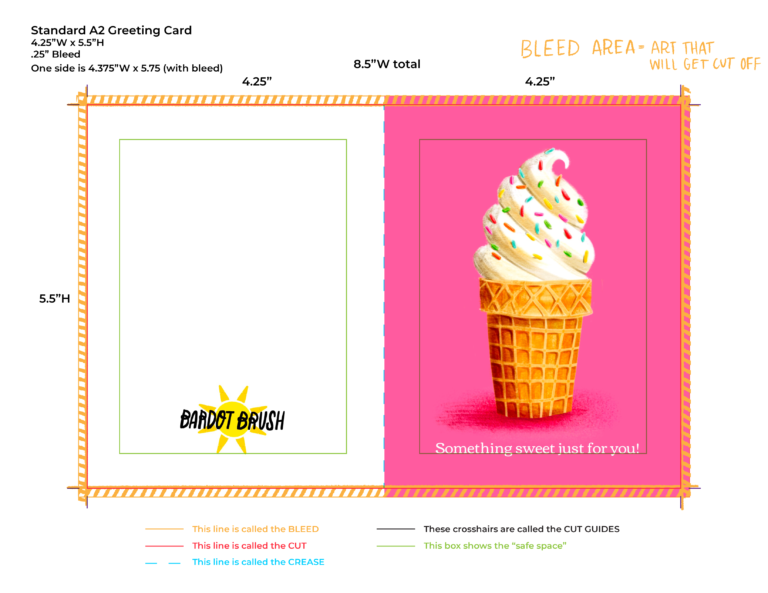
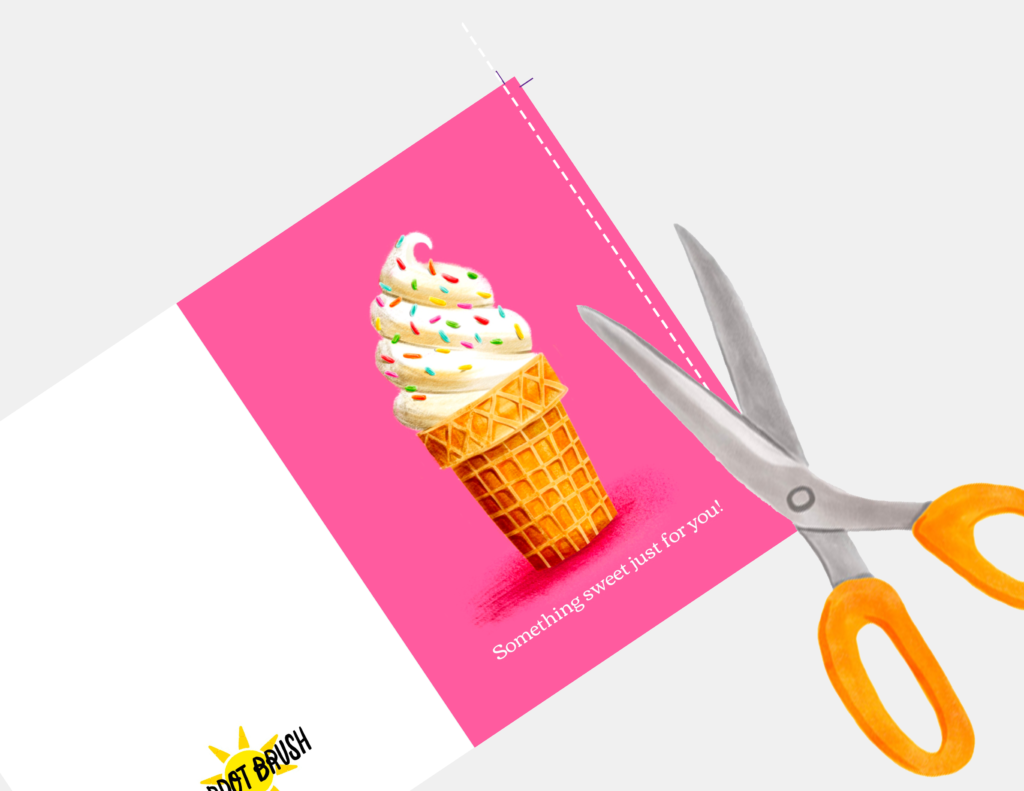
This is the line that you would cut along. It’s the actual physical size of the greeting card.
This is the area that you’ll want to keep any important parts of your art within. If you have lettering or important art near the edge, the printer might not have perfect alignment and those words could get cut off.
This dotted line represents where you’ll fold the card in half. If your art extends from the front to the back, it’s important to note where it will be creased so you’re not putting any important art in that area. I.e. if you were drawing a person on your card, and you placed them along the crease line, it might look bad if the crease goes across their face.
Instead of printing a line along the edges, cut guides are used to prevent a black line from being seen.
Pro Tip: To achieve a perfectly straight line, use an Exacto knife with a metal ruler.
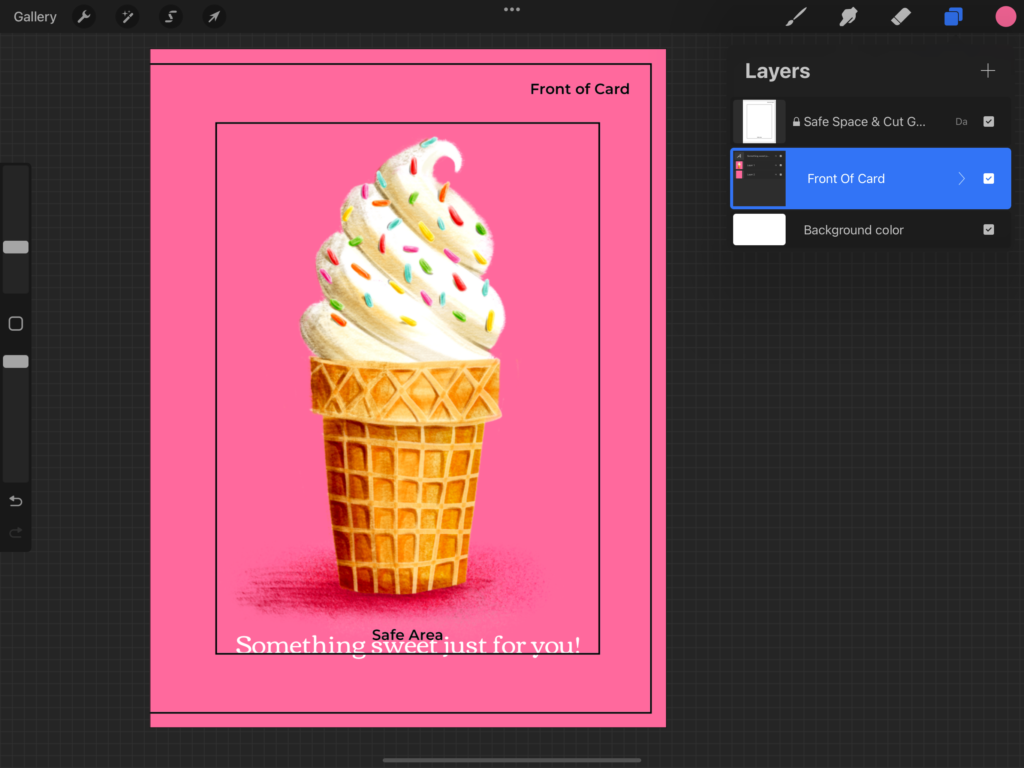
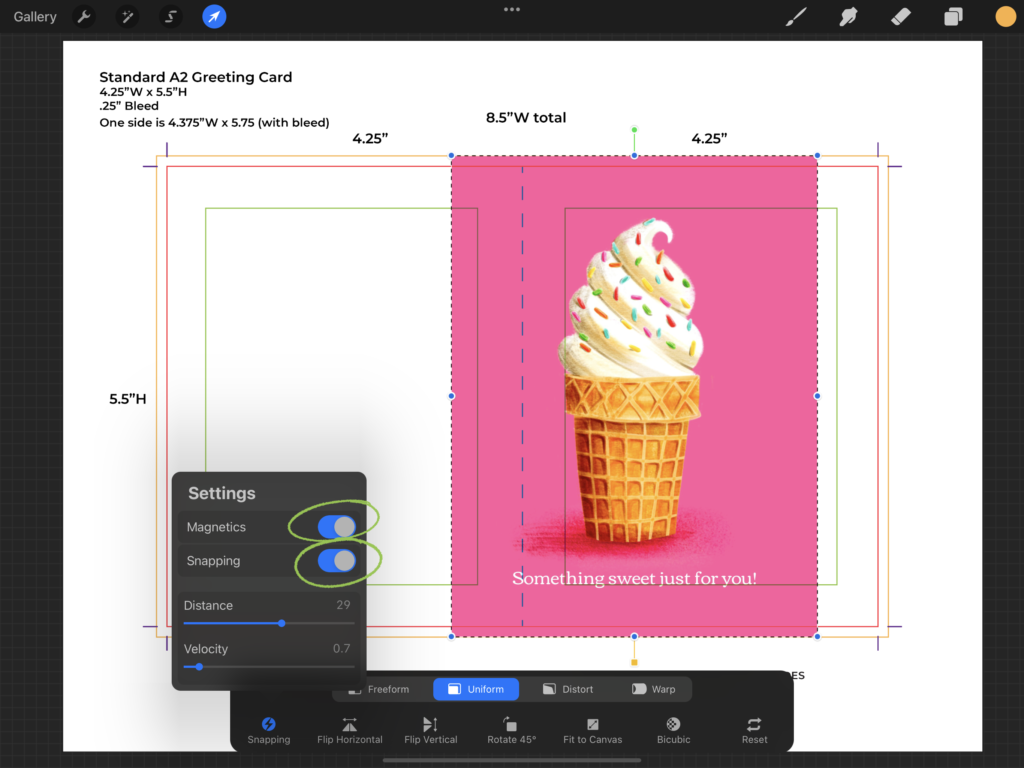
Let’s Make our Greeting Card
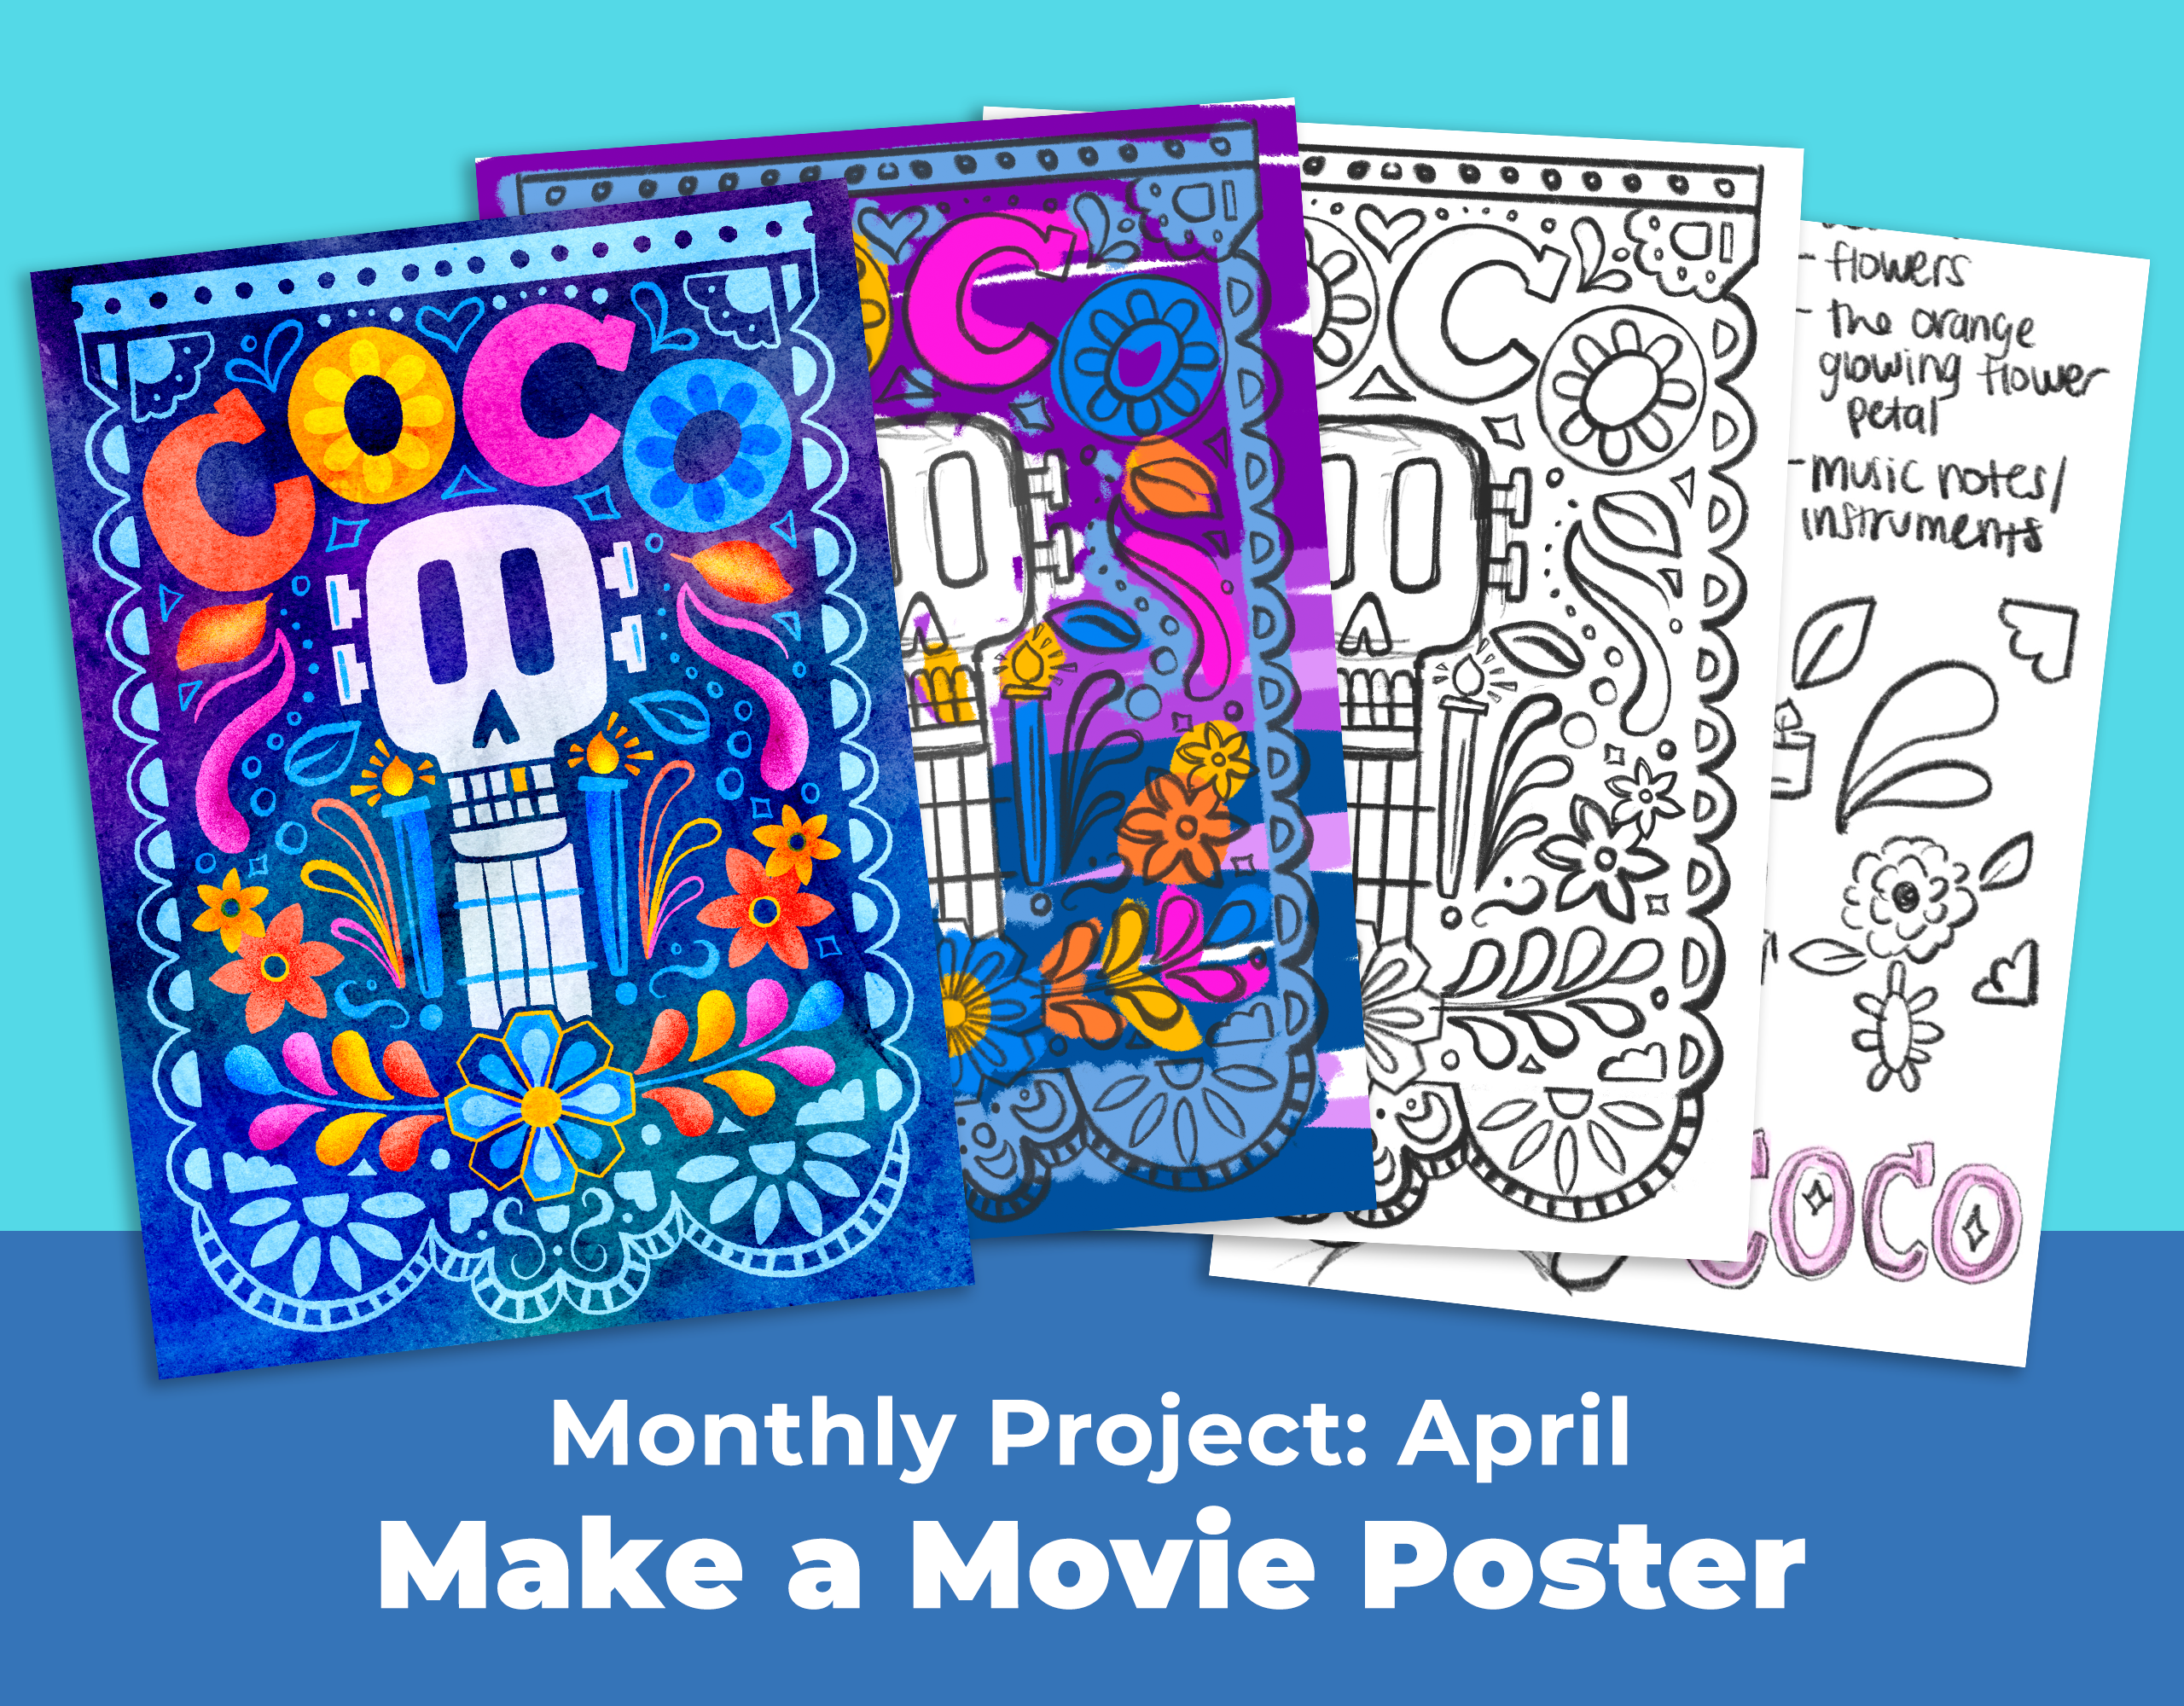
MAE Monthly Project
Making Art Everyday is a series of daily, weekly, and monthly prompts and challenges to help you overcome creative fears and develop your art-making practice. Every month, we will feature a new theme that will allow you to hone a set of skills, practice drawing something specific, or complete a project.
View Past Projects
We’ll stock your inbox with Procreate tips, new releases, and free goodies!
Bardot Brush was created by California-based illustration artist, teacher, and all-around creative person, Lisa Bardot.

©2022 Bardot Brush by Lisa Bardot // All Rights Reserved