How to Draw Metallic Surfaces the Easy Way
How do you make something look shiny or reflective? Learn this easy technique on how to draw and shade surfaces so that they look like metal. Follow along as we draw a cute robot in Procreate and demonstrate this technique. We’ll also play around with Procreate 5x Gradient Maps to make colorful metallic surfaces, including silver, gold, and beyond!
Here’s a really cool article about the worlds most reflective metal: Why do Mirrors Appear to Be Silver in Color?
Canvas Size Used: 2800×3800 Pixels
Brushes Used: Various brushes from Artist’s Pastels by Bardot Brush
How to make an object look metallic
Each part of the drawing starts out as one flat color. First, we’ll determine the location light source is – in the example below, the light is coming from the upper right. Adding some basic shading gives the shape a 3-dimensional quality, but it doesn’t look metallic, shiny, or reflective. To make something look metallic, first, increase the contrast. Then add more light and dark transitions, creating a sort of pattern. You’ll see this in the third column of the graphic below – a “light, middle, dark, middle, light” pattern. Some of the transitions from light to dark are gradual, like on the shape’s left side. Some transitions are more abrupt, like on the right side of the darkest spot. To make something look super shiny, You can make the shading transition less gradual and more abrupt, and add more of these transitions, as in the last column of the graphic below. You can also add some specular highlights, which are those super-bright, crisp white highlights indicating a direct reflection of the light source (see the sphere).
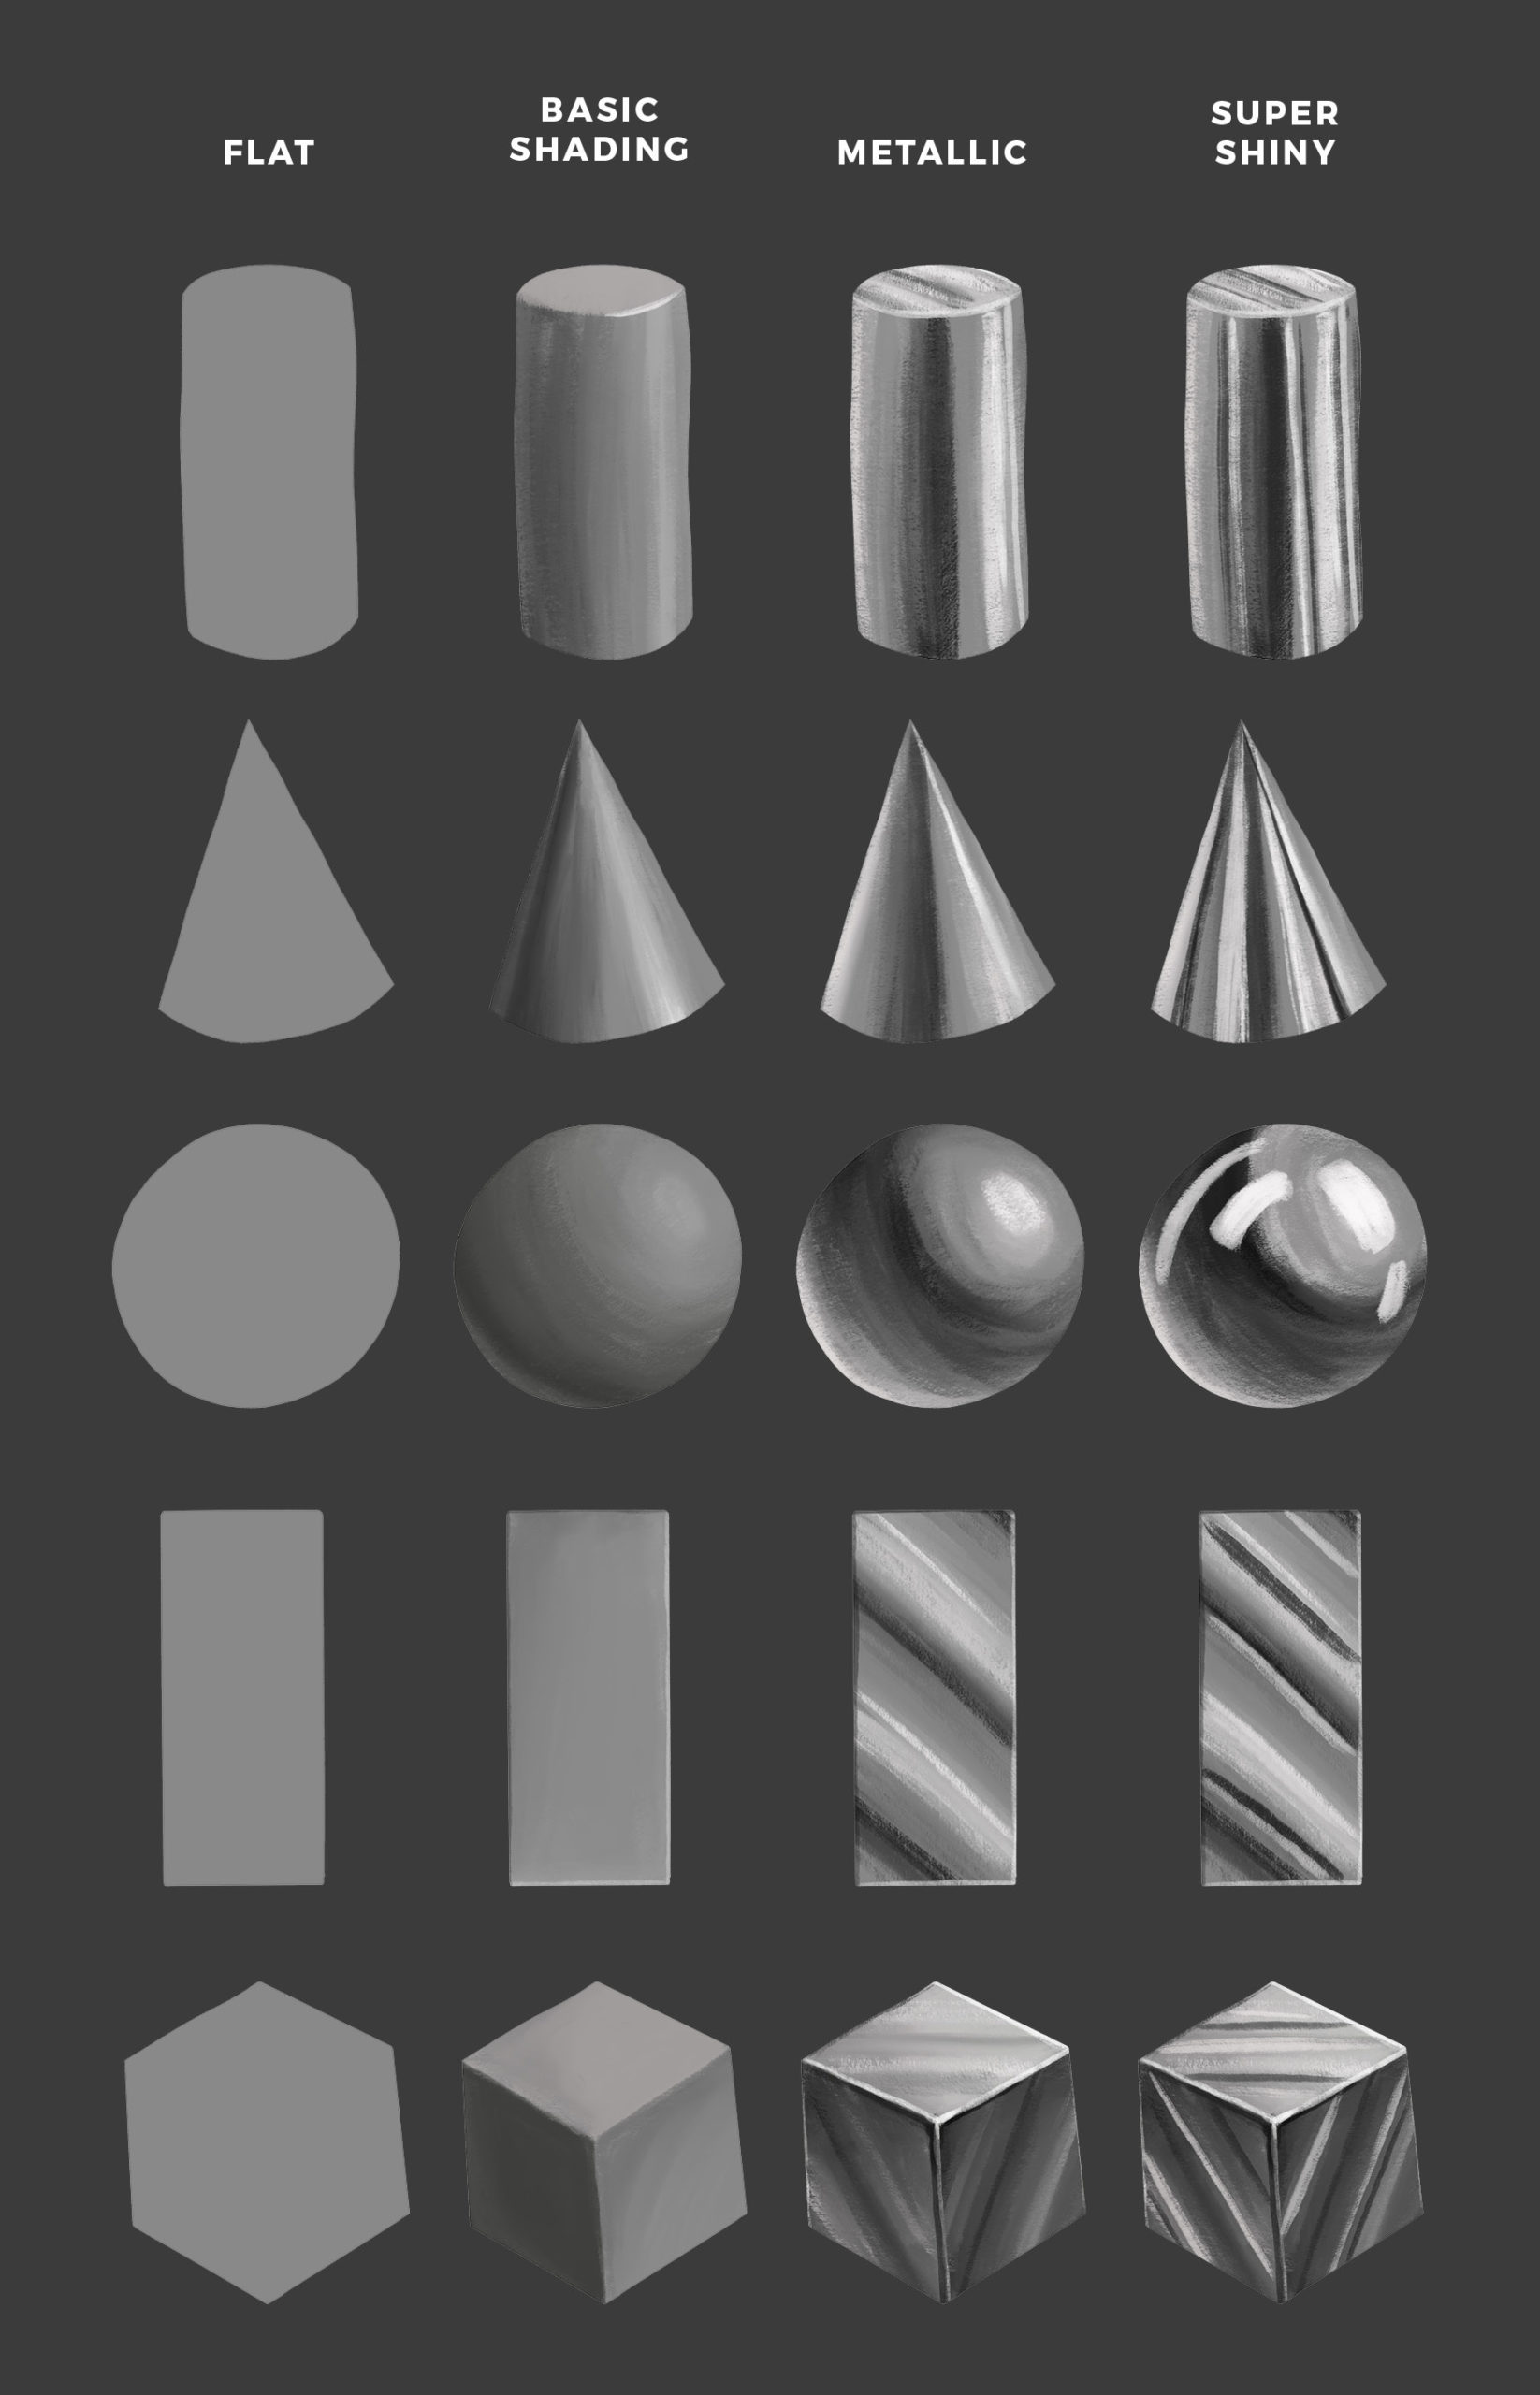
Here are some things you can do to make an object appear more or less shiny
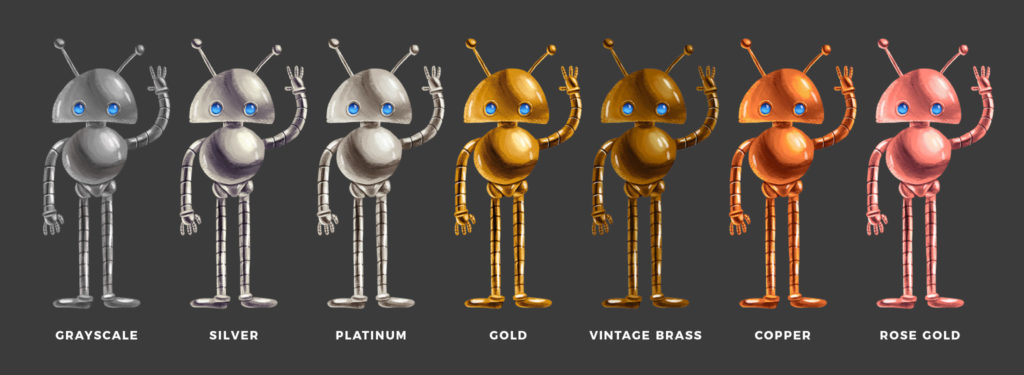
Use Gradient Maps to Make Colored metal
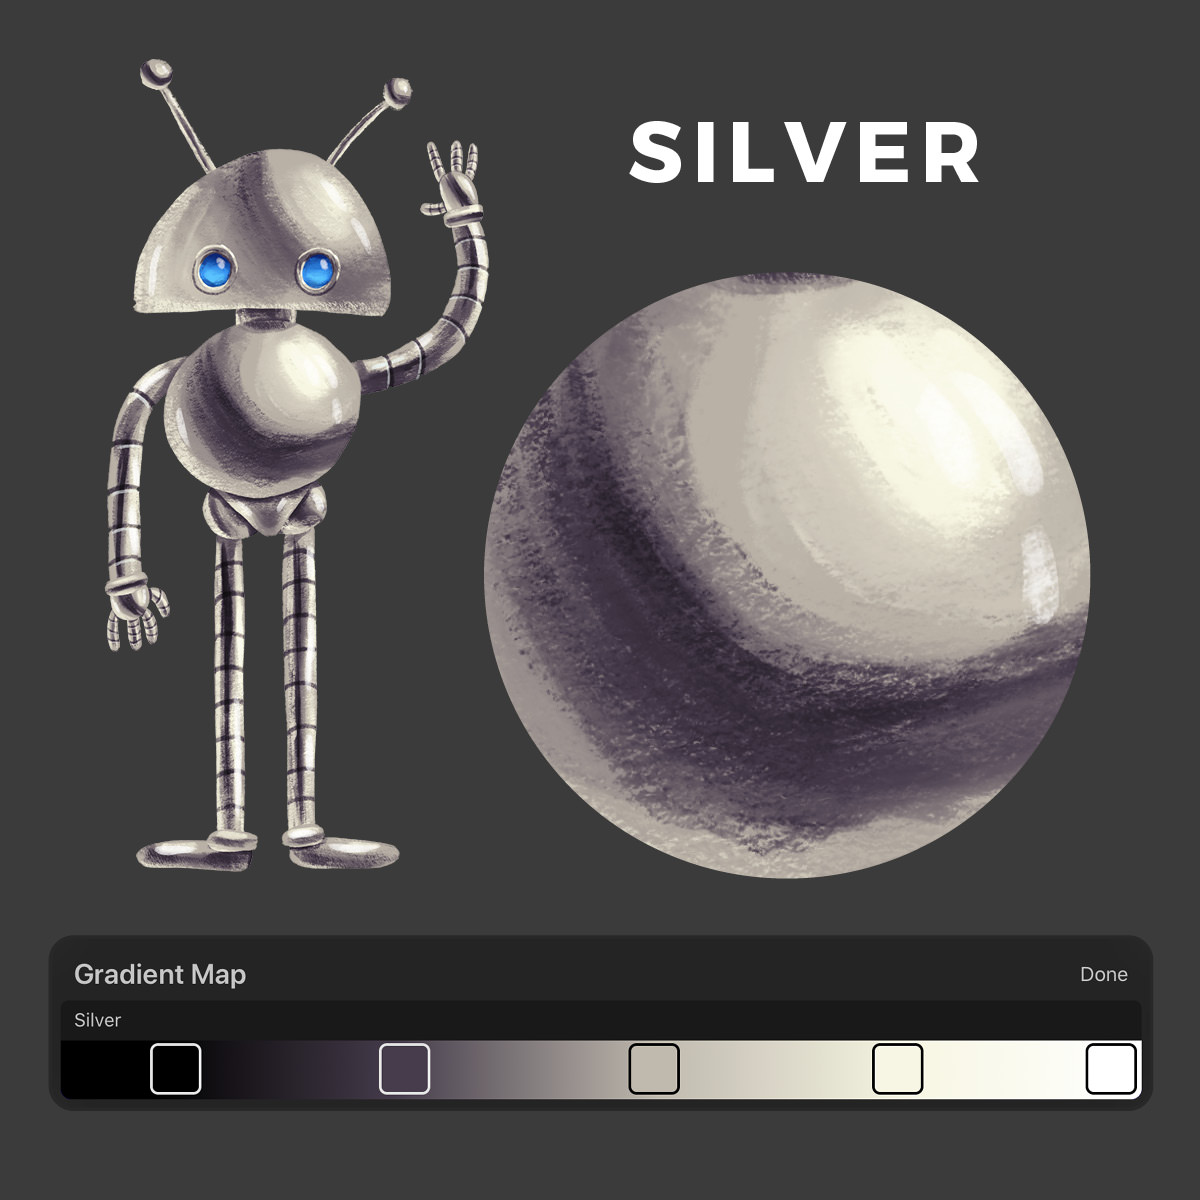
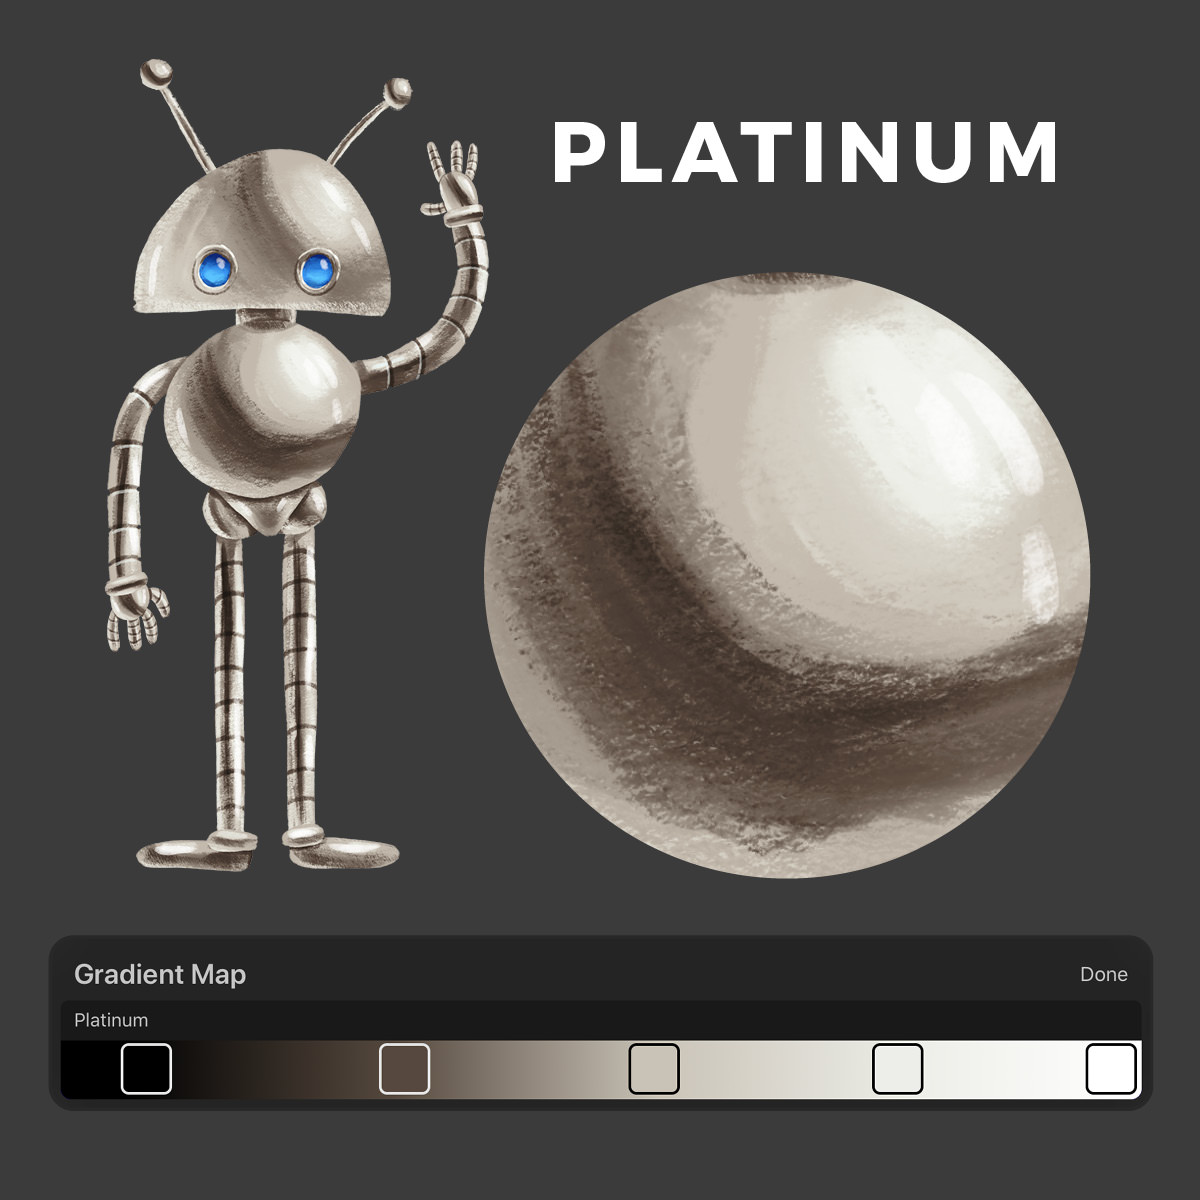
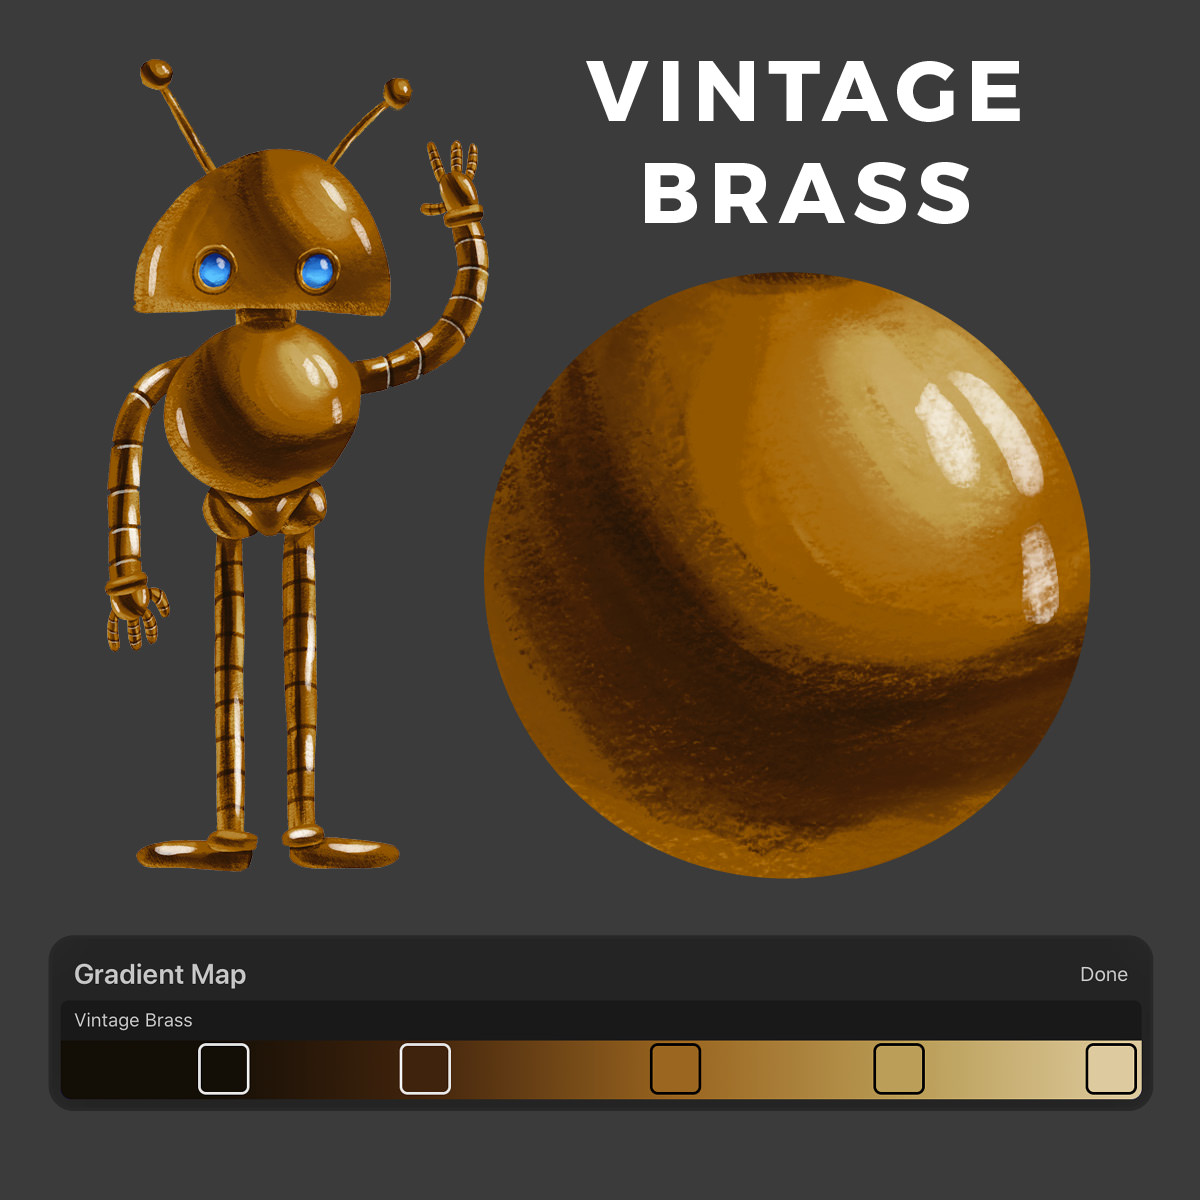
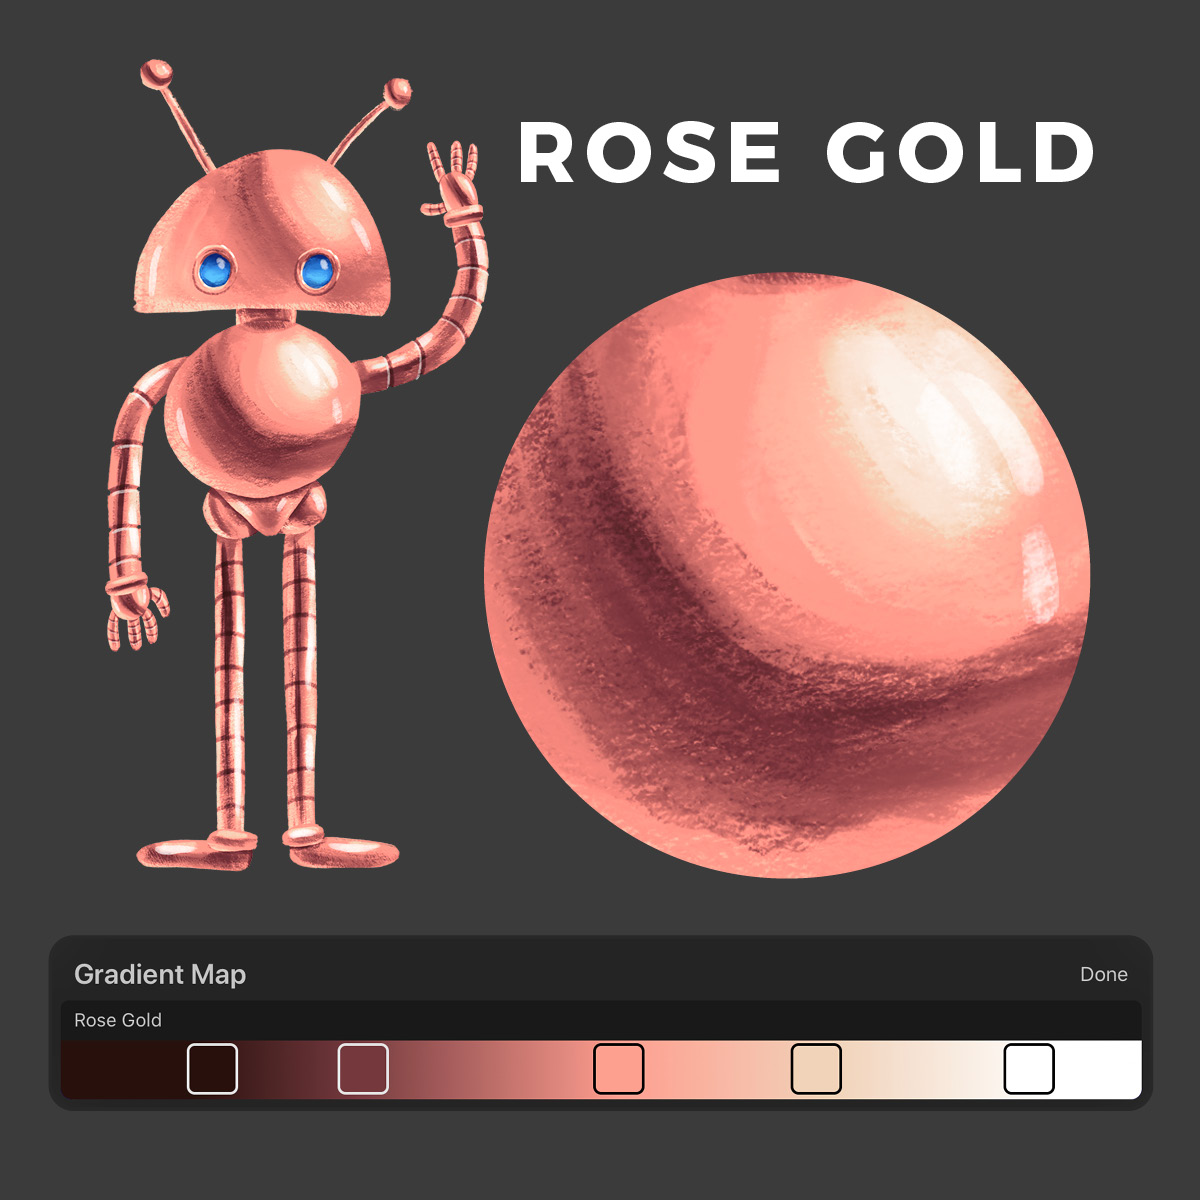
By drawing in grayscale, then using Gradient Maps, you can quickly and easily make your metallic surface gold, silver, platinum, brass, copper, and any other color imaginable! You can change different parts of your illustration by applying a Gradient Map to individual layers. Or, to change everything at once, merge all the layers onto a single layer. Below I’ve given you a FREE Procreate Color Palette so that you can create the Gradient Maps I’ve shown in the tutorial.
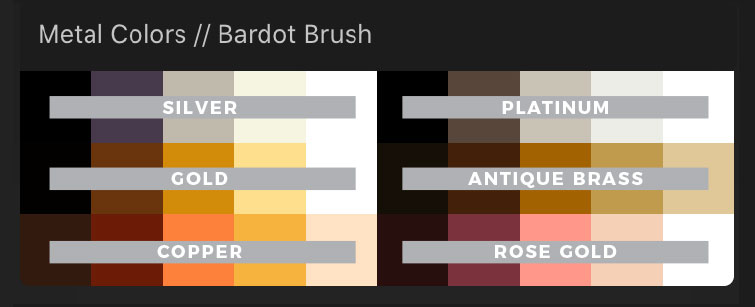
METAL COLORS for Gradient Maps
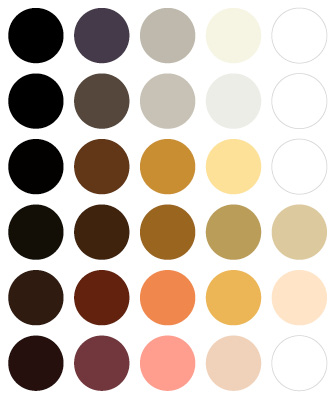
If you’d like to use the exact colors I used to make your own Gradient Maps, you can download this “Metal Colors” color palette for Procreate. It contains all 6 metal colors, each a group of 5. See the image below for labels of each color. Make a new Gradient Map, and add a total of 5 nodes. Use the Palette tab of the color picker to assign one of the 5 colors to each node. Refer to the Gradient Map images below for details about where to place the nodes.
Click to Enlarge


If you’d like to learn more about how to use Gradient Maps in Procreate 5x, check out my Color Play tutorial:
Join me for more livestream drawing
Stay tuned for more live draw videos where we can hang and draw together, I can answer your questions, and show you some cool Procreate tips and tricks!
Where to Watch
Watch on Instagram: @bardotbrush
Watch on Facebook in the Procreate Community and Making Art Everyday // Bardot Brush Groups.

Categories: Live Tutorial Procreate Tutorial
Tags: Gouache Paintbox