©2022 Bardot Brush by Lisa Bardot // All Rights Reserved
This week we are embarking on the human body, starting with the hands! I’m not gonna lie, hands are freakin’ hard to draw. Hands are made up of 27 bones and no less than 15 joints (more if you include the wrists) so needless to say, they can move in a LOT of different ways. Which makes depicting them that much harder. With that in mind, let’s embark on this hand-drawing journey. We’ll be starting with the fingers!
TRUTH BOMB: your first drawings of hands and fingers are probably going to look bad. Don’t worry about it too much, celebrate that you are trying, and understand that you’ll get better with practice.
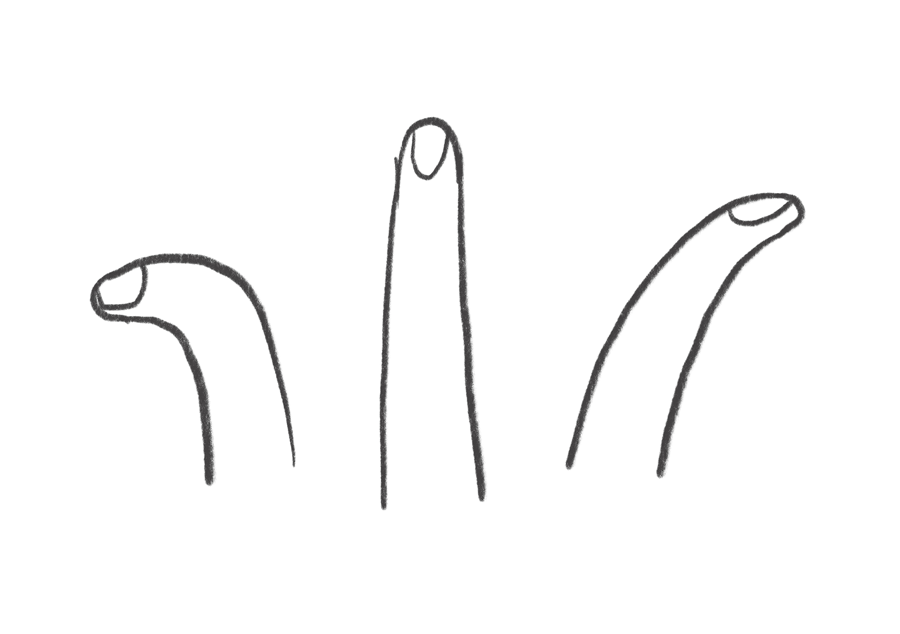
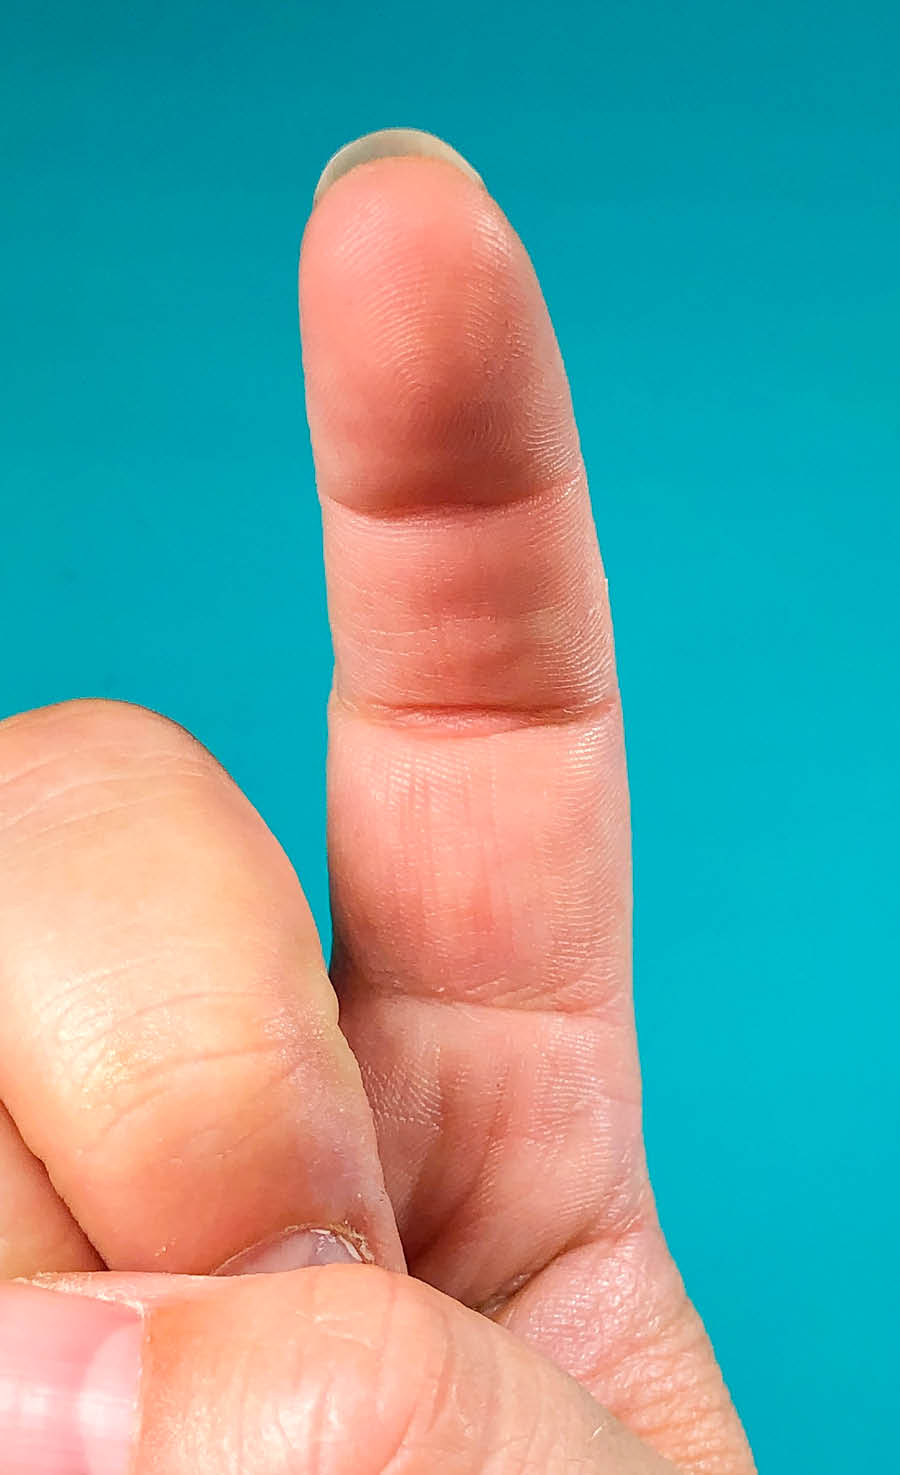
Tapered Cylinder
Three Sections
Rounded Tip
Fingernail
Wrinkles & Creases
in Joints
Straight On Top
Curved Underside
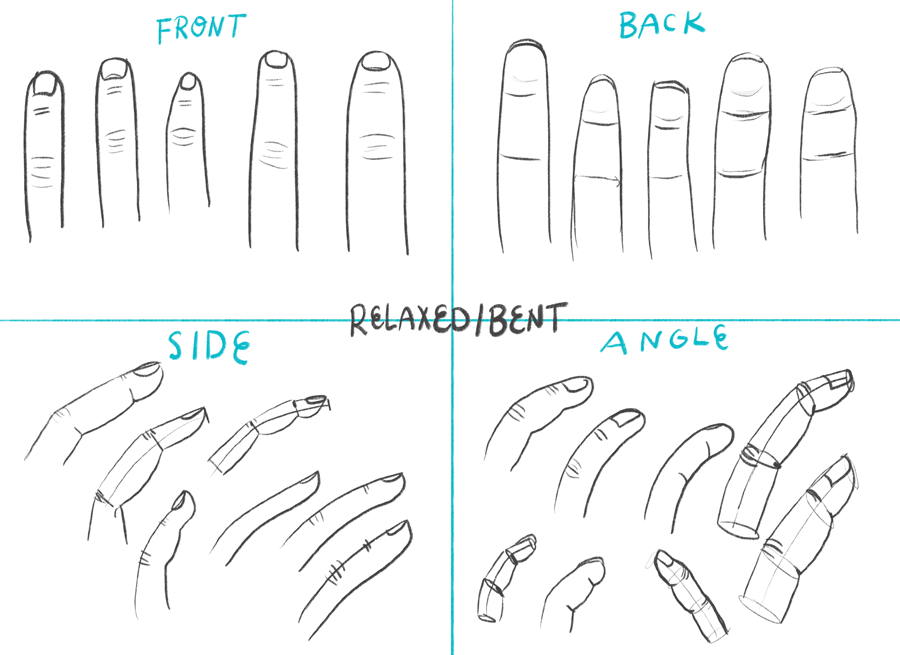
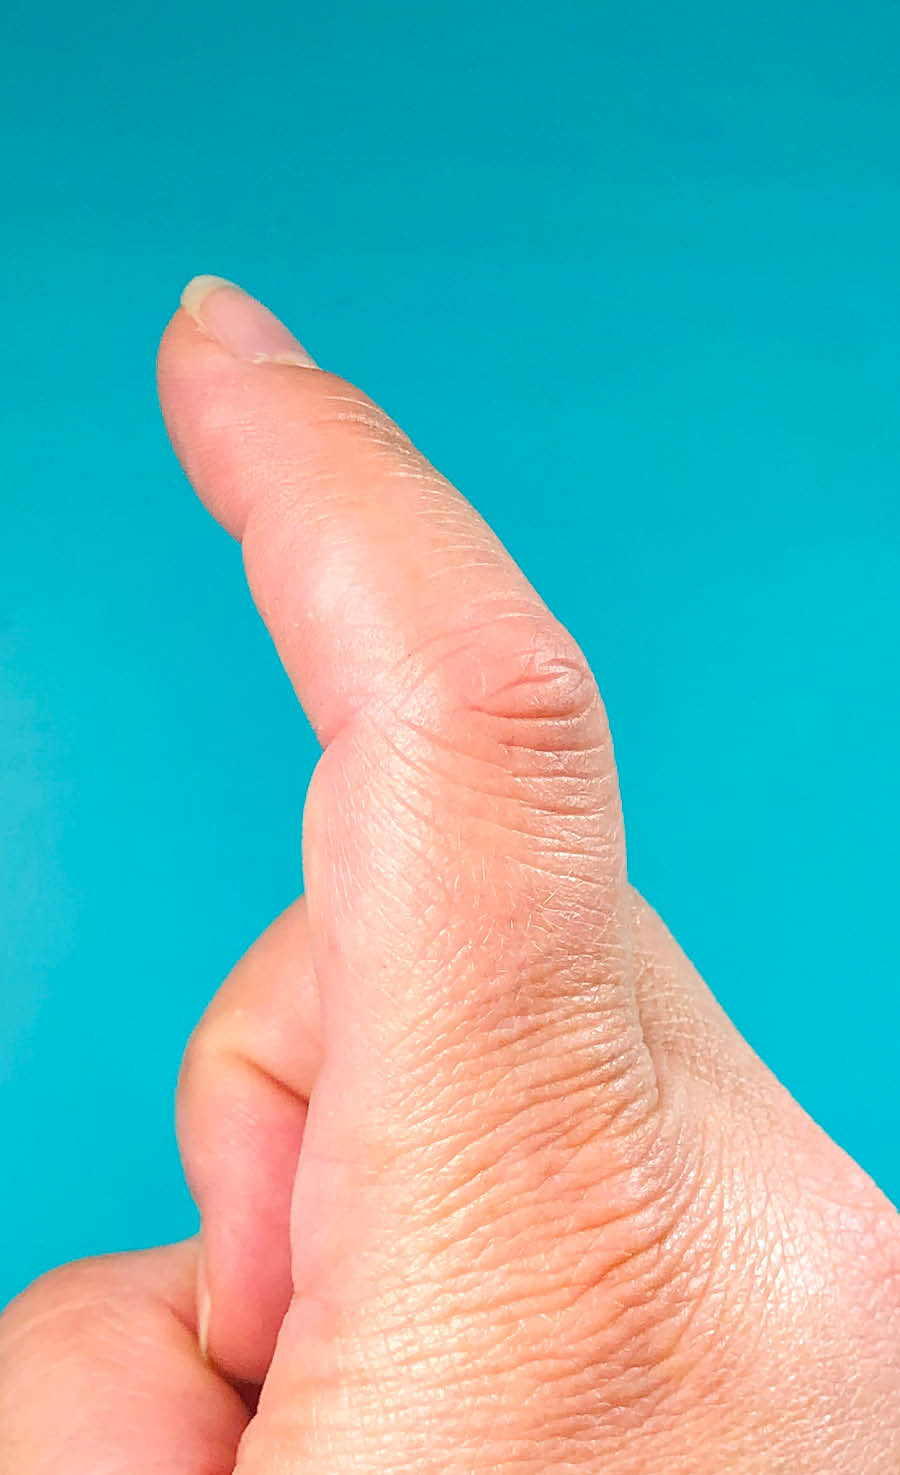
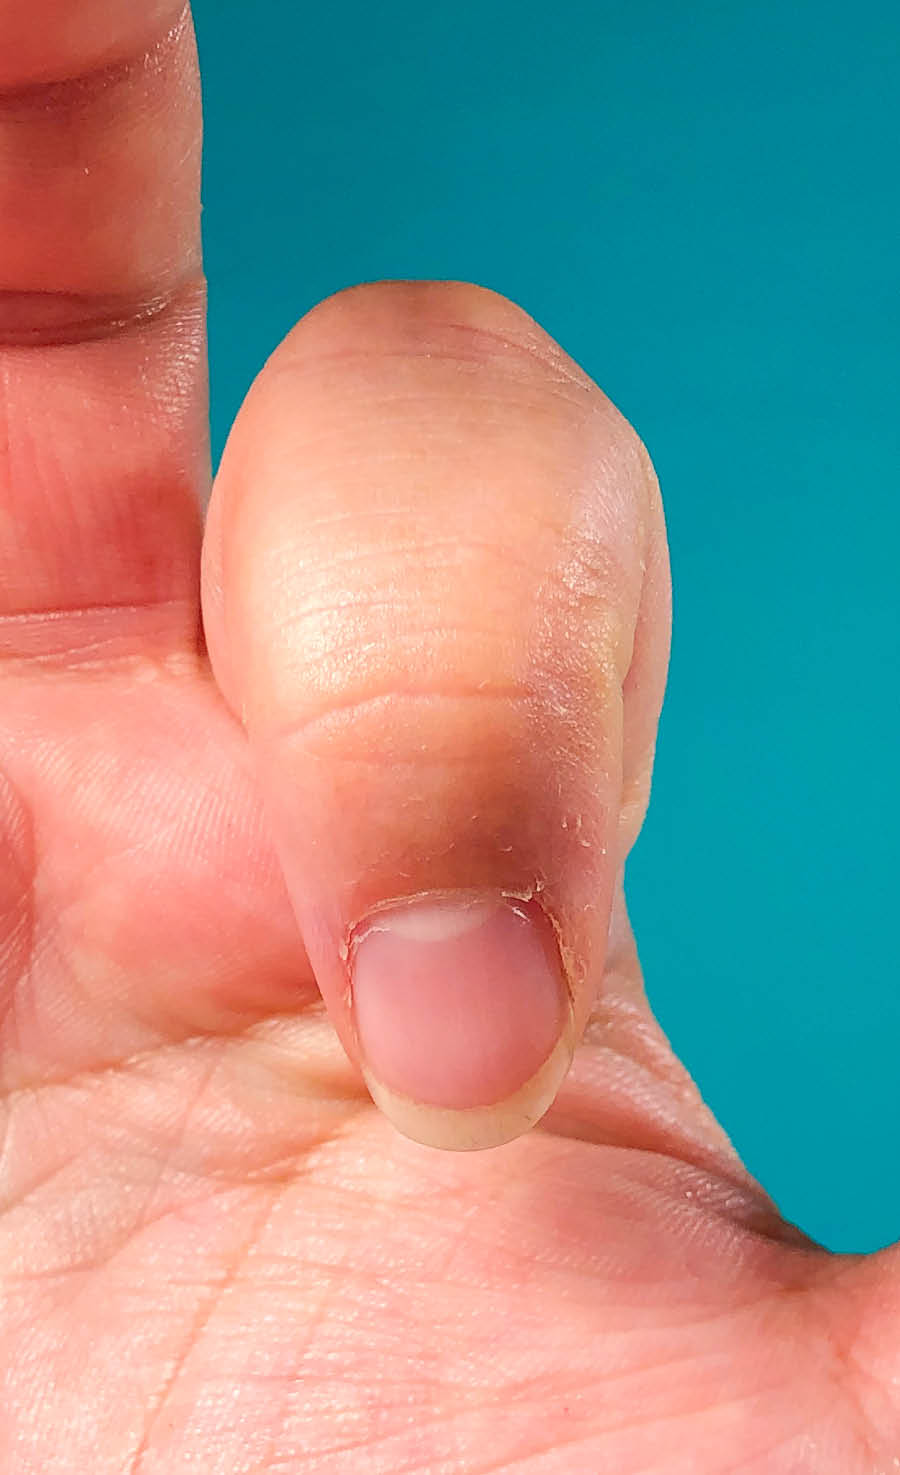
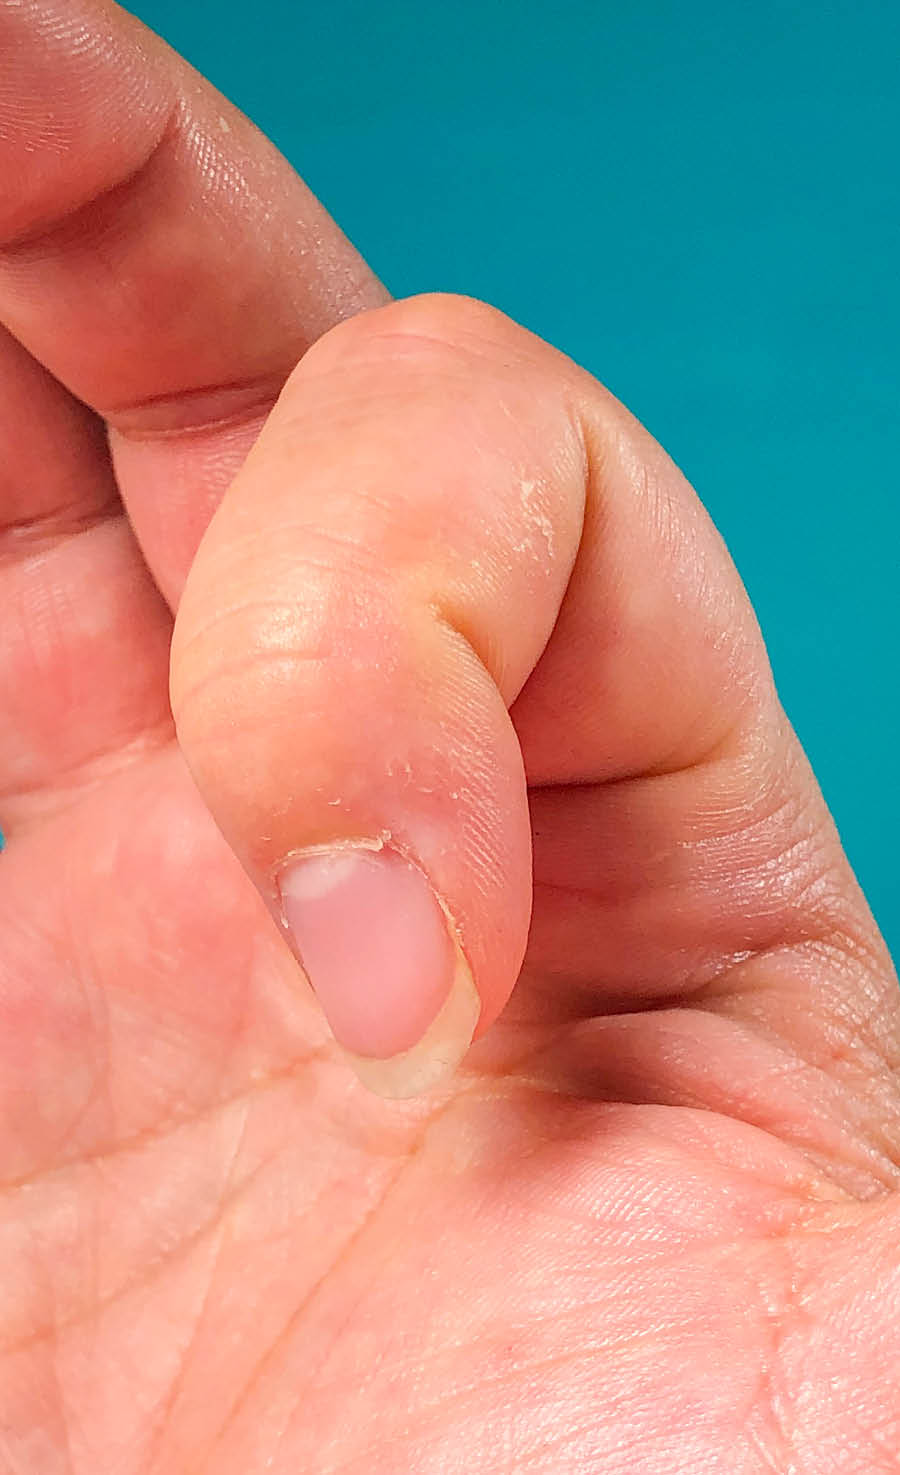
Keep looking for more details like additional wrinkles in the skin and different ways the fingers can move.
Build up your finger-drawing chops to gain an understanding of how fingers move and look. Follow the steps in the tutorial above to practice drawing the thumb and finger in the three positions at four angles each. By the end you will have practiced drawing fingers in over 24 different ways!
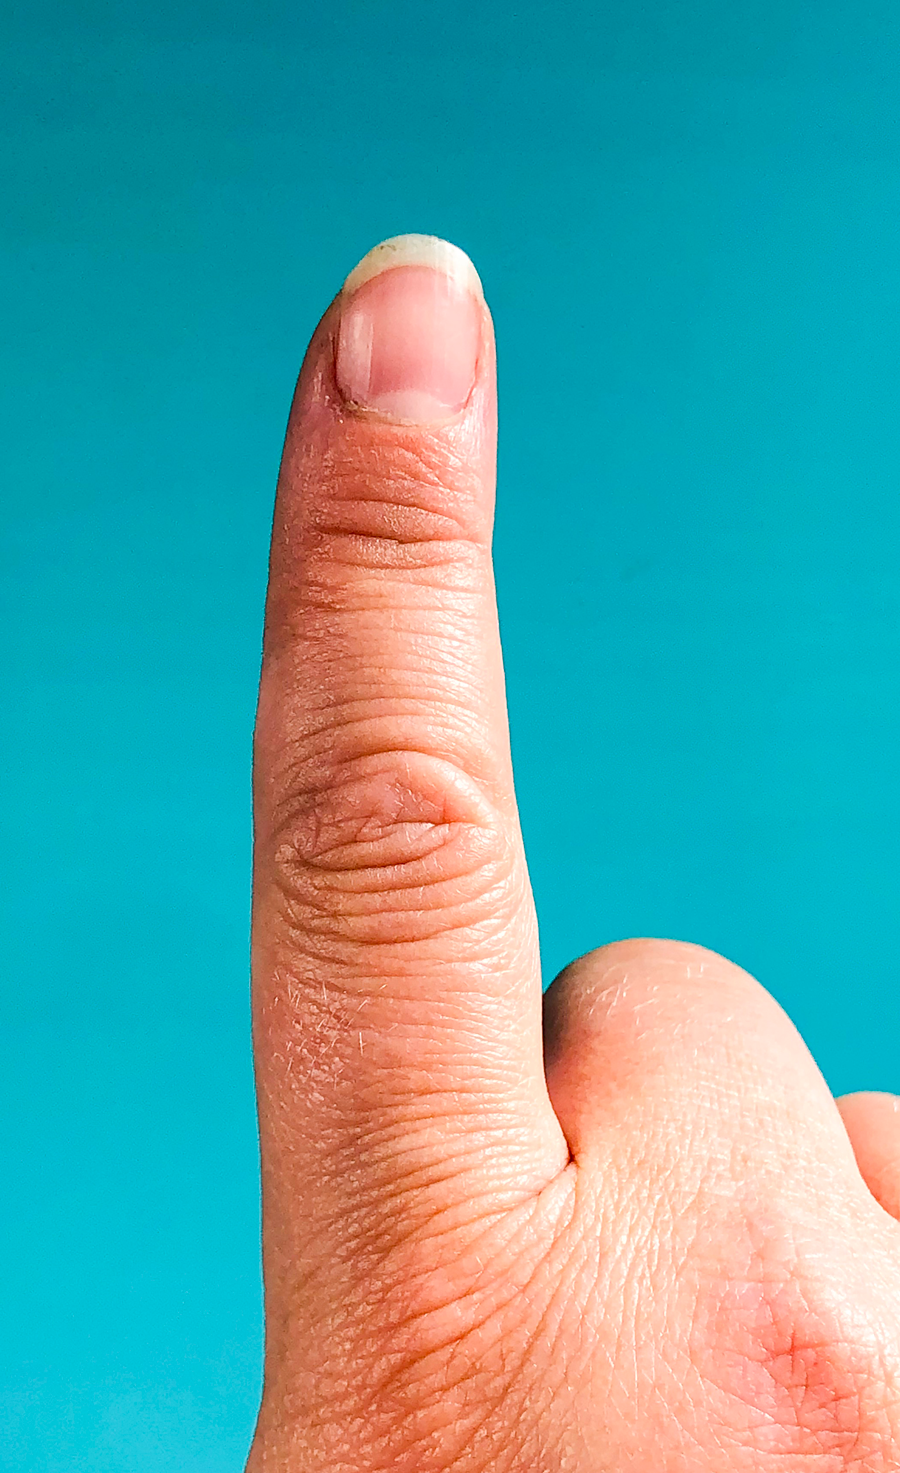
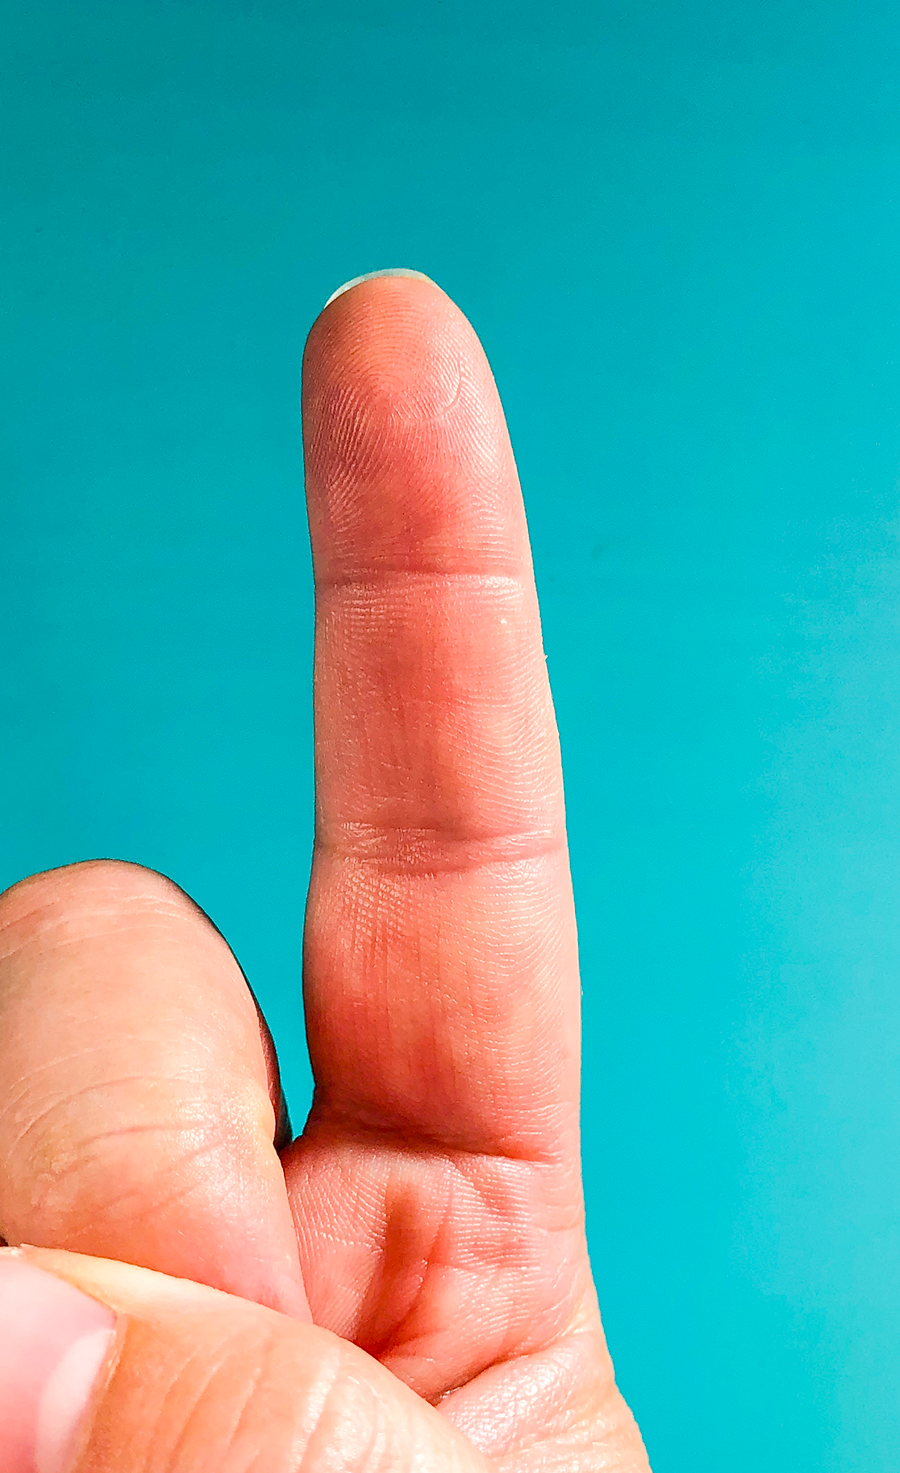
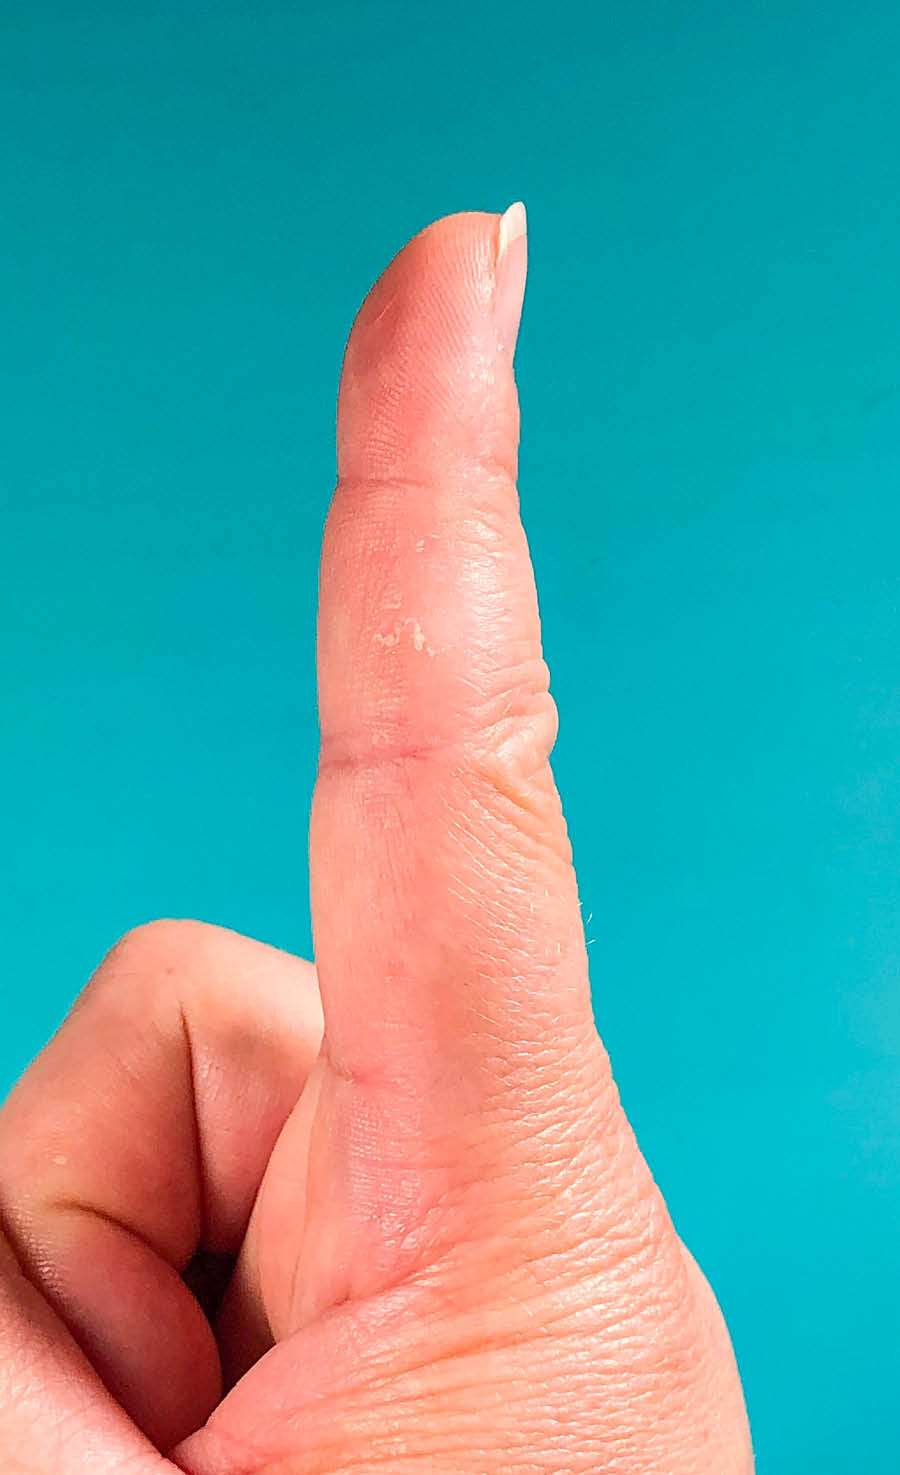
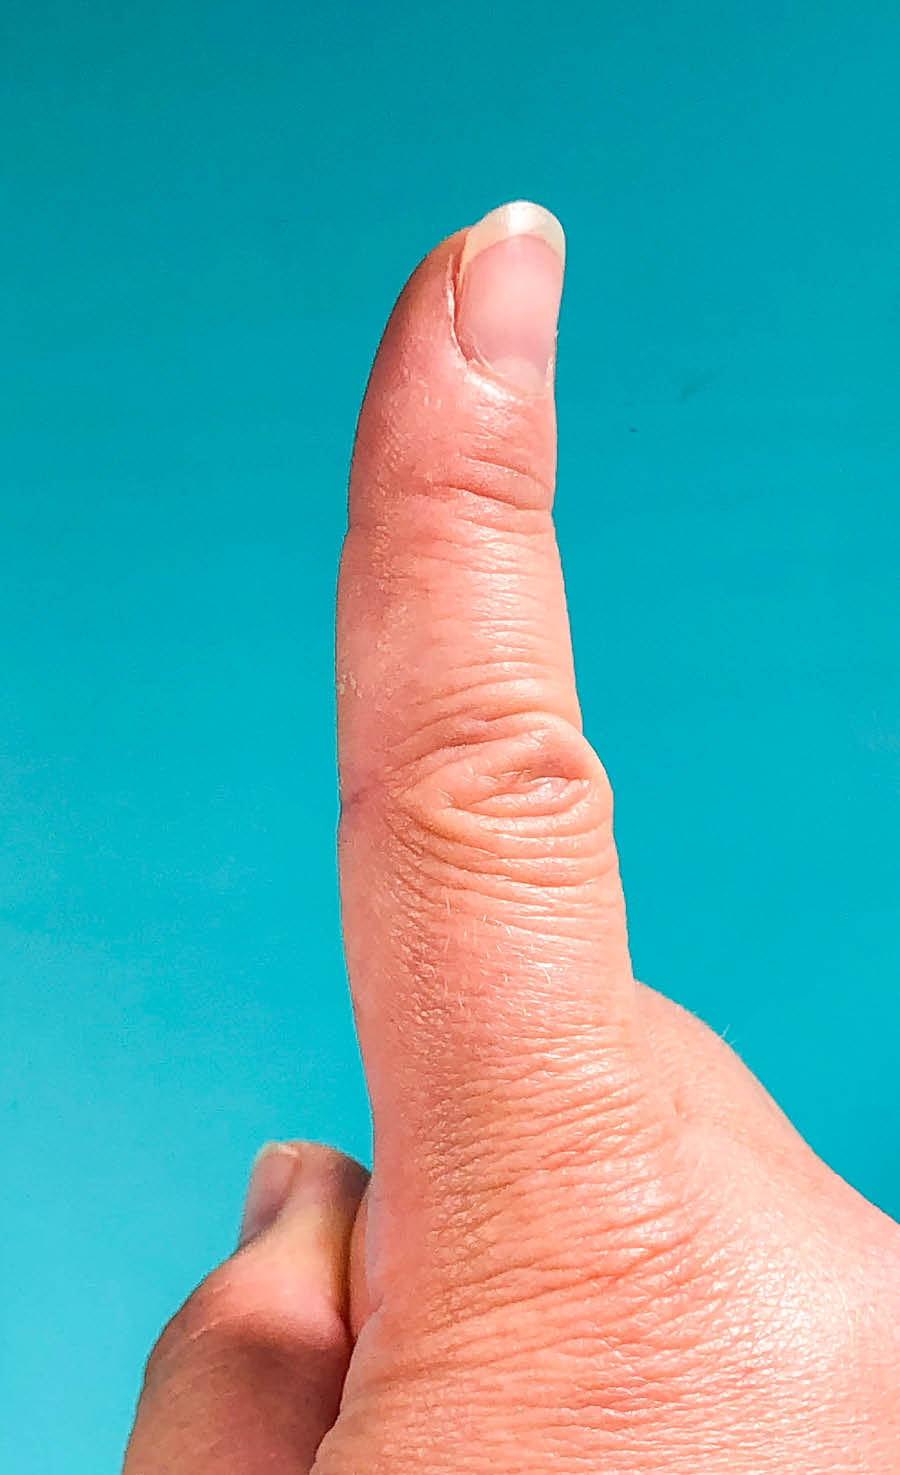
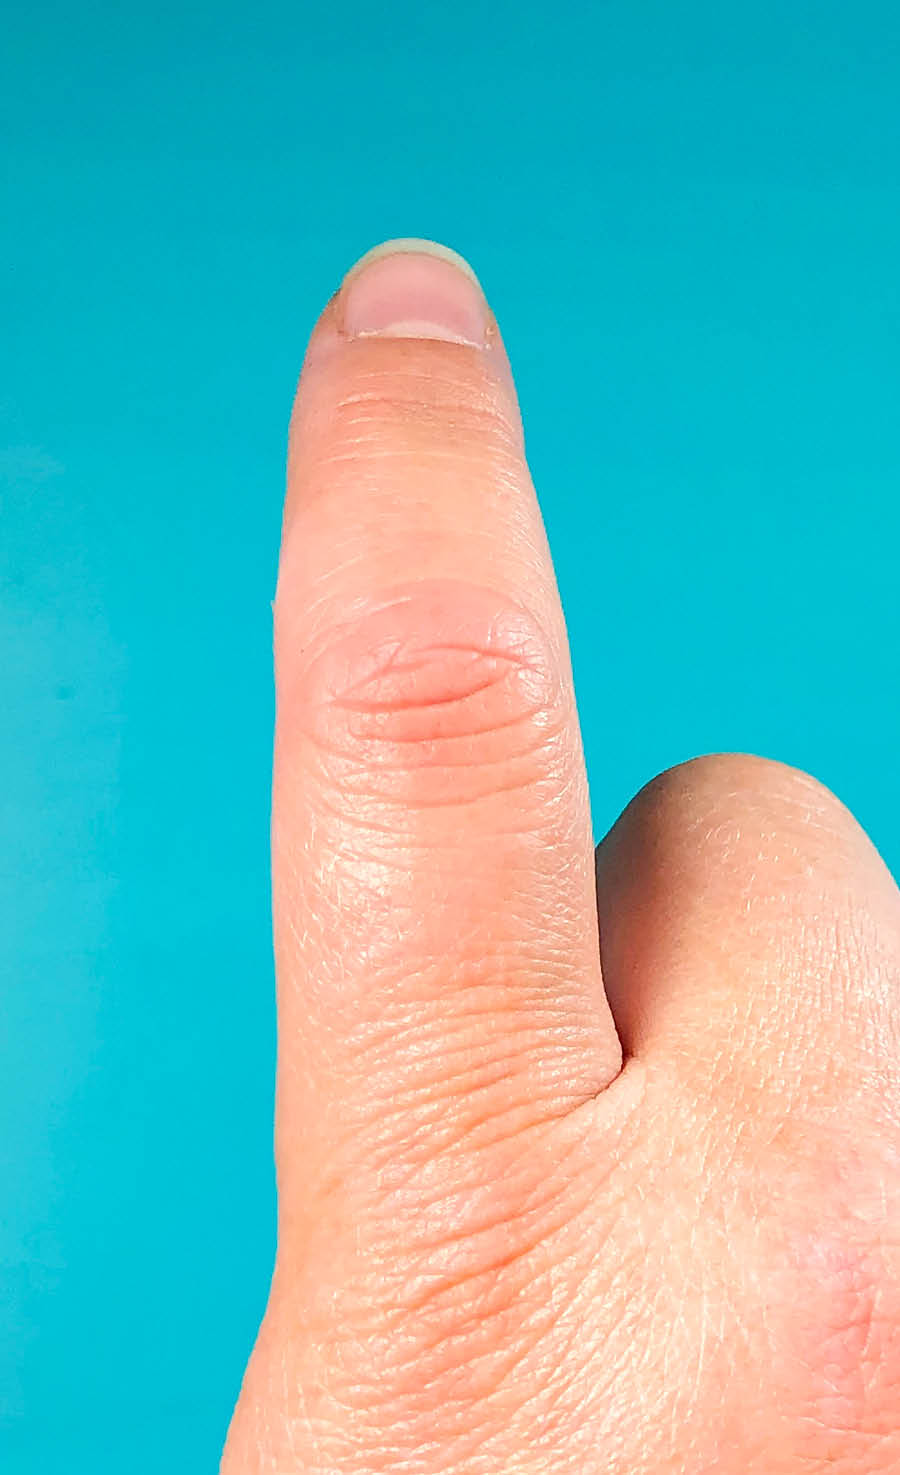
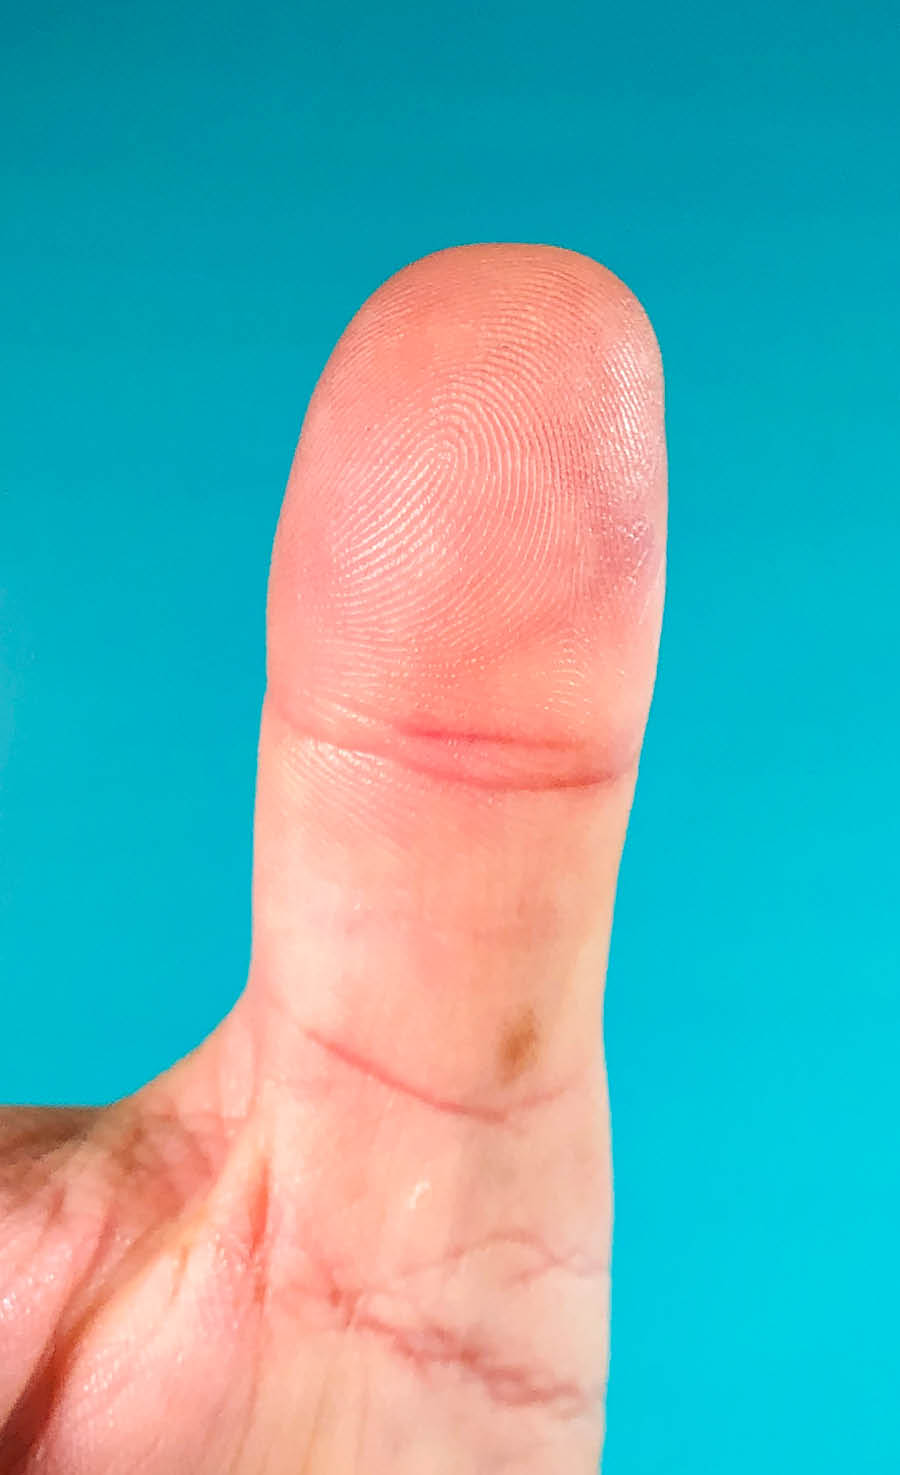
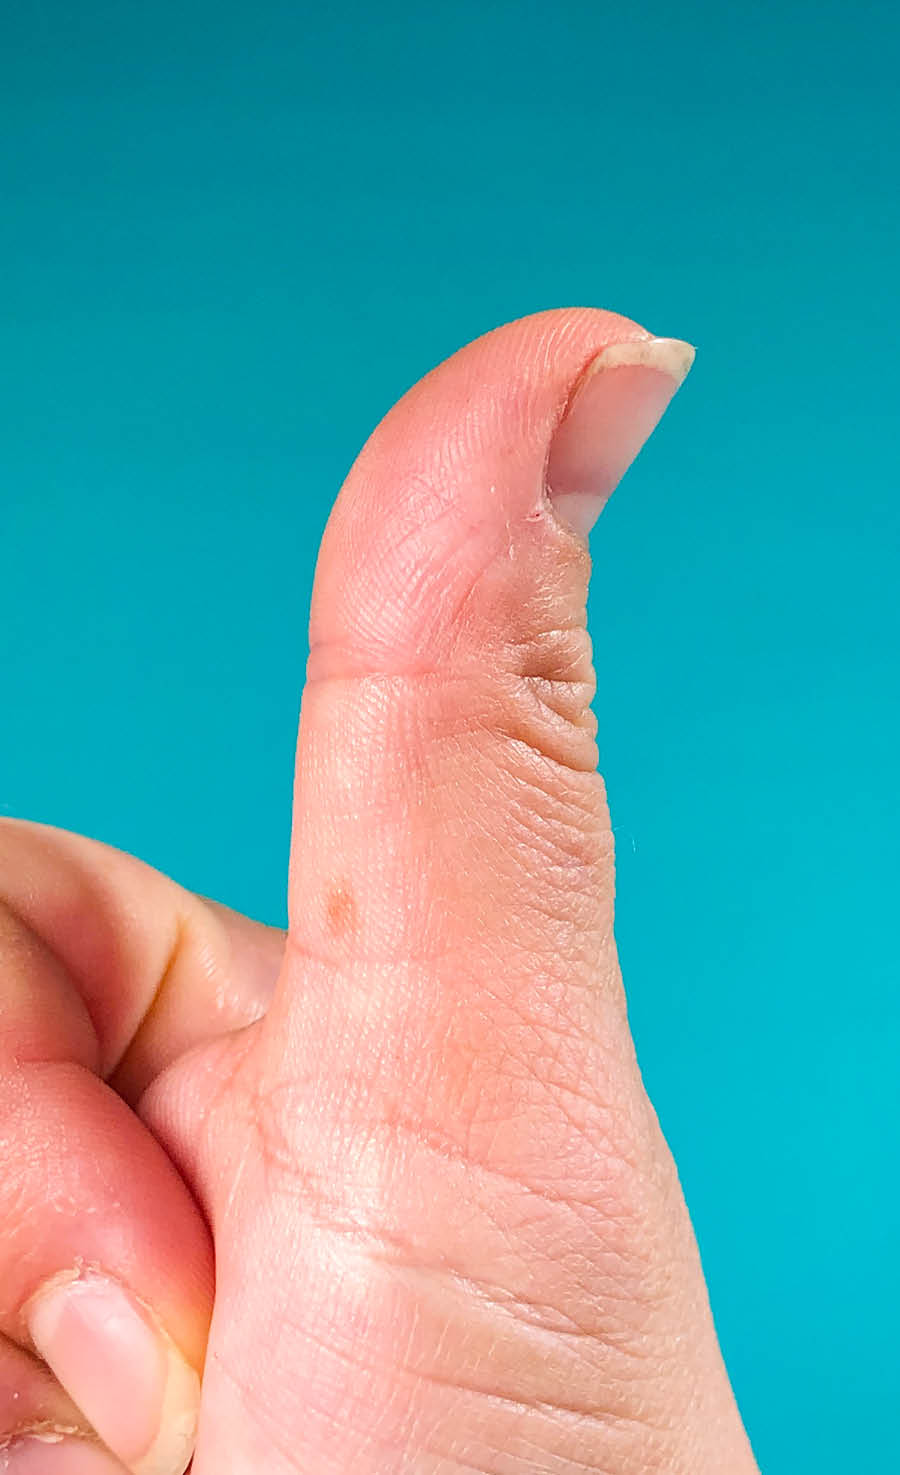
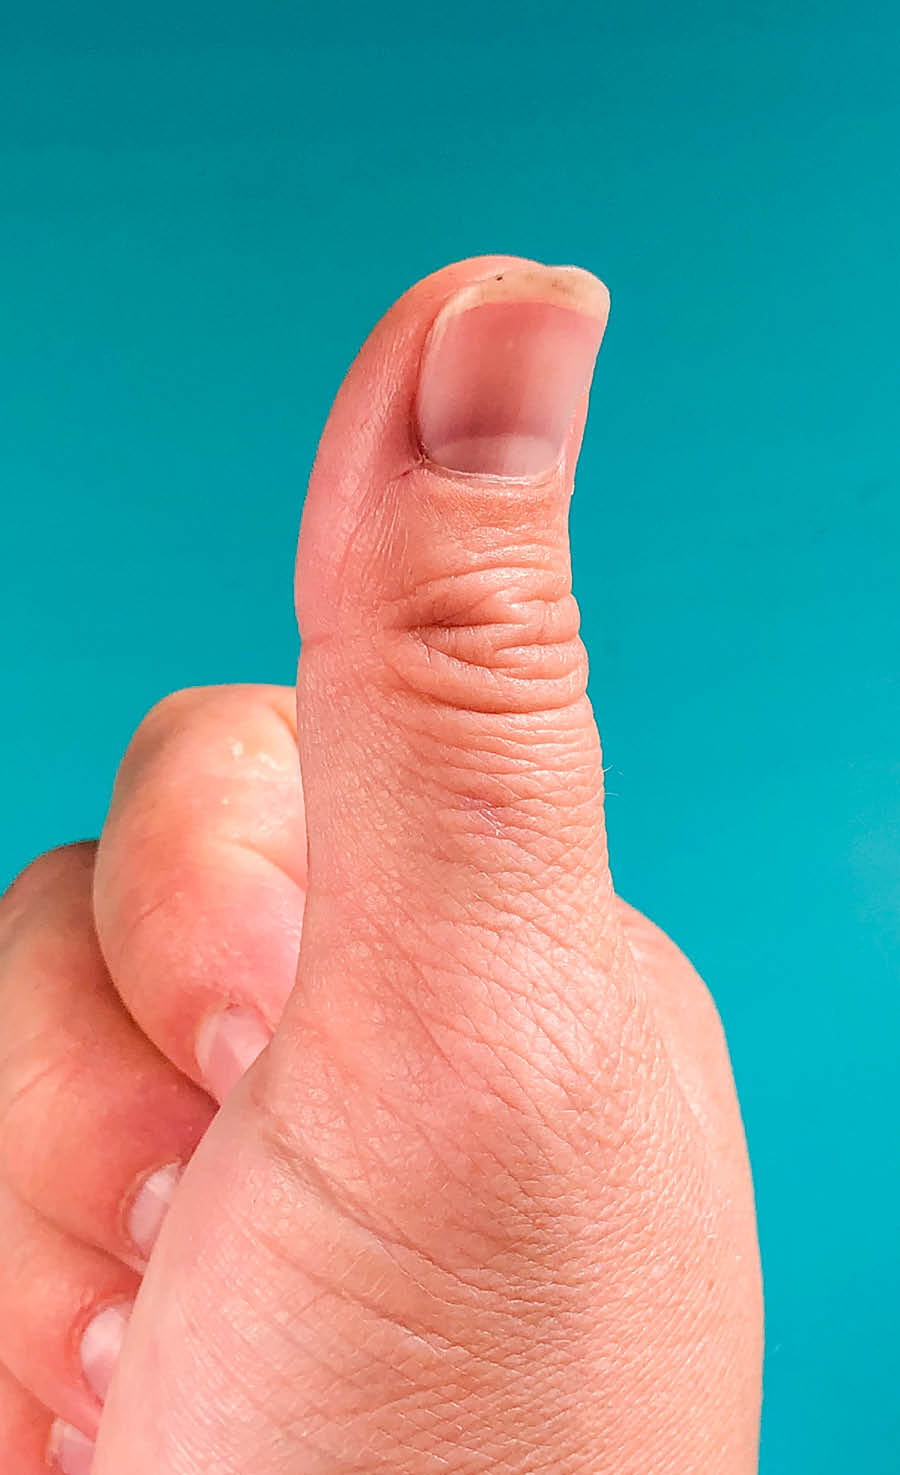
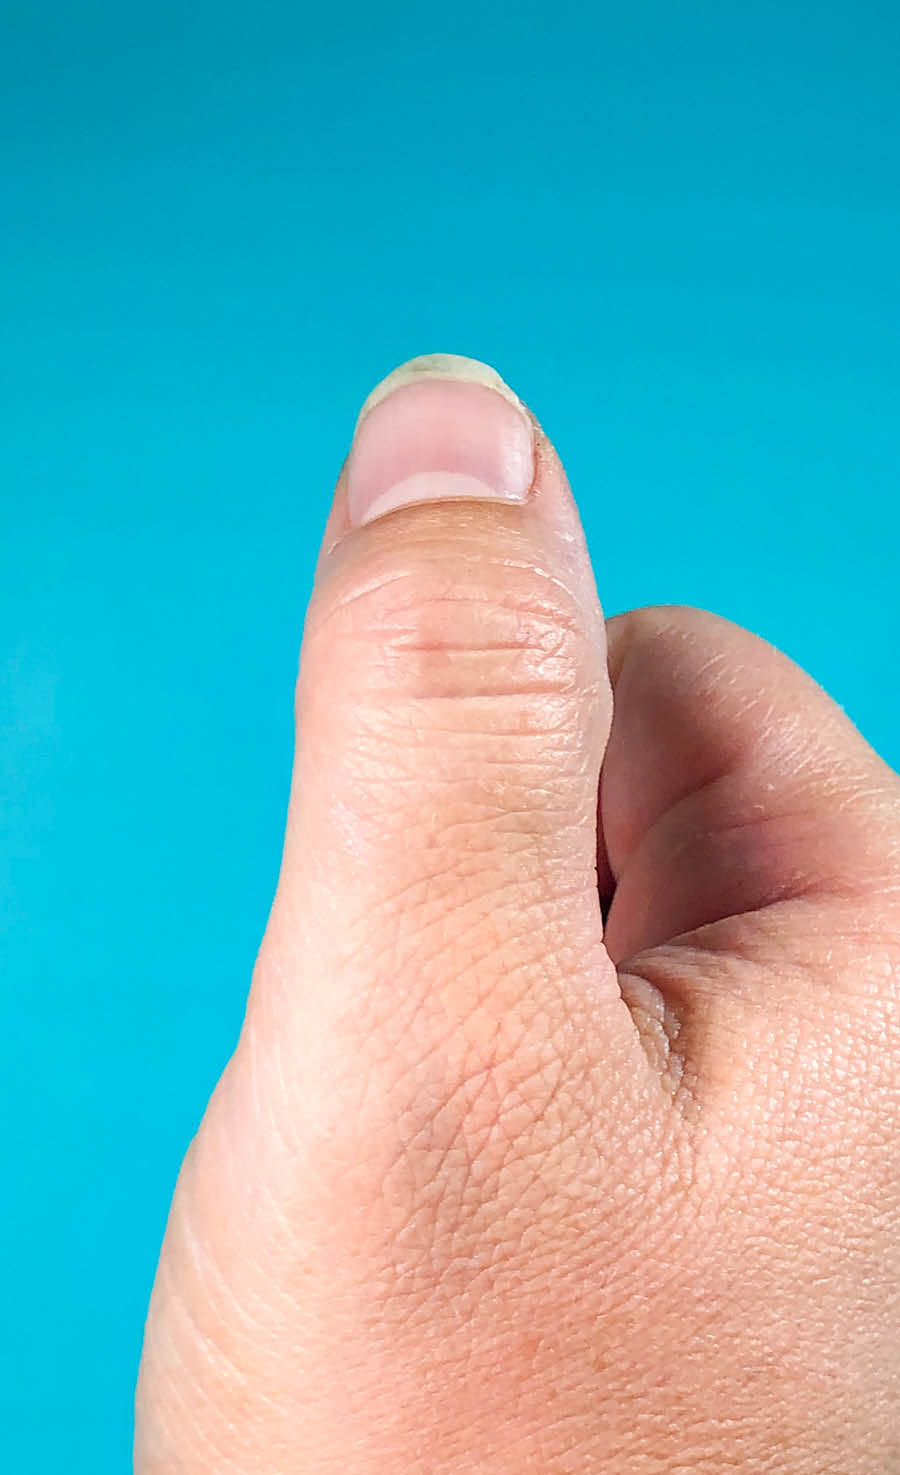
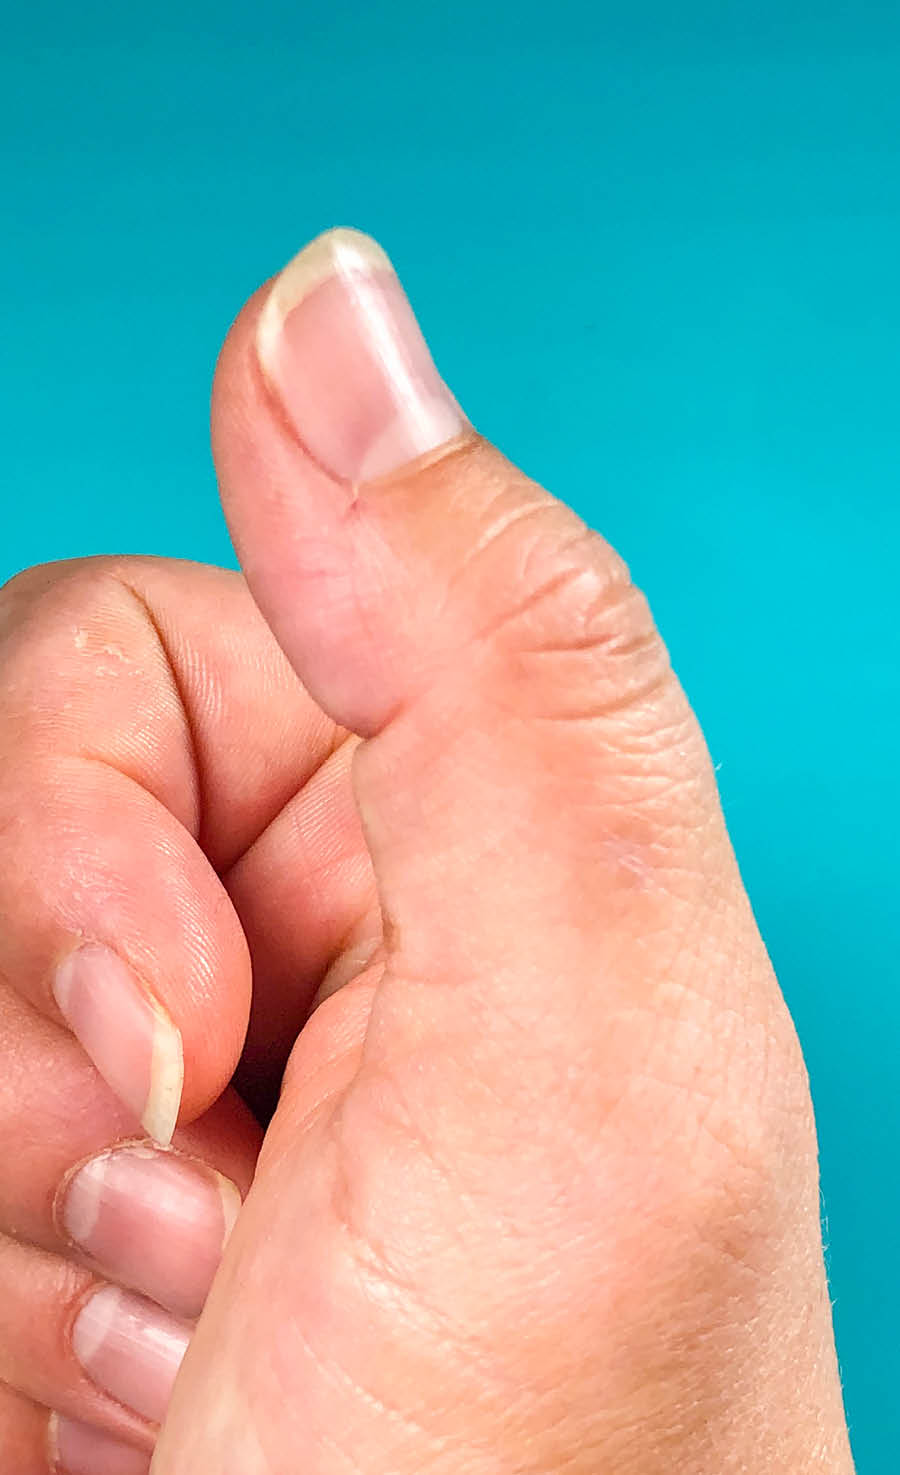
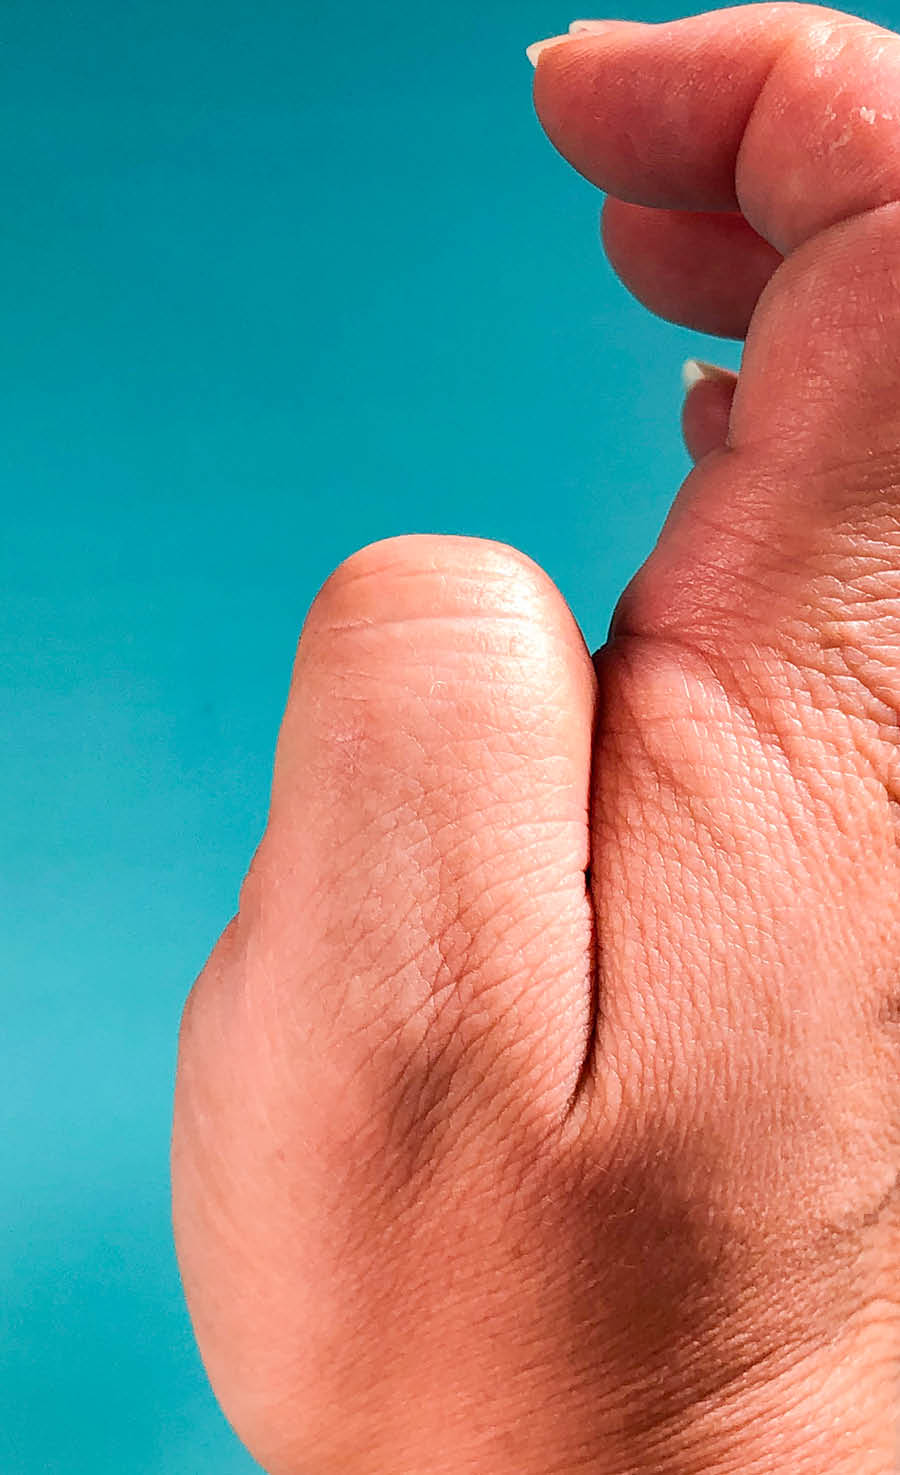
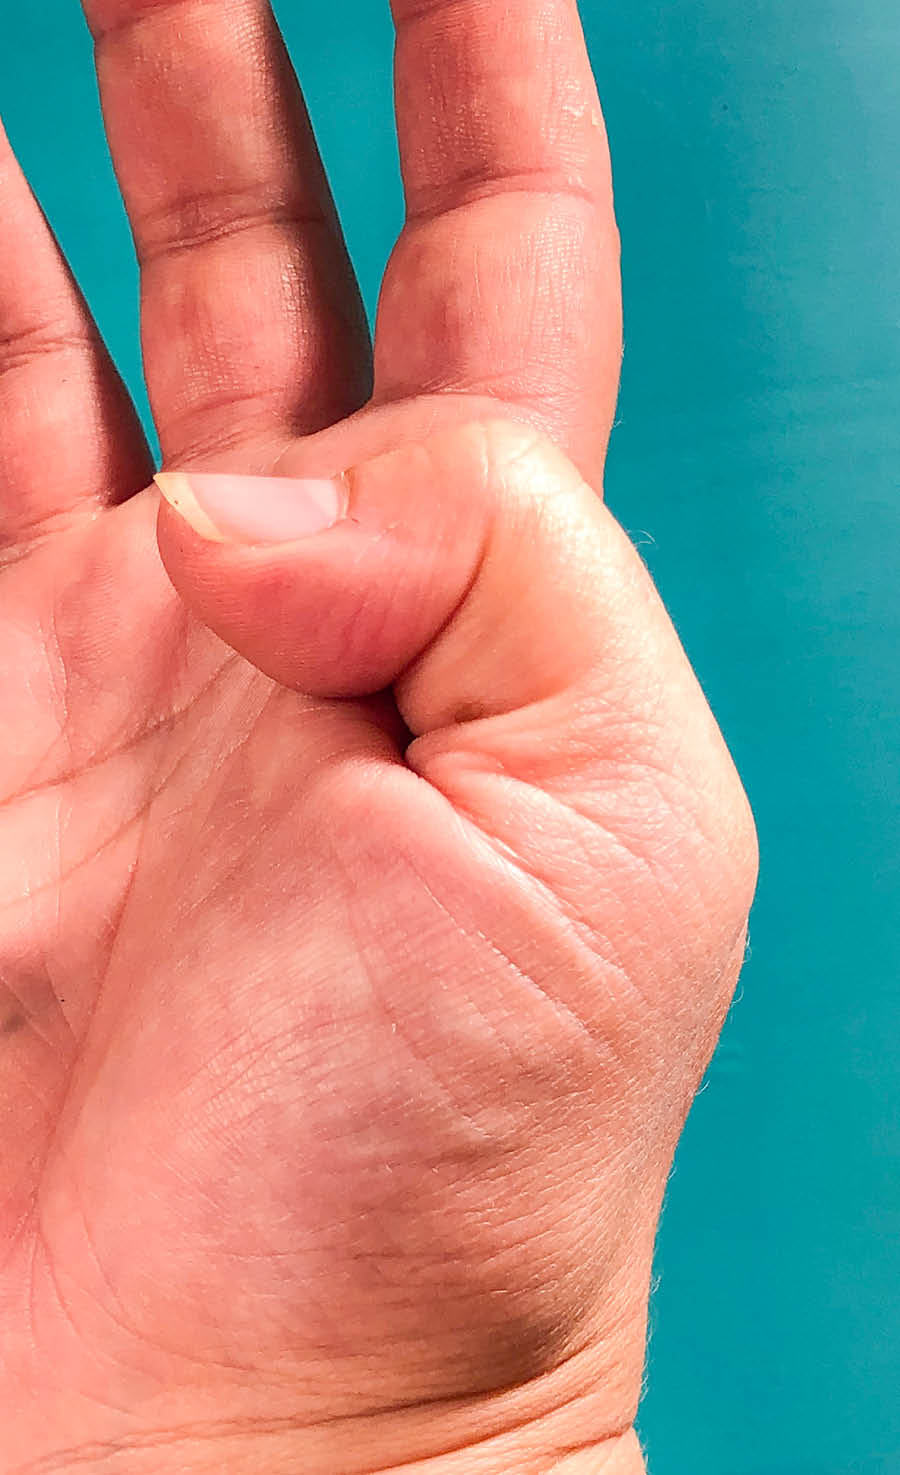
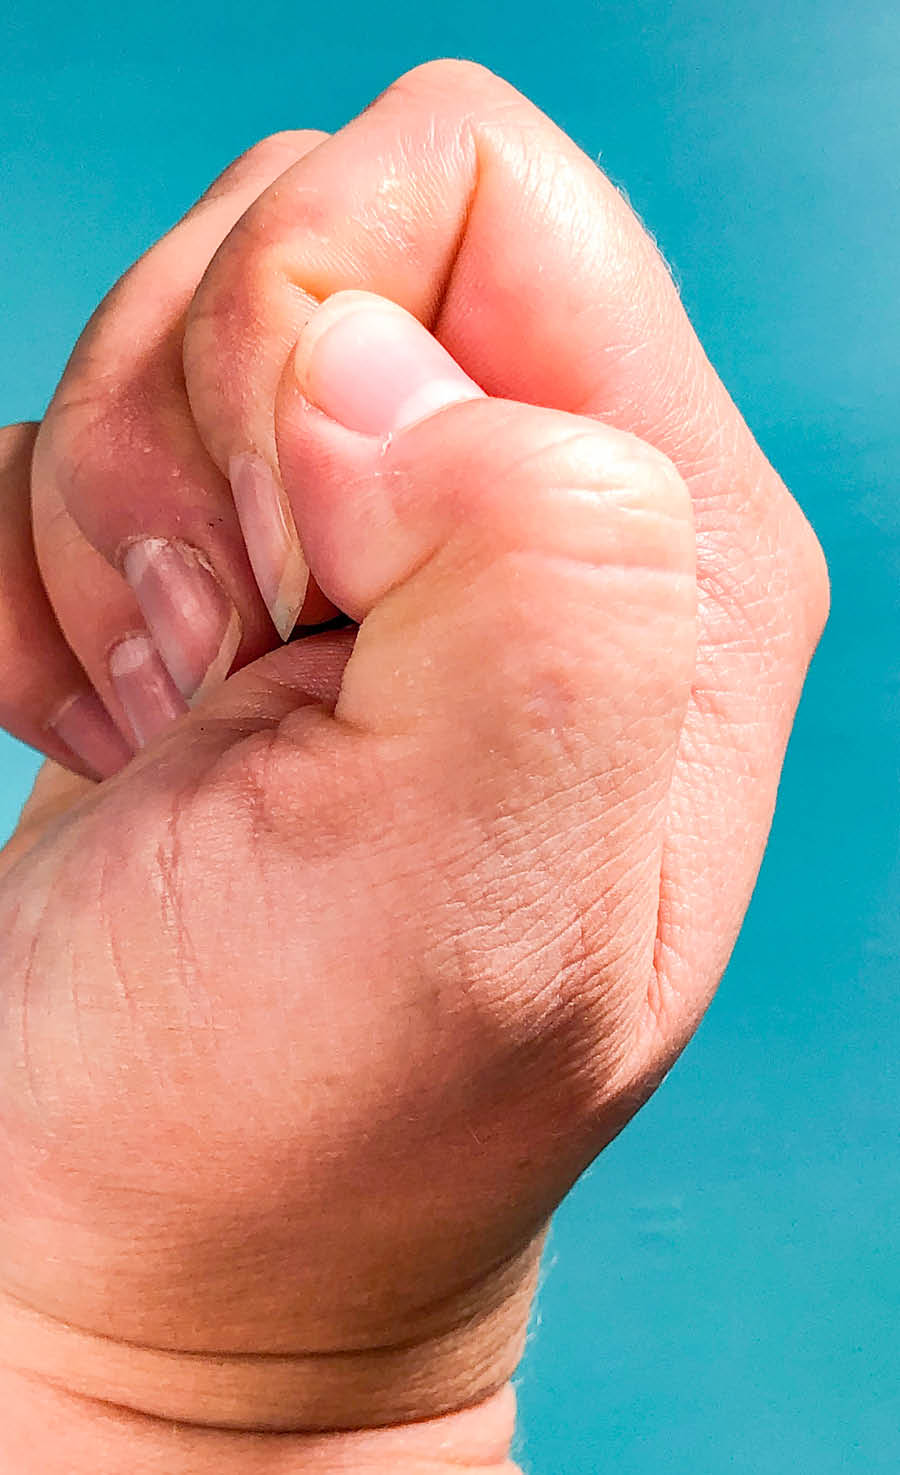
I spent some time contorting my finger in order to make some reference photos for you. Feel free to use these, but know that you have an even better reference with you at all times — your own hand!


Keep researching, observing and learning! I’ve made a Pinterest board full of additional resources to help you learn more about drawing fingers and hands.
This lesson is a part of a month-long series that will get you you familiar with the basics of drawing humans, and help you develop your own people-drawing style. To learn more, check out the People Skills Intro, or continue on to the next lesson below.
We’ll stock your inbox with Procreate tips, new releases, and free goodies!
Bardot Brush was created by California-based illustration artist, teacher, and all-around creative person, Lisa Bardot.
©2022 Bardot Brush by Lisa Bardot // All Rights Reserved