How to Draw Environments
For the month of November, we are focusing on drawing environments with the Making Art Everyday challenge! Environments in illustration are the backgrounds of the scene you are creating. When you are learning to draw, it’s easy to fall into the comfort zone of drawing a subject on an empty background. It seems overwhelming and time-intensive to draw anything more than a simple background. But the environment adds so much to the story you tell with your art and can really take your work to the next level.
Becuase environment illustration does require more time than you might have in a day, I’m breaking the task of illustrating an environment into a two-day process. Read on to learn how to approach your environment drawings!
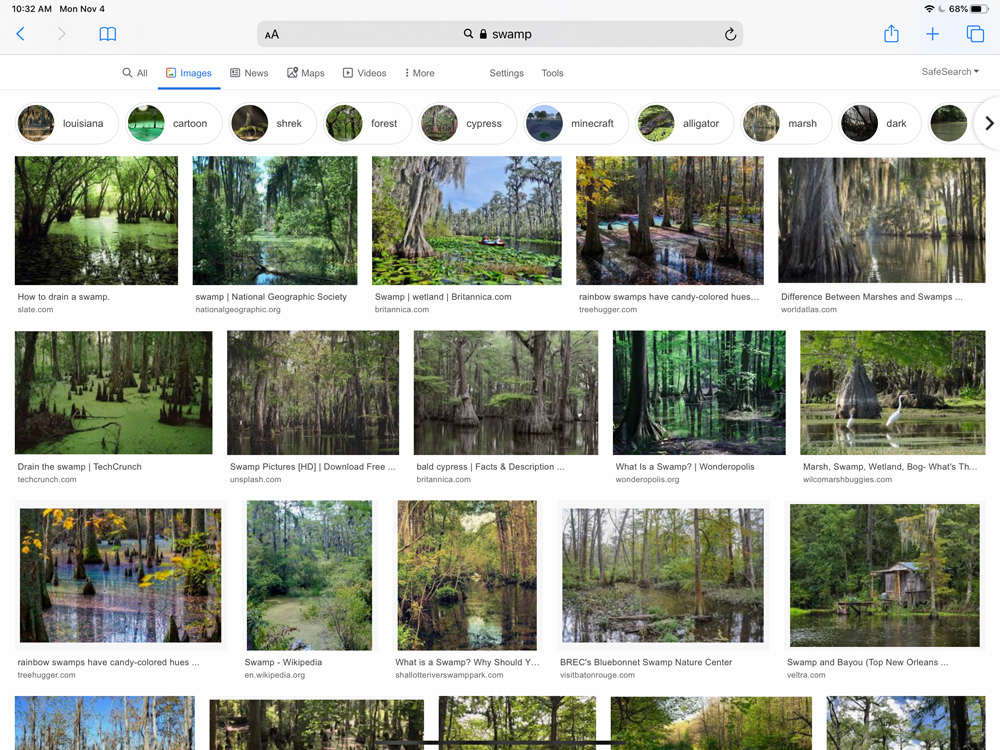
I've created a board of inspirational environment illustrations for you to peruse:
Day One: Sketch & Color Planning
Start with Research
Do an image search for the environment you’d like to draw. Think about what elements you’d like to include in your drawing. Things that caught my eye about these swamp photos: trees growing out of algae-covered water, Spanish moss hanging from branches, weird triangular things sticking up out of the water, cattails and reeds.
Initial Rough Sketch
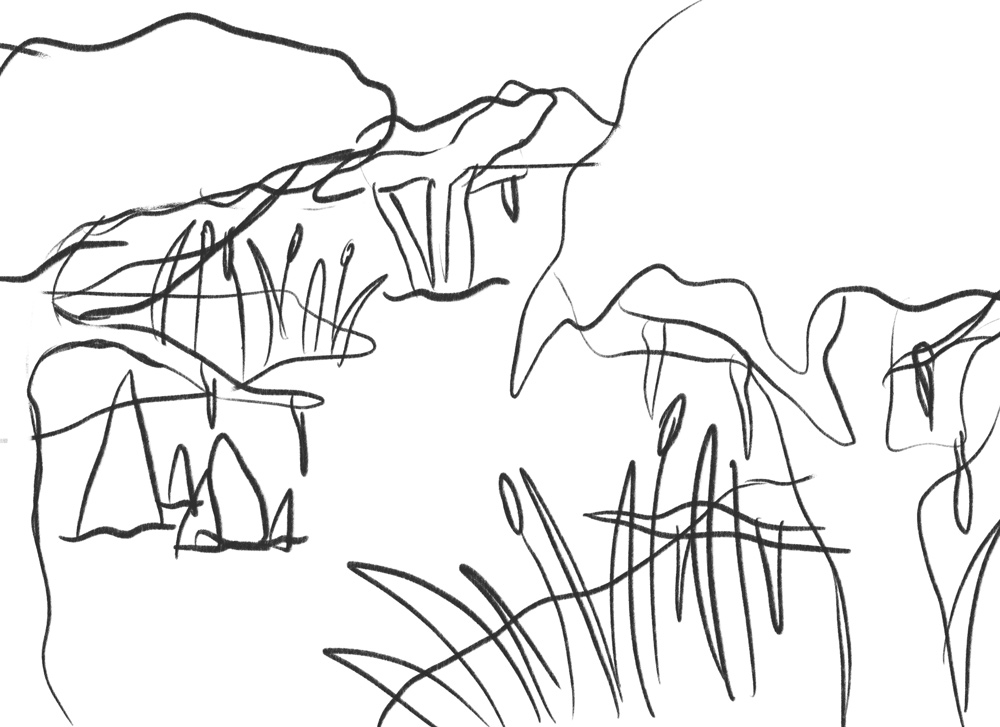
Make a very rough initial sketch laying out your horizon first. Then start planning out the composition, incorporating the elements you observed in your research. This sketch should be very loose! I used BARDOT PENCIL from my Pencil Box set for my sketch.
Background, Midground & Foreground
When you are making your composition, think in terms of:
Background – the sky and furthermost away plants or landmasses. These elements will be smaller and less detailed.
Foreground – the elements that are closest to the viewer. They are larger in scale and often the most detailed parts of the composition. These may appear to be coming in from out of the frame.
Midground – (or middle ground) is everything in between. Often, this is ther the main subject of the composition may go. (Our environment drawings will not include a main subject (person/character/animal/etc.), but feel free to go back and add one later!
Refine the Sketch
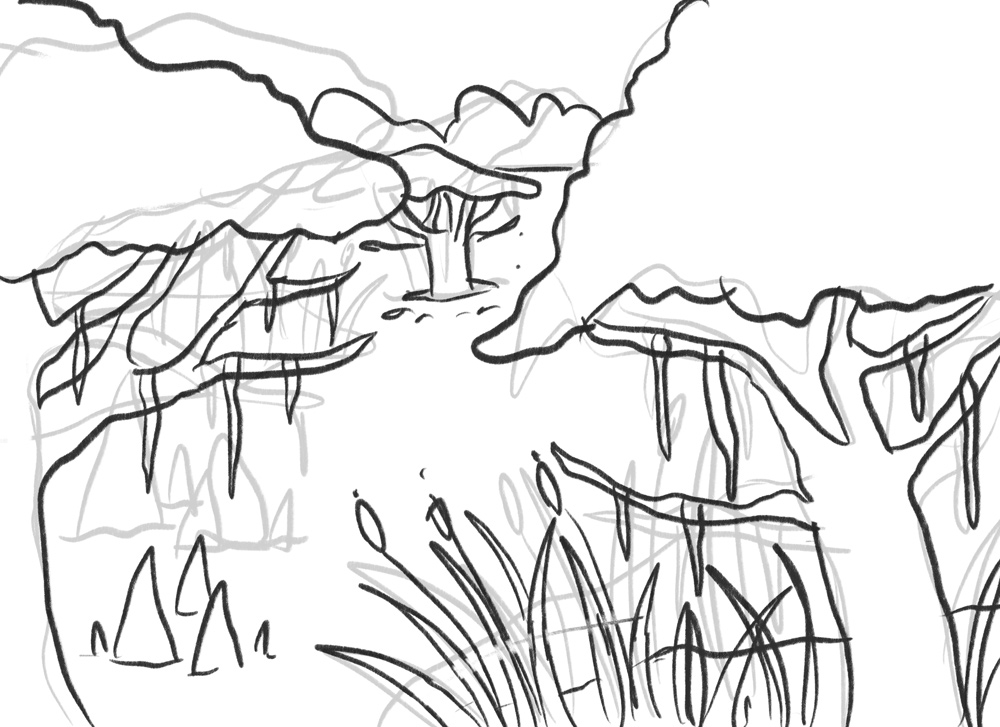
In Procreate, reduce the opacity of your sketch layer to about 25%. Create a new layer on top of the sketch layer. Refine your sketch by tracing over your initial rough sketch. Draw your lines more thoughtfully and add additional details. Turn off your initial sketch layer when you’re finished.
Color Planning
Finishing the day with a plan for tomorrow is a great way to stay motivated when you know you’ll have a break in your work. This is why we’ll end the day with planning our color layout. Create a layer below your refined sketch. Choose a broad brush (I used BLOBBY from my Basic Toolkit) to start blocking in color, sort of like a coloring book. This is simply a rough plan, so keep it loose.
Tips about color
Value – where will the lightest and darkest colors be in your composition? Sometimes starting with 4 shades of grey will help you plan out your color composition!
Atmospheric Perspective – objects/elements that are further away in the distance will appear lighter and less saturated in color. Here is a great article on atmospheric perspective.
Silhouettes – elements in the foreground may sometimes appear as silhouettes. In this case, they would be very dark with little detail.
Time of day – Is it midday or sunset? This can affect colors significantly!
Day TWO: Final Art
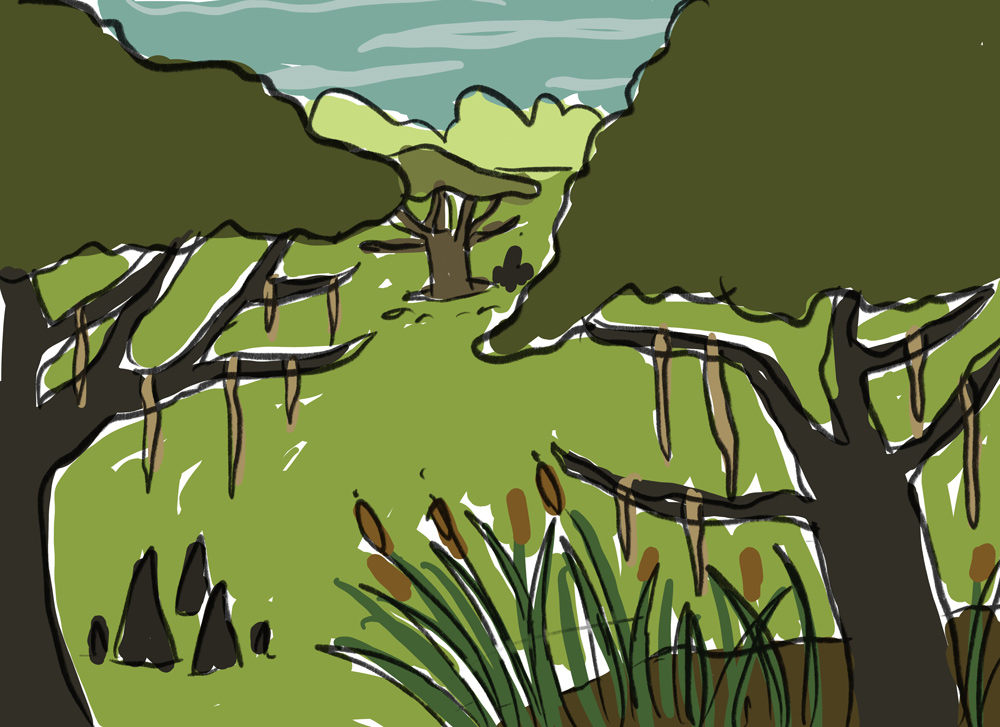
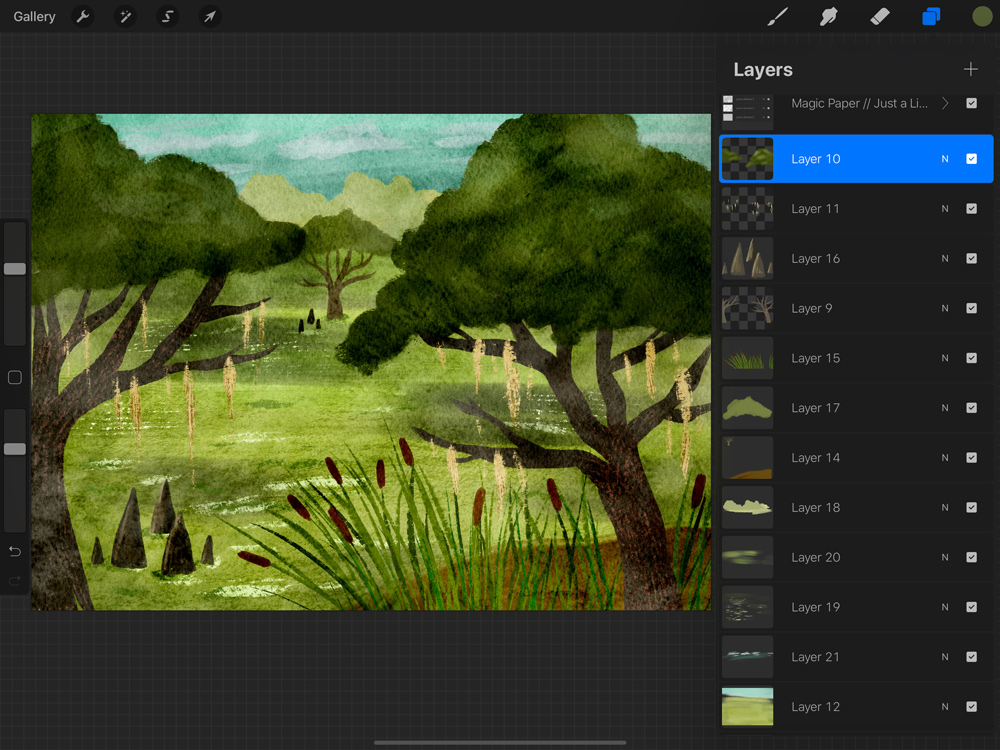
Using the plan you made the previous day, color in your scene in your preferred way. Add shading, texture, and details. I moved my sketch over on to one of my new Magic Papers called “Just a Little Kick.” The Magic Paper gave my artwork instant realistic texture. I started with the foreground elements — the trees and reeds — before moving on to the middle ground and background. I placed each element on it’s own layer so that it was easy to go back and add texture, details, and adjust colors.
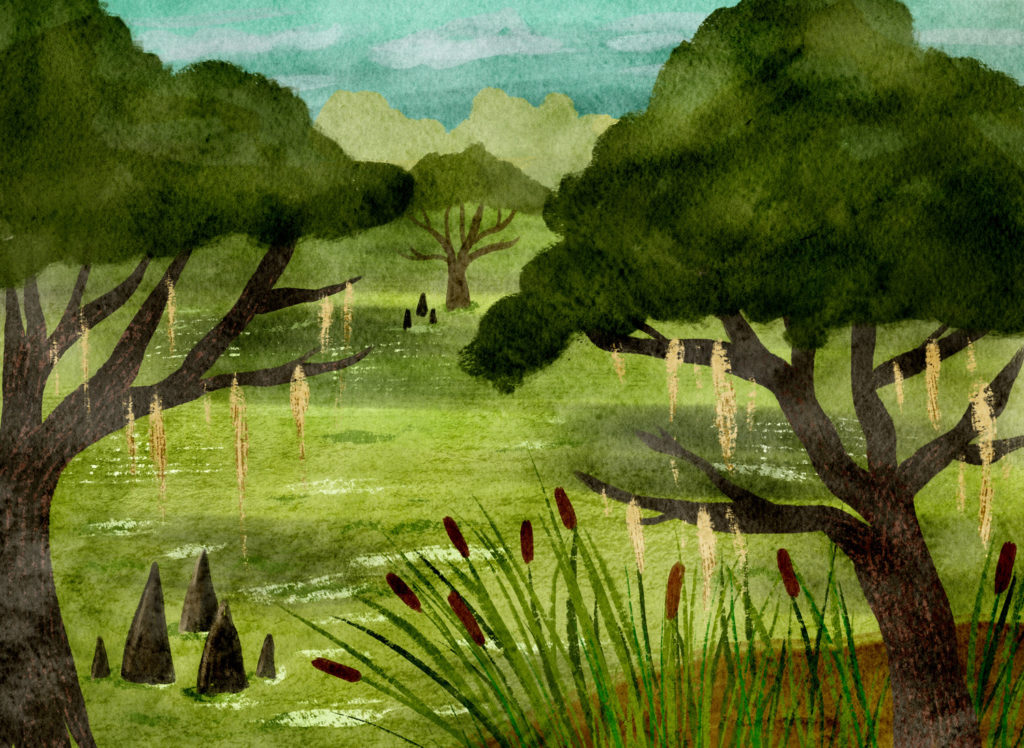
Here is my final swamp environment illustration. You shouldn’t be striving for perfection in these drawings. Think of them more as studies that will help you learn about creating a full composition, considering a color palette, planning relationships between background/midground/foreground, and more. I hope this helps you become more confident in drawing your own environments in your art and illustration work!
Categories: Making Art Everyday Procreate Tutorial

I find creating environments daunting but I like how you’ve broken it down here – thank you! Also, I believe those weird triangle swamp things you’re referring to are called “cypress knees.”
Cypress knees! Good to know!
Thanks for ALL your efforts. I’m especially impressed given the struggles and hectic schedule you’ve had lately. Perhaps time for another short vacation (weekend away). Sometime(not now) you and your family will have to travel to Chicago, summer or early fall are fabulous. Winter not so much ( that’s when I want to be in cal) we have tremendous food, museums, parks, the lake. Very kid friendly. I can help you with any questions you may have! Of course we would have to meet up for a cup of coffee!
That sounds fabulous! We visited Chicago back in 2011 and loved it. A return trip would be really fun!
Could you put this somewhere on your website? I would study these excellent instructions while I work
Yep! You can find it on the tutorials page: https://bardotbrush.com/tutorials
Great papers, Lisa! And fantastic brushes! They are REALLY magic. So easy to transform a bland illustration into something much more interesting. Thank you!
Thank you for the tutorial. In your final artwork (day 2), which brushes did you use? Thank you!
I used my Magic Paper for the texture, but the brushes I used are some experimental ones I’m developing. I will be releasing them as a part of an update to Gouache Paintbox whenever Procreate 5 is released. Excited to share them with the world! You can get a similar look using the current Gouache Paintbox.