
©2022 Bardot Brush by Lisa Bardot // All Rights Reserved
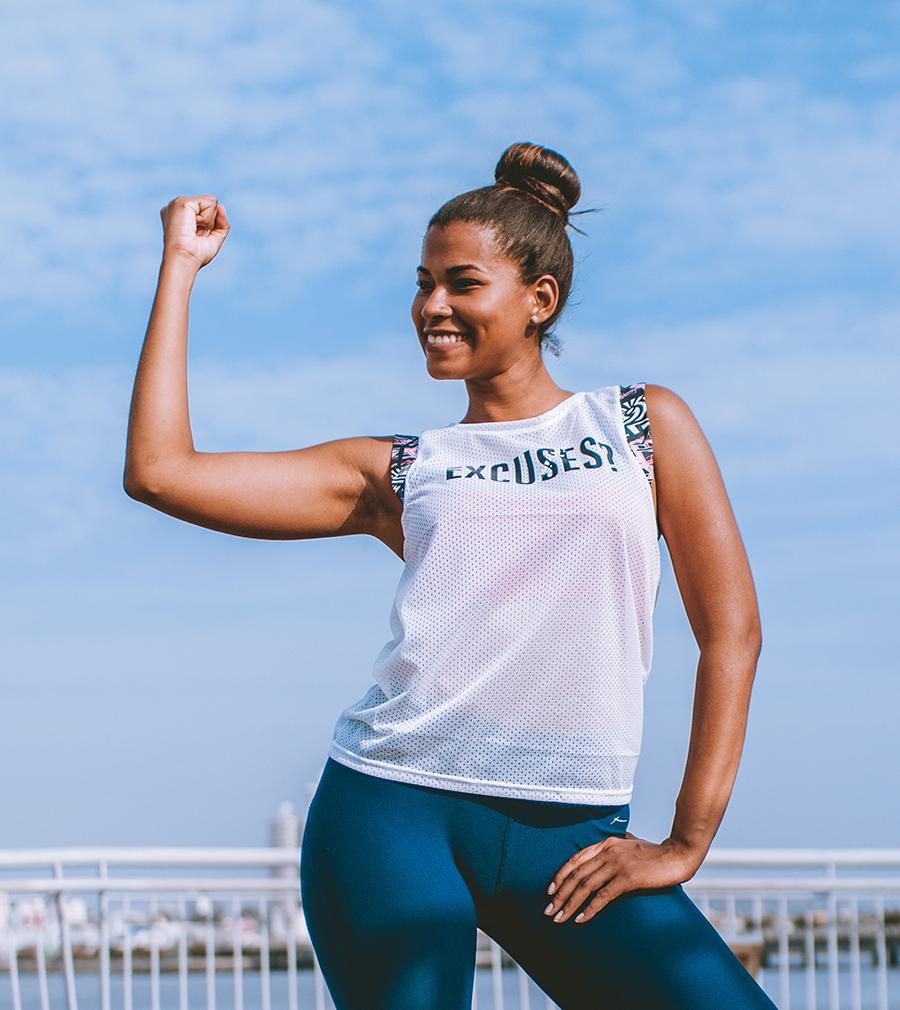
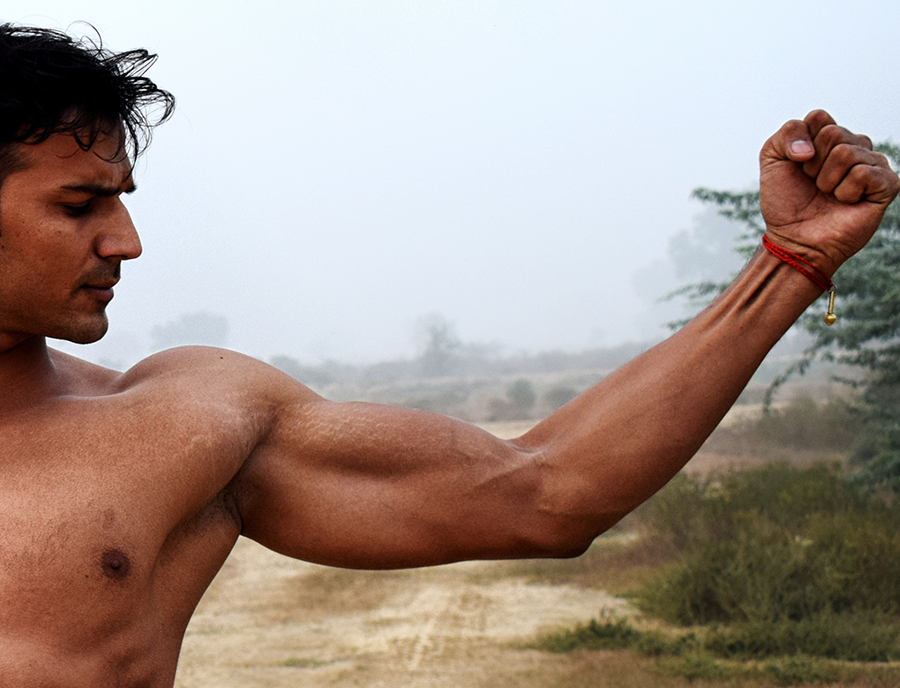
Today we get to flex our drawing muscles as we learn about arms! You might be a little worn out after drawing hands yesterday, so give your own arms a good stretch. As you do, observe the different ways they move! Arms are pretty simple and actually quite fun to draw. Learn basic arm proportions, and what elements to pay attention to in your arm observations. Plus, I have a pretty cool method for making the arms look like arms and not bent tubes. Watch the tutorial to learn how to draw arms!
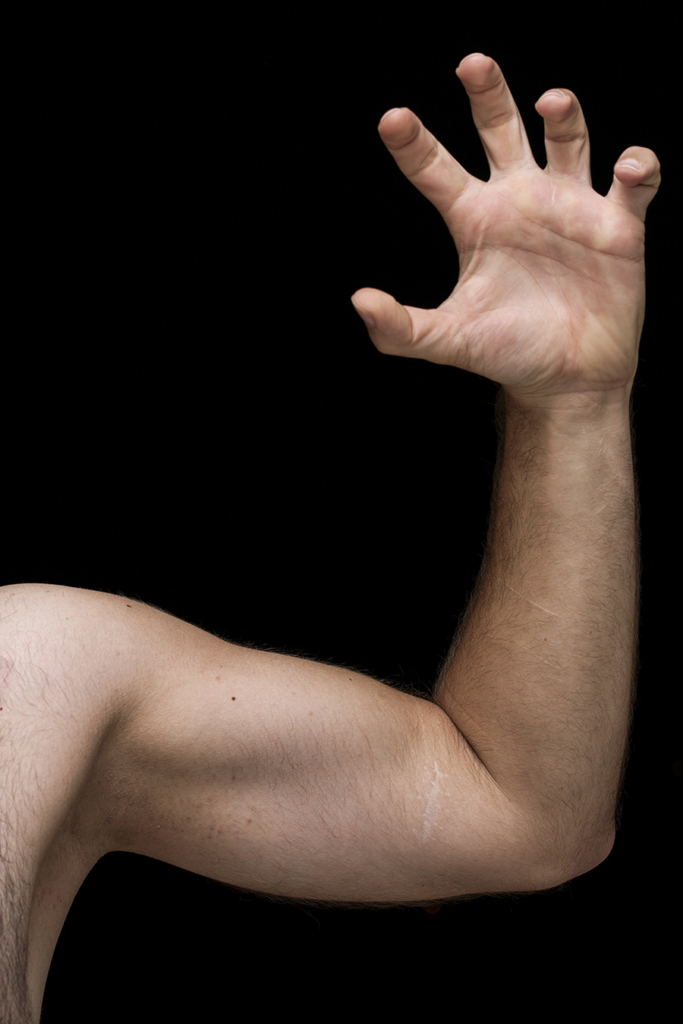
2 Cylinders:
upper arm & forearm
Tapered Shape
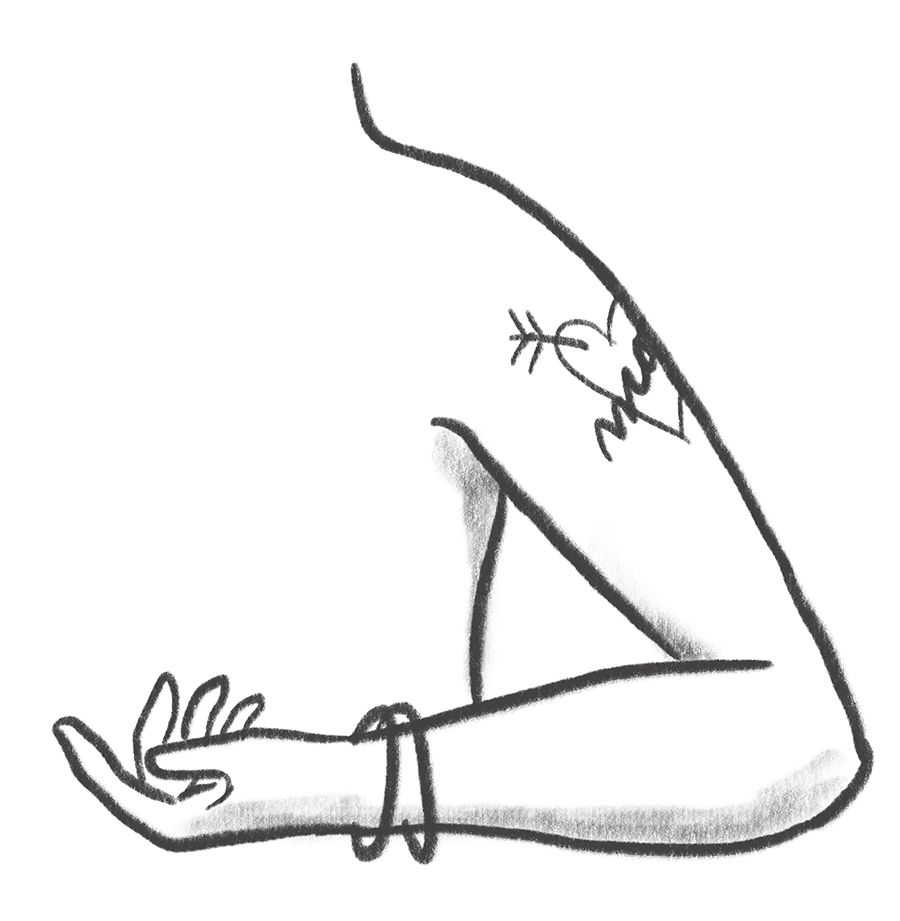
3 Joints:
shoulder, elbow, & wrist
Curved Lines
Shoulder:
full range of movement
Elbow:
bends in one direction
Wrist:
up, down, side to side
Forearm:
can twist independently

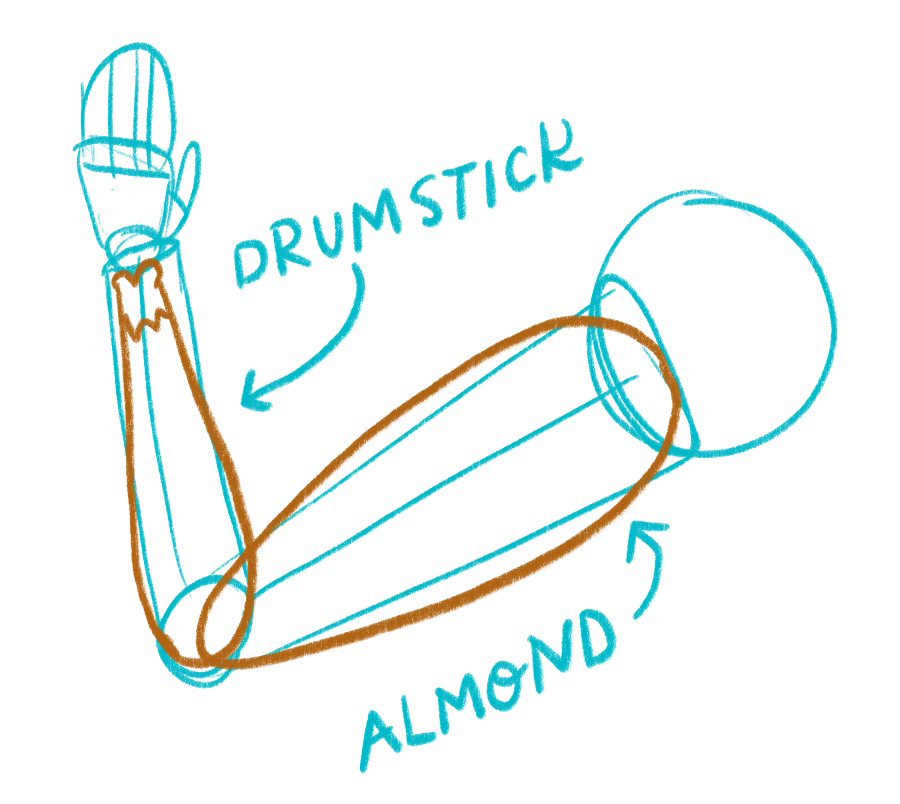
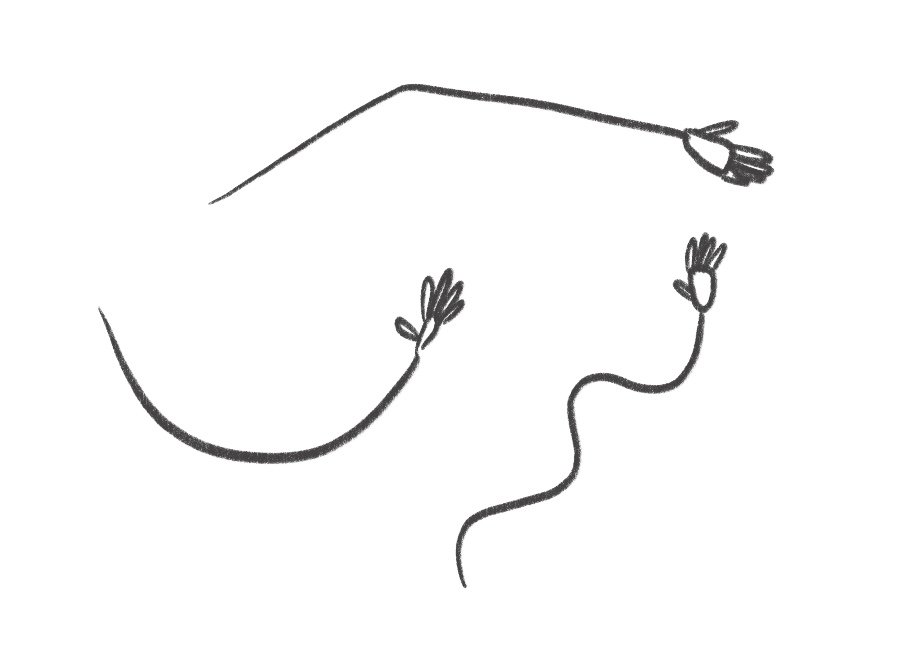
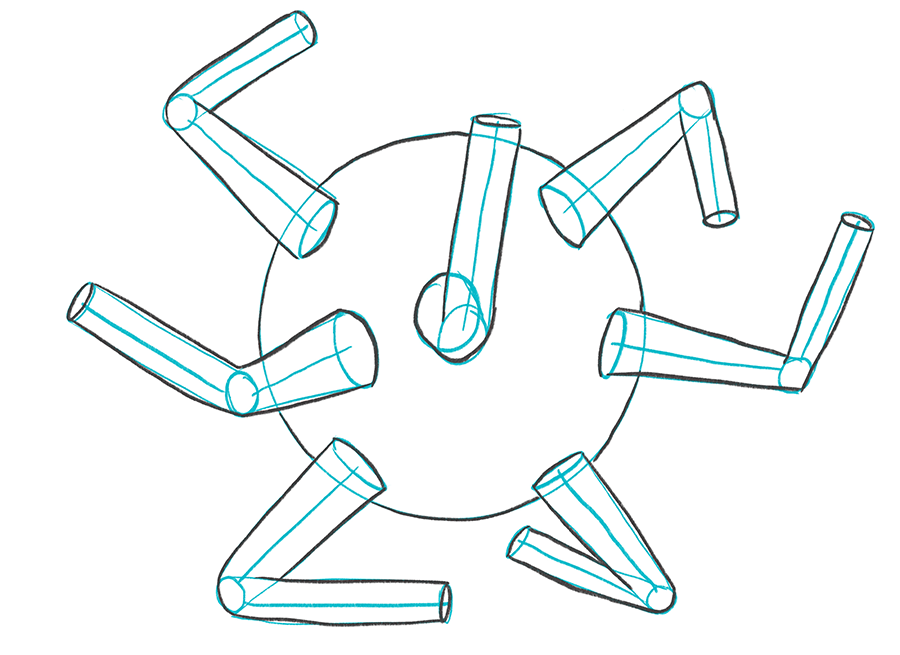
Using the steps in this video, draw a crazy ball of arms. Do the shirt sleeve version, then add curves with almonds and drumsticks. Make a Tosro shape and draw and arm attached to a body. Use what you learned in the fingers and hands tutorials to add a hand!
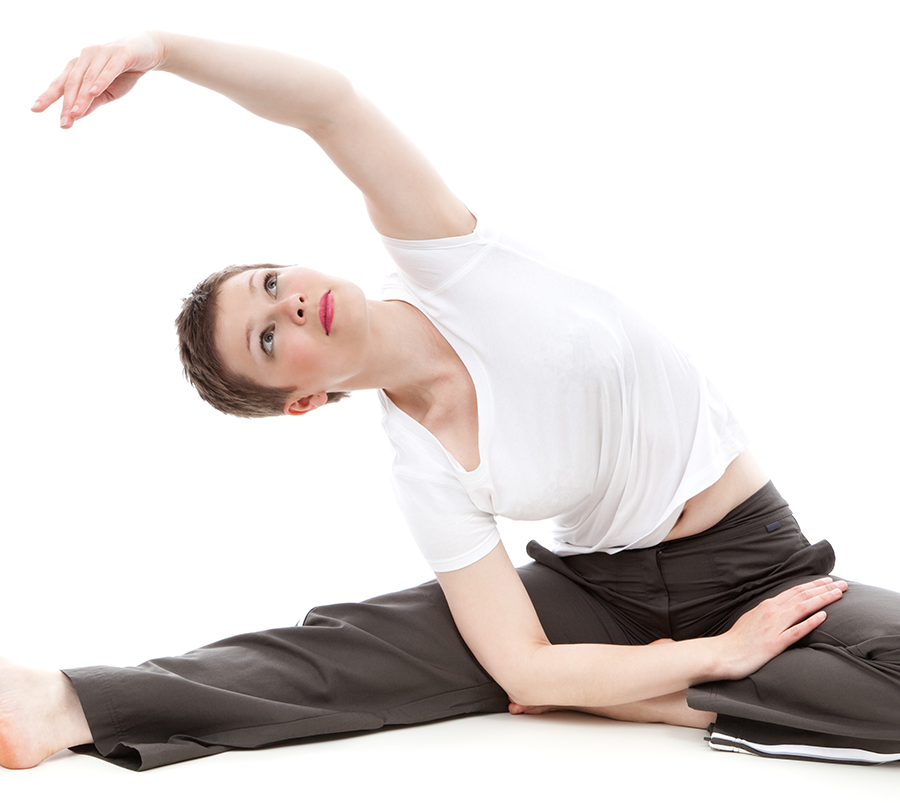
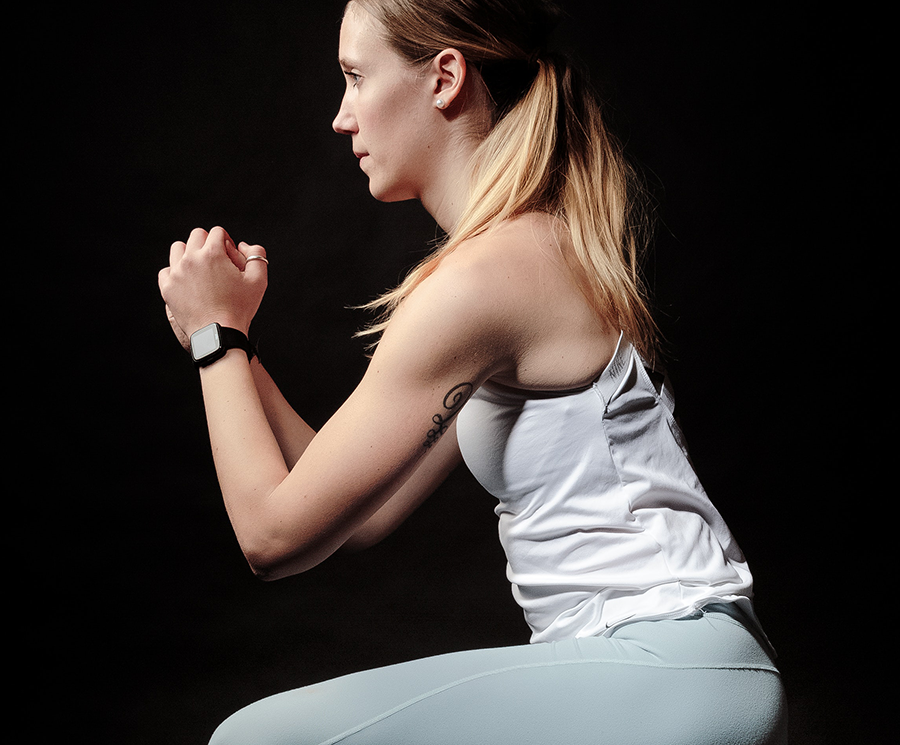
When you’ve done that, go find some reference photos of arms in various positions, and use the structure we’ve developed to analyze those references, Don’t forget to go back and correct anything that looks off, it’s a really great way to learn.
Keep researching, observing and learning! I’ve made a Pinterest board full of additional resources to help you learn more about drawing arms.
This lesson is a part of a month-long series that will get you you familiar with the basics of drawing humans, and help you develop your own people-drawing style. To learn more, check out the People Skills Intro, or continue on to the next lesson below.
We’ll stock your inbox with Procreate tips, new releases, and free goodies!
Bardot Brush was created by California-based illustration artist, teacher, and all-around creative person, Lisa Bardot.

©2022 Bardot Brush by Lisa Bardot // All Rights Reserved