How to Draw a

Bouquet of Flowers

in Procreate

Learn the process to create a stunning digital bouquet of flowers!

Drawing an entire bouquet might seem intimidating at first. 

From drawing multiple types of flowers from various angles to finding the perfect color combinations, there is a lot going on! When you break it down into steps and focus on developing one part of the illustration at a time, drawing a bouquet is definitely doable. Get out your iPad and read on to design your own beautiful digital illustration of a bouquet.

In this bouquet project, you will practice a few different drawing skills:
  • Basic flower construction
  • Layout skills
  • Color theory
  • Visual weight skills (if you don’t know what that is, no worries! It’s a very simple concept to learn, and once applied, it will help your art feel much more balanced.)

Let’s get started!

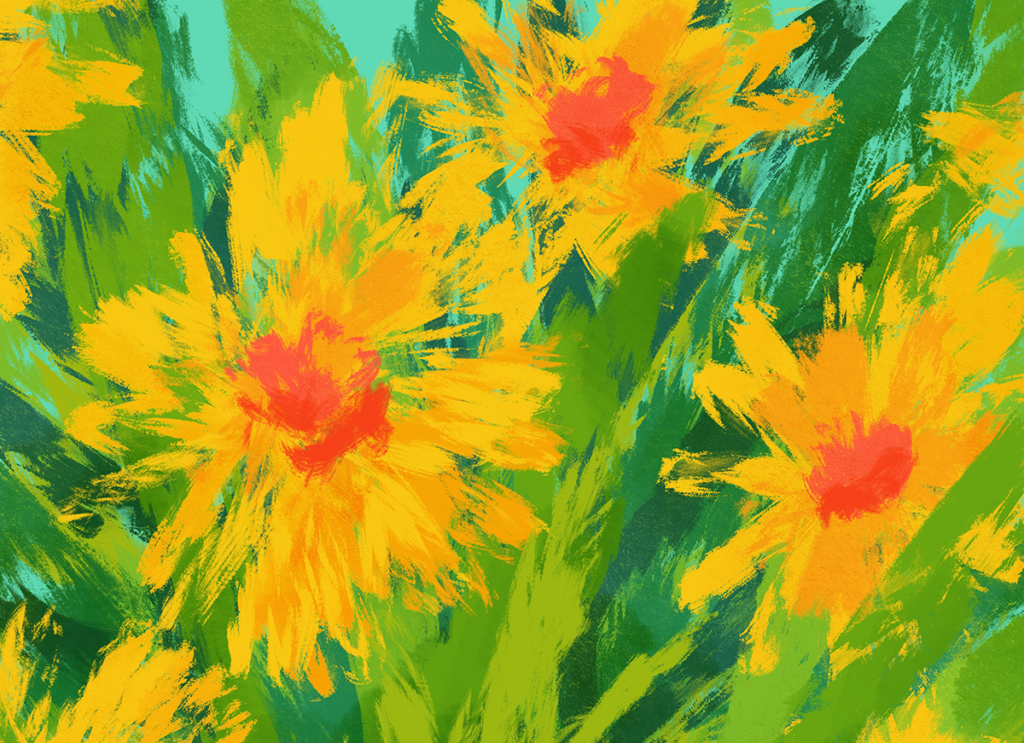
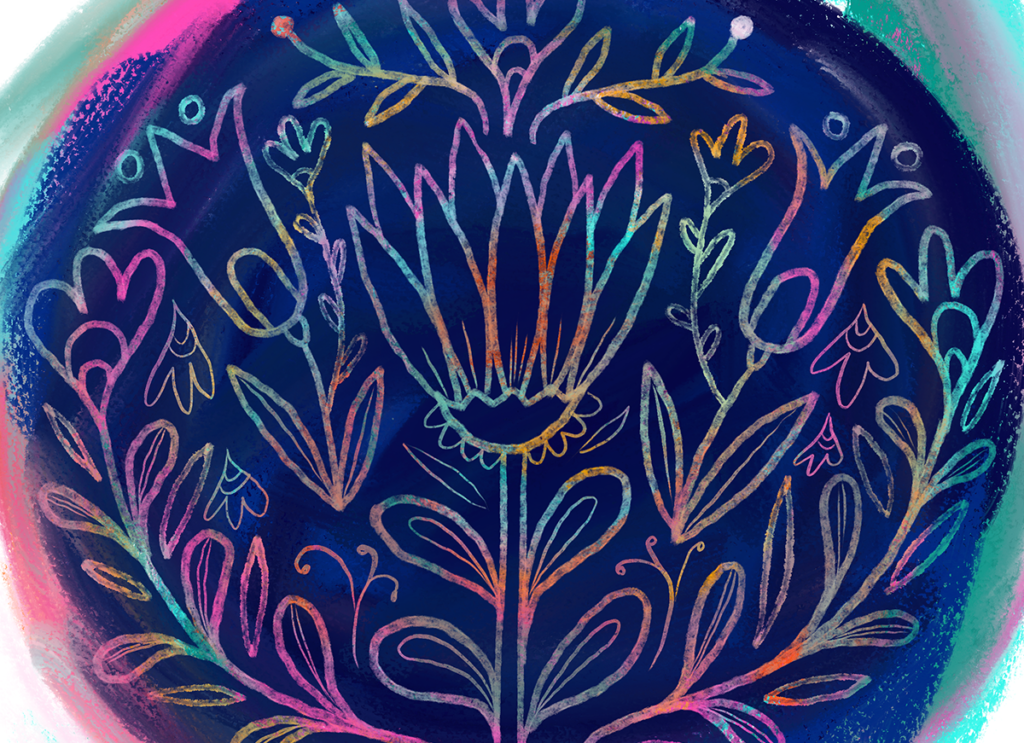
1. Gather Inspiration

As with every project, we’ll begin by getting inspired! 

A great place to start is looking at pictures of beautiful bouquets you’d like to draw. When searching for inspo, take visual note of these two things:
  1. What type of flowers am I drawn to? Do you keep pinning sunflower images? Light and dainty pastel-colored flowers? Rainbow-colored bouquets? Write a list of flowers you want to explore drawing.
  2. What art style  am I going for? Drawn to painterly flowers? Sketchy, hand-drawn flowers? Loose watercolor florals? 
TIP! Gather photo references of flowers along with other artists’ artwork. Having a mix of the two will keep your work looking uniquely yours. Gather photo references of flowers along with other artists’ artwork. Having a mix of the two will keep your work looking uniquely yours.
Need a little style inspiration? Check out this Pinterest board filled with flower illustrations.

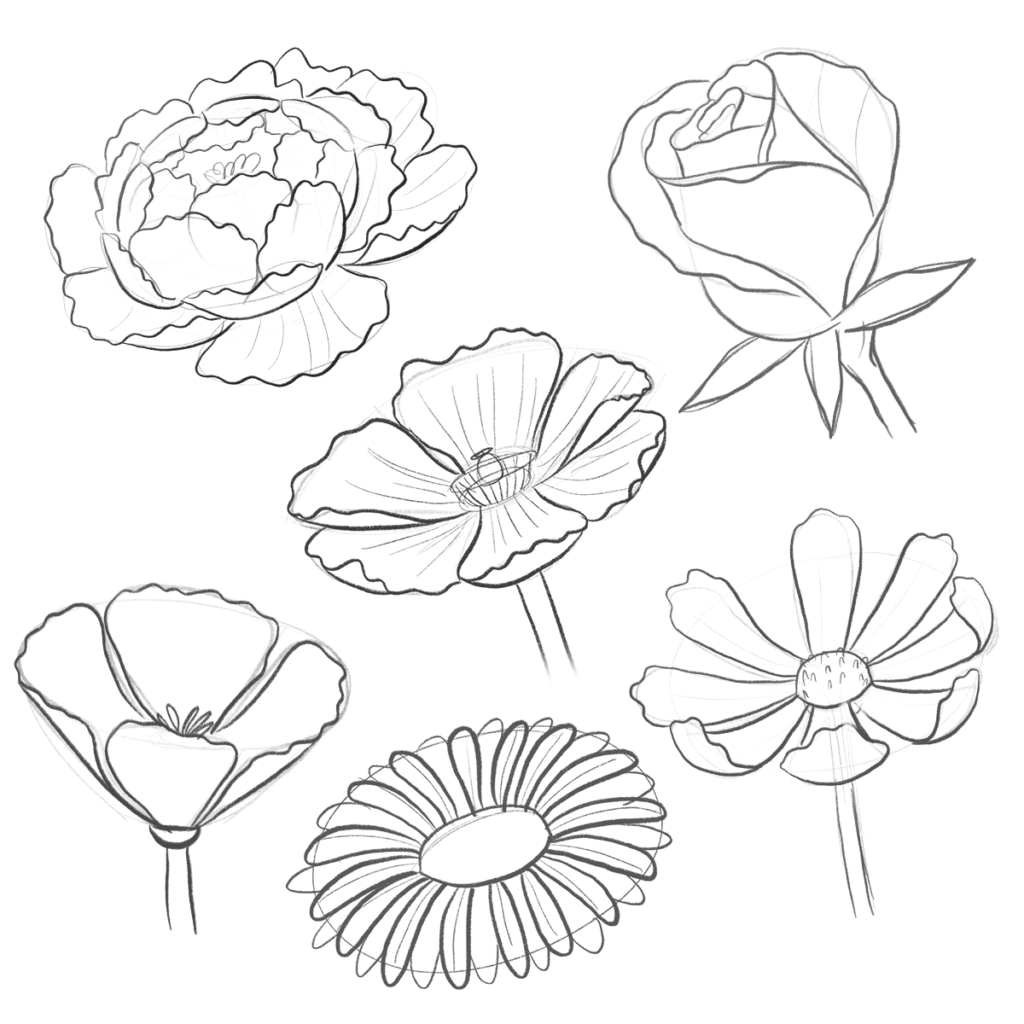
2. Exploratory Sketching

Now that you’re feeling inspired, do some flower sketches!

Begin by looking at photo references of the flowers on your list and practice sketching their basic shapes. All flowers can be broken down into simple shapes. 

If you’re unsure of where to start, click the banner above to watch my series of short, 45-second flower drawing videos.

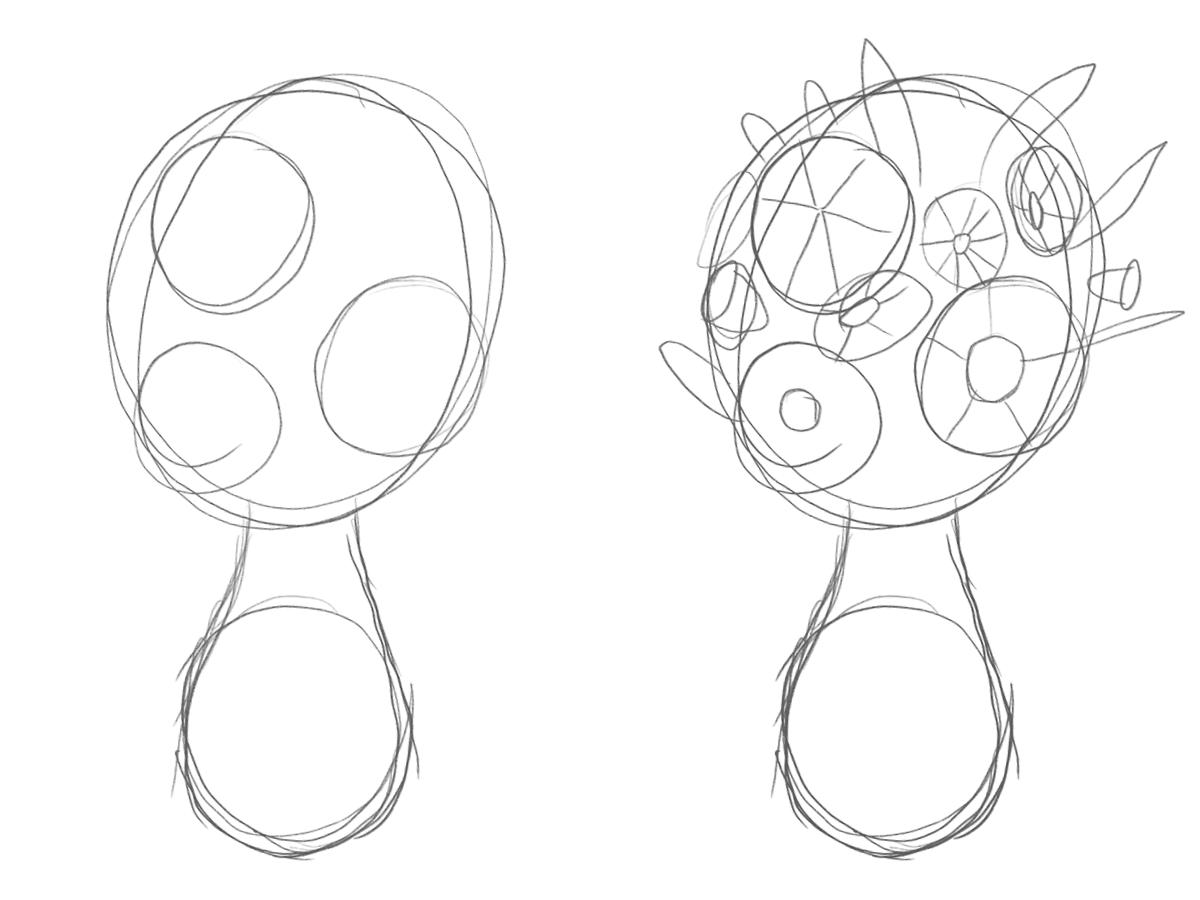
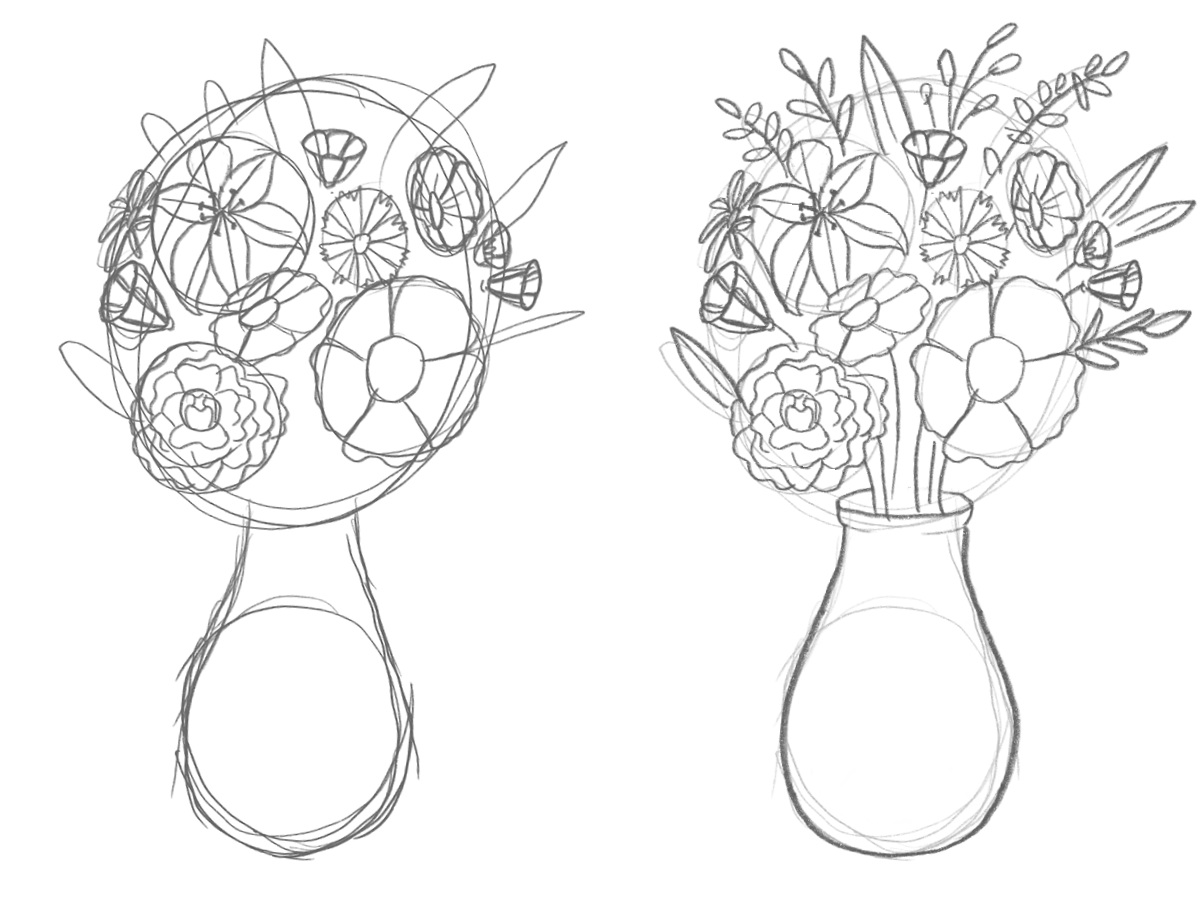
3. Rough Bouquet Sketch

With a little bit of flower-drawing practice under your belt, start arranging your bouquet.

Begin by roughing in where you’ll put the largest flowers. These will serve as your focal point (aka where the viewer’s eye will look first.)
Next, rough out where your filler flowers will be. These flowers should be a bit smaller in size and a little more of them as far as quantity goes.
Last, place your greenery. This is the stems, leaves, berries, or smaller flowers (think baby’s breath and so on.)

4. Refine your Sketch

Now that you have your rough sketch we can begin to refine it by drawing your flowers and leaves with a little bit more detail. 

Draw the individual petals of each flower and leaves, defining the shape each element of the illustration.

5. Make a Color Plan

It’s time for color!

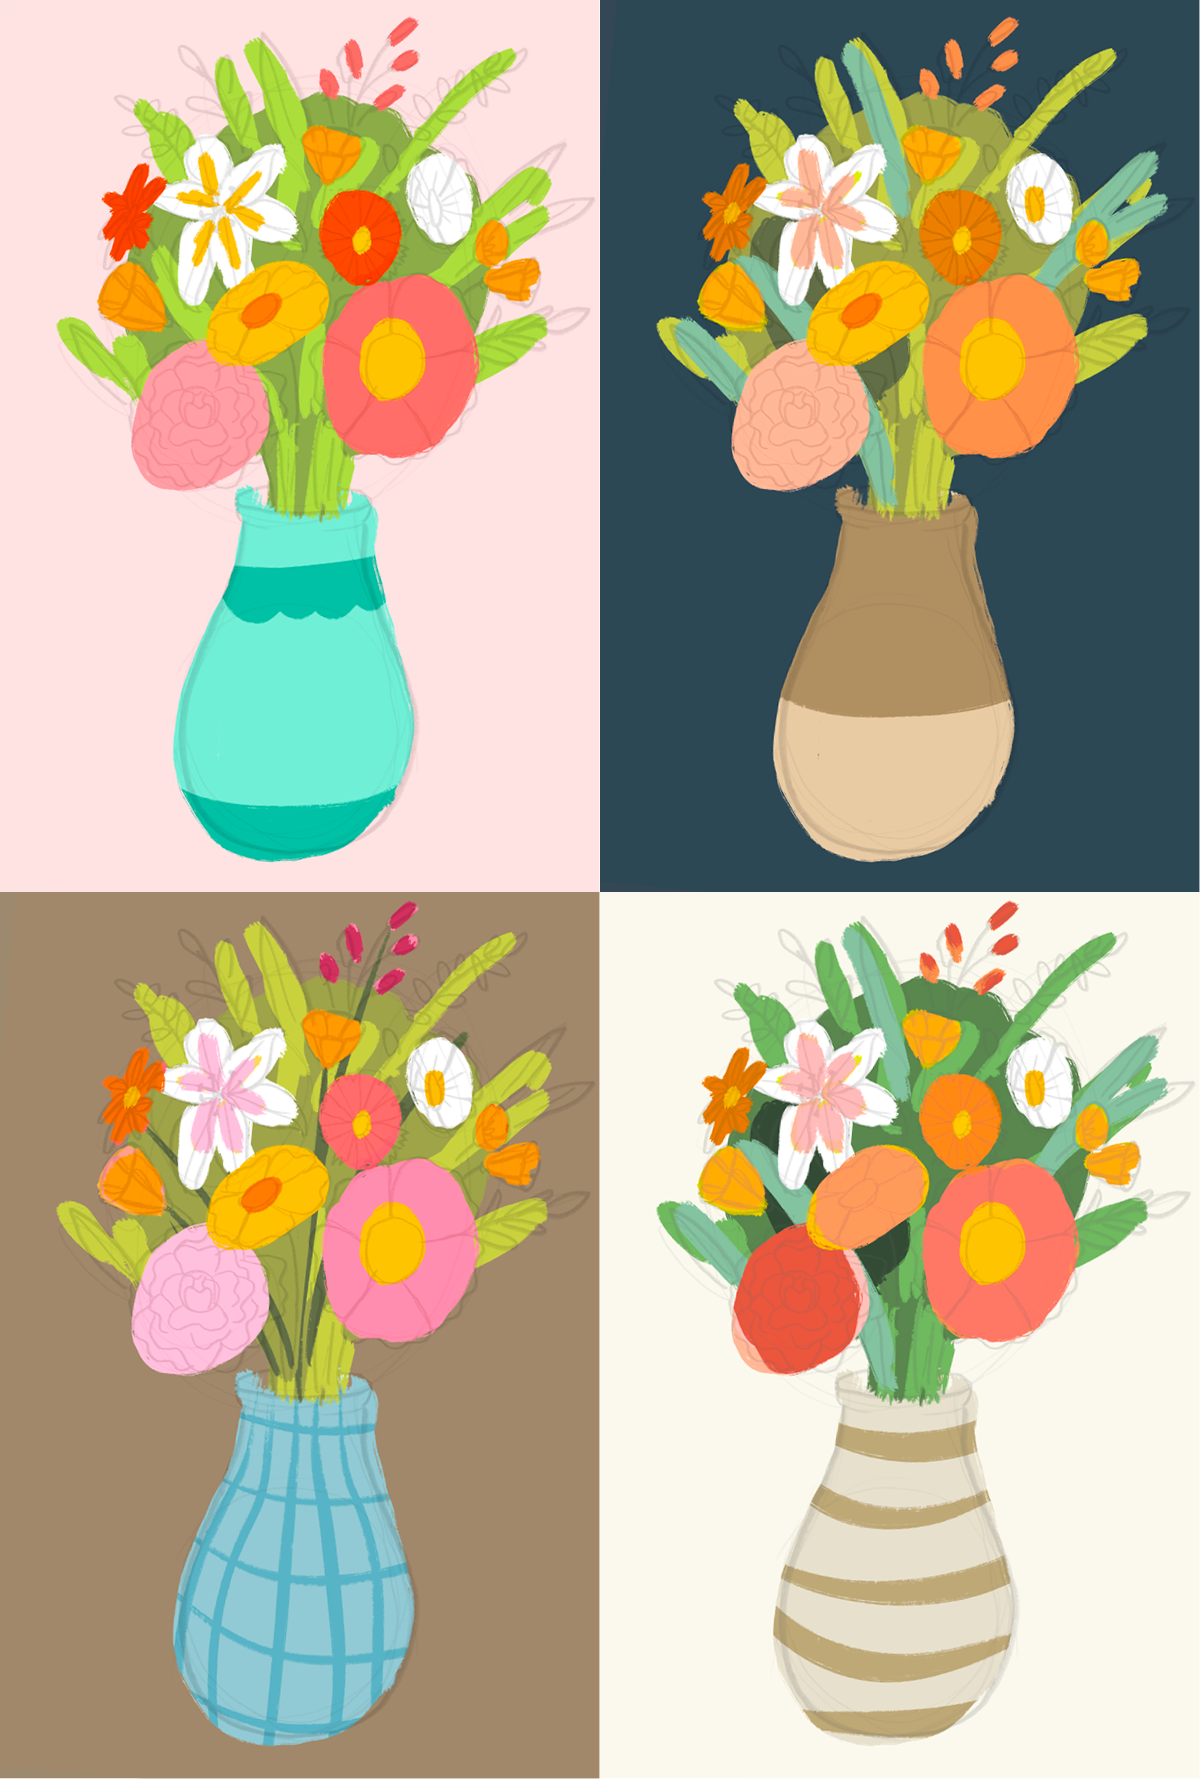
Before you begin rendering your flowers, it’s good to have a plan… a color plan! Some people call this a color rough because they are laying down colors in a “rough and crude manner.” So be messy, loose, and fast with it! Don’t worry about staying in the lines of your sketch or creating a new layer for every color. If you put down a color you want to change, simply color right over it.

Feel free to play around with multiple color palettes, background colors, even vase designs!

This is a great way for you to decern if your color palette will be successful without spending too much time on a color plan that may not have worked in the end.
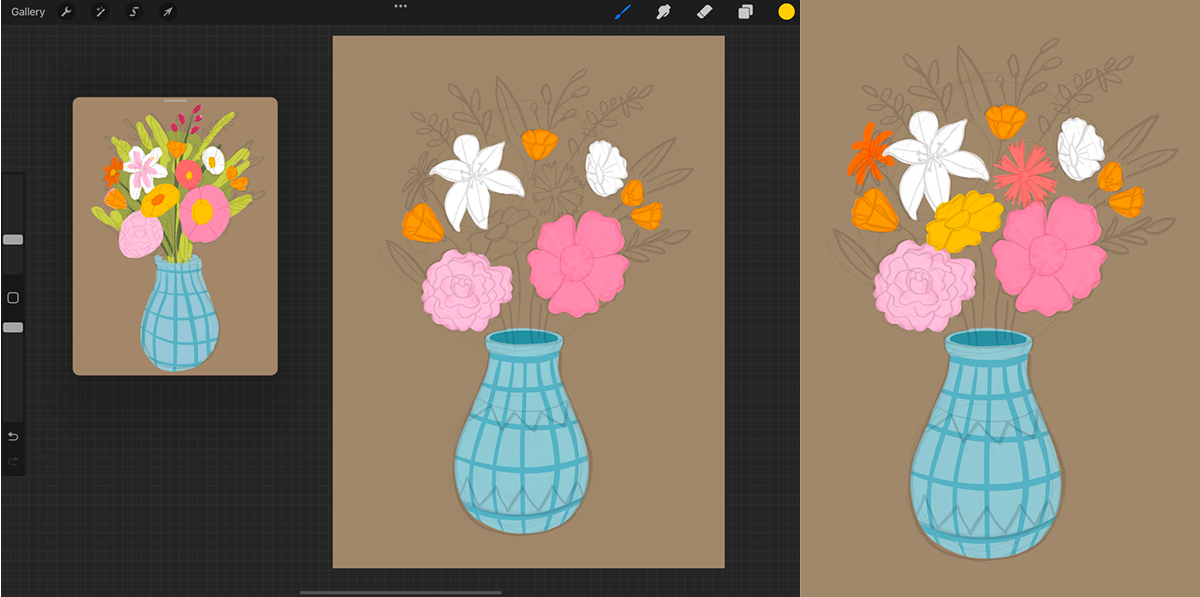
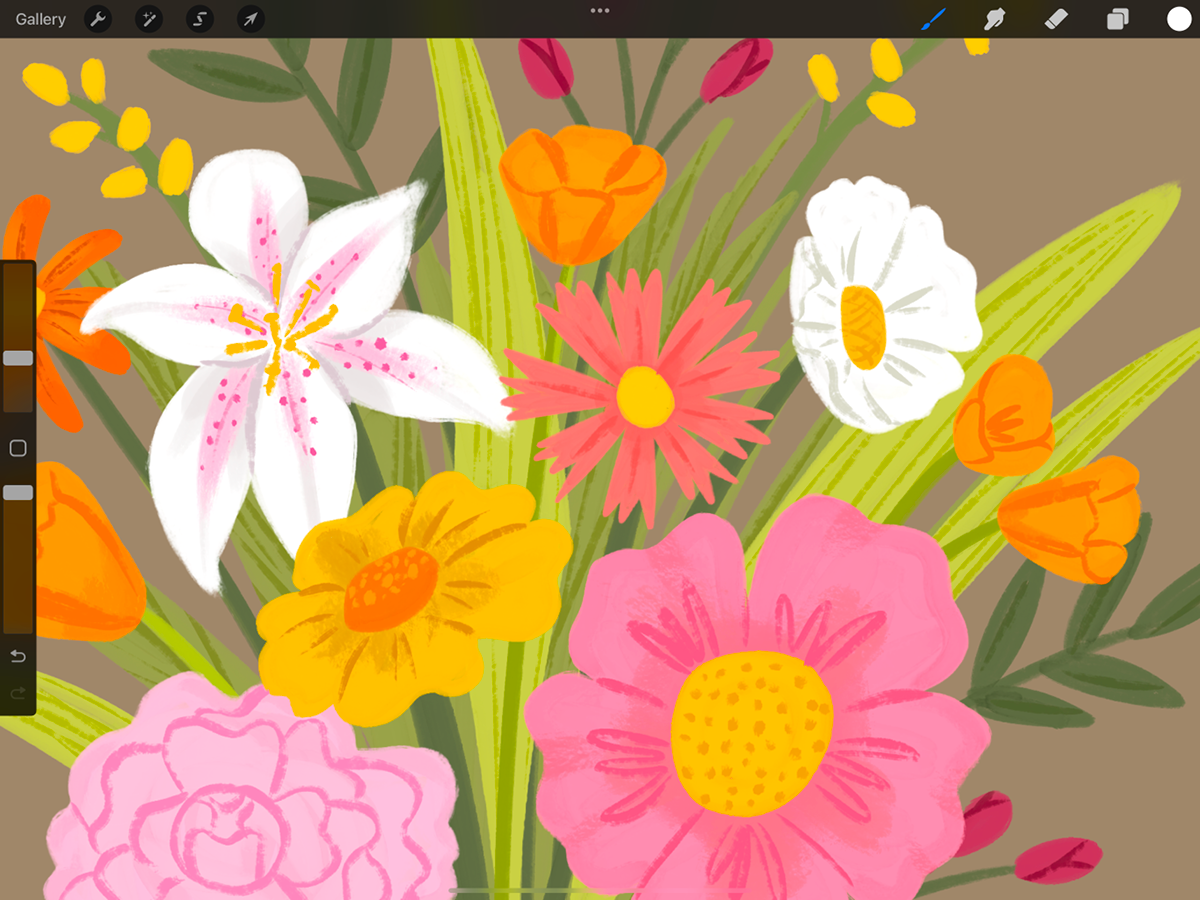
6. Make Shapes 

It’s time to render your sketch! Grab your chosen brushes and get to drawing! Pull up your color plan using Procreate’s Reference Companion feature. Use this window to sample colors as you color your bouquet.

Start by laying down shapes in a solid color, starting with the vase and main flowers.

In my piece, I next added a spiky green shape behind the flowers to establish some greenery. Then I added tall leaves, smaller leaves and additional filler flowers.

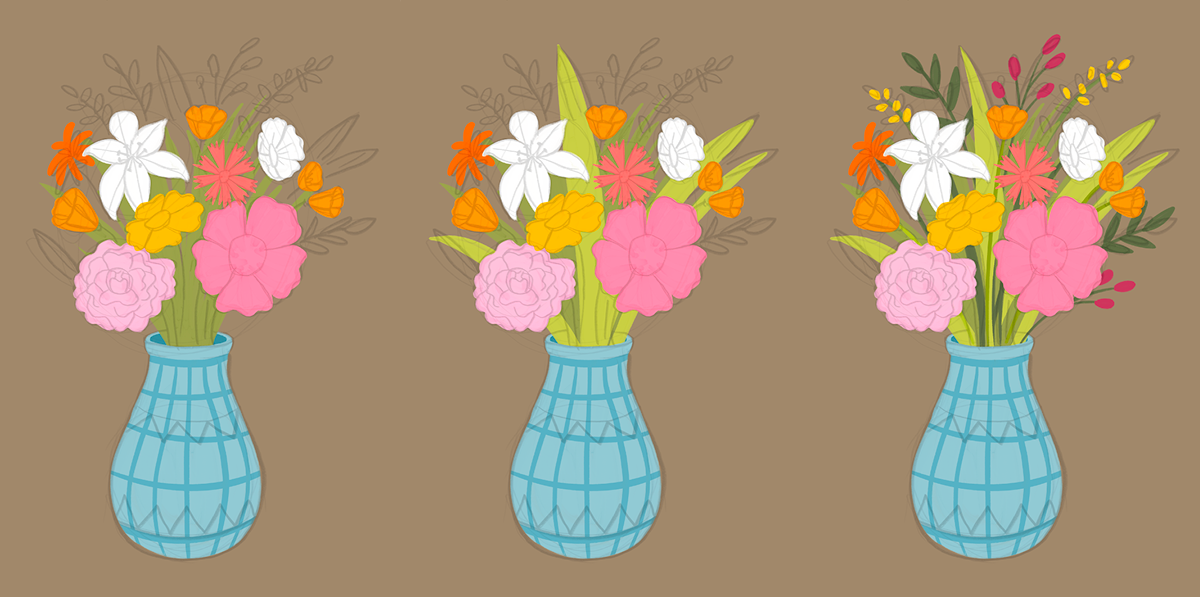
7. Texture & Details

Now, finish off your illustration in your chosen style. Add some texture and line details. In my piece, I added subtle color variations to the shapes and some simple lines to define the flowers. You can also add light and shadow if you’d like. 
Add as many other details as you’d like and don’t forget to sign your masterpiece!

I drew this bouquet using brushes from my Gouache Paintbox.

I used the Painty Round brush for all the shapes, Gritty Tilt Liner for the details and Thick Sticky and Thick Sticky Blender for the shading. 

Need some style ideas for your bouquet?

With my many sets of Procreate brushes, you can create any type of style you want in your flower illustrations.

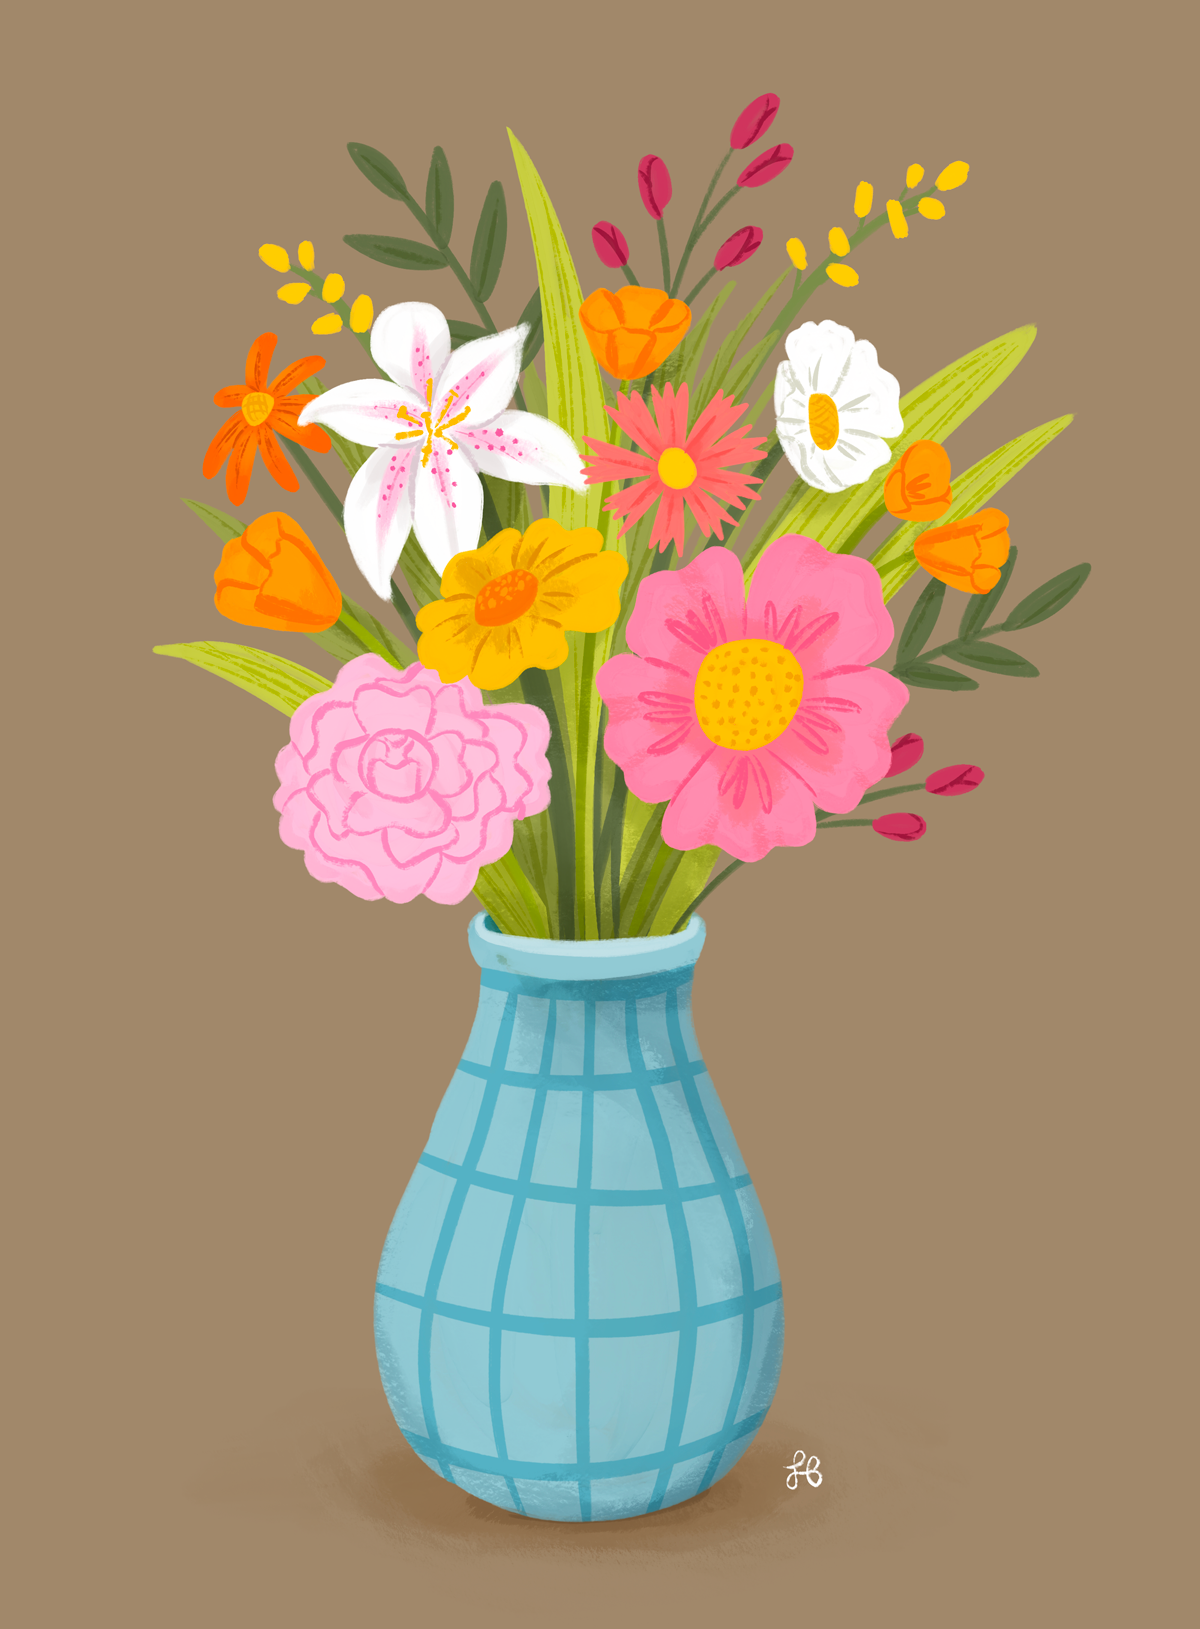
Bonus Step! Deliver your Flowers

Who doesn’t love getting flowers? Send your artwork to someone you care about with a sweet message. You can either send a JPG of your flowers to a friend or print out your beautiful art and hang it in your home as a gift to yourself!