30 Procreate Gestures & Shortcuts
Are you ready to learn about all of Procreate’s hidden features? Unlock Procreate’s full potential by mastering gestures! In this video, you’ll learn 30 different Procreate gestures and shortcuts that will save you time and help you become a master Procreate artist. I’ll show you how to manipulate the interface, organize brushes and files, invoke secret menus, speed up your workflow, and more. I’ll even teach you how to fix a very common problem with gestures: what to do when Color Drop is not working. Gestures will help you work with the canvas, brushes, layers, colors, and more!
Watch the tutorial above and read below to learn them all!
30+ Procreate Gestures
Click on any gesture to jump to it and learn!
GALLERY VIEW
1. Quick Preview Files
2. Select Multiple Files
3. Share, Duplicate, Delete files
4. Rearrange Artwork
5. Create a Stack
CANVAS INTERFACE
6. Zoom in, zoom out, & rotate
7. Undo/Redo
8. Continuously Undo/Redo
9. Clear
10. Copy/Paste Menu
11. Moving the Sidebar
BRUSHES & TOOLS
12. Change the order of brush sets
13. Create a new brush set
14. Move brushes between sets
15. Delete share, and duplicate brushes and sets
16. Eraser & Smudge quick select
LAYERS
17. Rearranging layers
18. Merge Layers
19. Select multiple layers
20. Move layers between files
21. Isolate Layer visibility
22. Select Layer contents
23. Change layer opacity
24. Turn on and off Alpha Lock
COLOR
25. Eyedropper Tool
26. Choose previous color
27. Color Drop
28. Adjust Color Drop threshold
QUICKLINE & QUICKSHAPE
29. QuickLine Snap to angles
30. Quick Shape snap to perfect form
BONUS! iOS GESTURE
Gallery View Gestures
1. Quick Preview Files
Use a two finger spread gesture to quickly pull up a full screen preview.
Tap on the left or right to cycle through the files in your gallery.
Double tap to open file. Pinch back out to close it the preview and return to Gallery View.
2. Select Multiple Files
To quickly select multiple files at once, tap Select in the upper right, then swipe over as many files as you’d like to select them.
3. Share, Duplicate, Delete Procreate Files
Swipe left over a file with one finger to reveal options to share, duplicate or delete.
5. Working with Stacks
To group files together, drag one canvas over top another to combine them into a Stack. This is helpful for organizing your artwork.
To take a file out of a stack, move it to the upper left, hold, and drag it back to the gallery.
Canvas Interface Gestures
6. Zoom in, zoom out, & rotate
Zoom in and out of your canvas by spreading or pinching two fingers.
Turn your two fingers to rotate your canvas.
8. Continuously Undo/Redo
Tap and hold with two fingers to continuously undo.
Tap and hold with three fingers to continuously redo.
9. Clear
To clear a layer, Take three fingers and move them across your screen in a scrubbing motion. This also works for clearing out the contents of a selection.
10. Copy/Paste Menu
Want to know how to cut, copy, and paste in Procreate? Slide three three fingers downward to invoke the copy paste menu. NOTE: When you use the paste feature the contents of your selection will be pasted onto a new layer.
11. Moving the Sidebar
You can move the sidebar up or down by dragging a finger from the edge of the interface over modify button (the square shape in the middle of the sidebar). Then drag the sidebar to a more preferable location.
Moving the sidebar to the right side of the screen: this isn’t a gesture but here is a helpful tip for you left-handed artists. To move the sidebar to the other side of the screen, go to the Actions menu, Prefs, and toggle on Right-hand interface.
Brushes & Tools Gestures
12. Change the order of brush sets
You can rearrange your brush sets by tapping and holding on one of them and moving it up or down. I like to store my most-used brush sets together and at the top of my brushes panel.
13. Create a new brush set
You can create a new brush set by pulling down on the list of sets with on . A plus icon will appear. Tap it to create a new set. Don’t forget to give your new set a name!
14. Move brushes between sets
To move brushes to a different set, tap and hold, drag them out over the name of the brush set you want to put them in. Hover until the set opens, then drop them inside the panel.
15. Delete share, and duplicate brushes and sets
Tap on a brush set to invoke options to Rename, Delete, Share, and Duplicate.
To share duplicate or delete an individual brush, swipe left on that brush for those options.
16. Eraser & Smudge Quick Select
Tap and hold the eraser tool. This will select the same brush you were using as your brush to use as the eraser. This will ensure your eraser marks will be consistent in texture to you brush marks. You can use the same gesture to select the same brush for your smudge tool.
Gestures for Layers
17. Moving and rearranging layers
To rearrange your layers, tap and hold, then drag it into your desired position.
18. Merge Layers
Merge layers by pinching together two or more of them.
TIP: If you have a lot of layers to merge that would make using the pinch gesture difficult, select all the layers, tap “Group” in the upper right of the Layers panel. The tap the name of newly-created group and tap “Flatten”.
20. Move layers between files
Did you know you can move one or more layers to another canvas? Select the Layers, tap and hold, then drag the layers out of the layers panel. Do not let go.
With your other hand, tap Gallery in the upper left.
Open a different file, open the layers panel, then drop the layers into the panel. Keep in mind that not all layer settings may transfer when doing this. Things like blend modes and groups will be reset.
21. Isolate Layer visibility
This is how to turn off all layers except one. There is a checkbox on each layer that toggles on the layer’s visibility. If you tap and hold it, you will turn off visibility for all other layers, leaving this layer visible.
Tap and hold that checkbox again to make the other layers visible.
22. Select Layer contents
The gesture to select the contents of a layer is two finger tap and hold on that layer.
23. Change layer opacity
There is even a gesture for adjusting your layer opacity. Do a two-finger tap on a layer, which will invoke a blue bar at the top. Slide your finger left or right to adjust opacity of that layer.
24. Turn on or off Alpha Lock
Alpha lock is probably one of my favorite and most used Procreate features. Swipe right on a layer with two fingers to turn on alpha lock. Repeat the same gesture to turn it off.
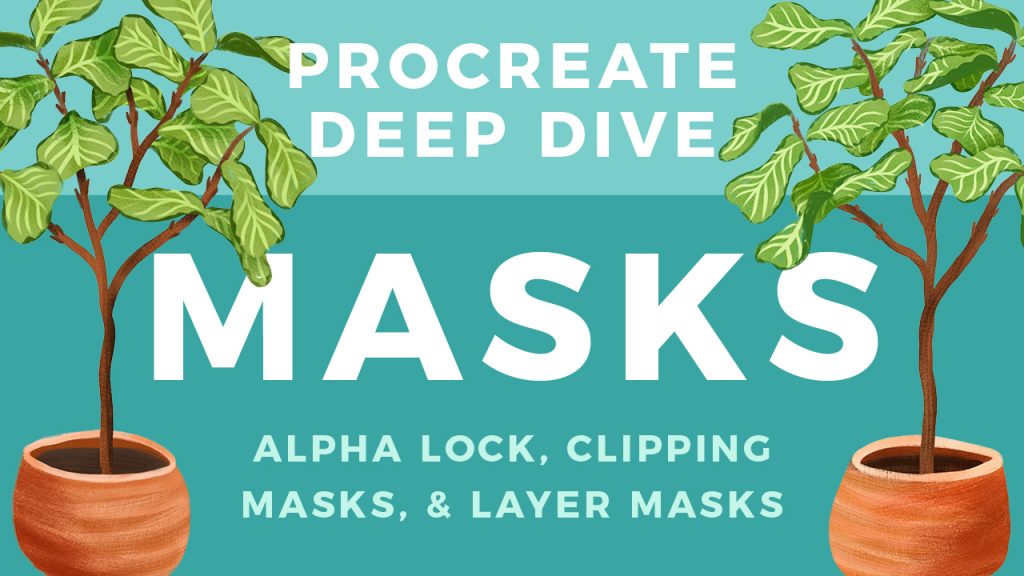
You can learn more about Alpha Lock, as well as Clipping Masks, and Layer Masks in my Procreate Masks tutorial.
Color Gestures
25. Eyedropper Tool
You can quickly select a color that is already on your canvas. Tap and hold with your finger anywhere on the canvas to invoke the eyedropper. Drag around to select any color already on your canvas.
26. Choose previous color
Tap and hold the color button in the upper right to select the previous color.
27. Color Drop
For a quick color fill, similar to the paint bucket tool, drag the color button out and drop into any closed shape to fill it with color. Be sure you shape is full closed for this to work!
28. Adjust Color Drop threshold
This is a very common problem I see Procreate users experience, but never know how to fix! What do you do when Color Drop isn’t working and leaves a weird white line around the shape? Or what if the color is spilling out everywhere? There is a gesture to fix it! You’ll need to adjust what is called the Color Drop Threshold.
To do this, drag the color button into the shape to fill it, but and DON’T lift your finger.
A blue bar will appear at the top of the screen. Slide your finger left or right to adjust how much the color bleeds into other areas.
QuickLine & QuickShape
29. QuickLine snap to angles
To make a perfectly straight line with QuickLine, draw a line and don’t lift your pencil from the screen.
The line will become straight. Place another finger on the screen and now the line will snap to 15 degree increments. This is especially useful for creating perfect horizontal or vertical lines.
30. QuickShape snap to perfect form
You can also use this feature to create round shapes, rectangular shapes, triangular shapes, arcs, and polygons.
After drawing the shape, don’t lift your pencil and place another finger on the screen to create a perfect circle, square, or equilateral triangle.
BONUS! iOS Multitasking
Split-Screen View in Procreate aka "Multitasking"
This next gesture is actually a feature of iOS, but it’s incredibly useful when working in Procreate, and that is the Split-Screen view. Apple calls this multitasking. Multitasking allows you to have Procreate on one side of your screen and another app on the other side. I use this all the time to pull up photos to use as references while I am drawing.
To use multitasking, drag a finger up from the bottom of the screen until your dock appears.
Tap and hold one of the apps, then drag it to the side of the screen, then release. This will split the screen between the two apps.
You can also adjust the width of the other app by dragging the little gray handle in the center. This is perfect for browsing an image search, Pinterest, or watching your favorite Procreate tutorials. 😉
Categories: Procreate Tutorial

This is a wonderful, helpful tutorial! Thanks, Lisa!!!!
Your ProCreate Masks tutorial is a real treasure, so it was a happy surprise that you linked to this in the appropriate section.
I particularly appreciate the way you put this resource together. Seriously great teaching techniques!
A few of the little videos didn’t load, just left nice (unfunctional) blocks.
These are the ones that didn’t load properly: 5a, 7a, 9, 20b, 26 and Bonus part B
Love your gifts to the world! I hope the air quality isn’t so bad in Sacramento. I’m guessing the sky is awfully yellow with all the fires.
After thought:
I’ve been making my own notes board on Pinterest, feel free to pass along or utilize any of these ideas as it serves your purposes. Maybe I mentioned this to you already.
Pinterest.com/Gretchenin/procreate-notes
So helpful! Thank You
Wonderful and so helpful! Thank you so much.
Thank you.
I am still learning, after a year playing and exploring in procreate.. Thanks to you!
I appreciate the hard work you do to make it so much easier for me to creat art! A few of the tutorials won’t load but the ones that did are so helpful! I have several of your brush sets and enjoy using them. Thanks so much!
Which tutorials were not loading? Thanks for letting us know.
Love your advice, btw. However, whenever I try to do spilt screen with my Apple iPad, it just goes to safari and doesn’t spilt. Is there a reason why that is?
Awsome! Thank you so much! 🙂